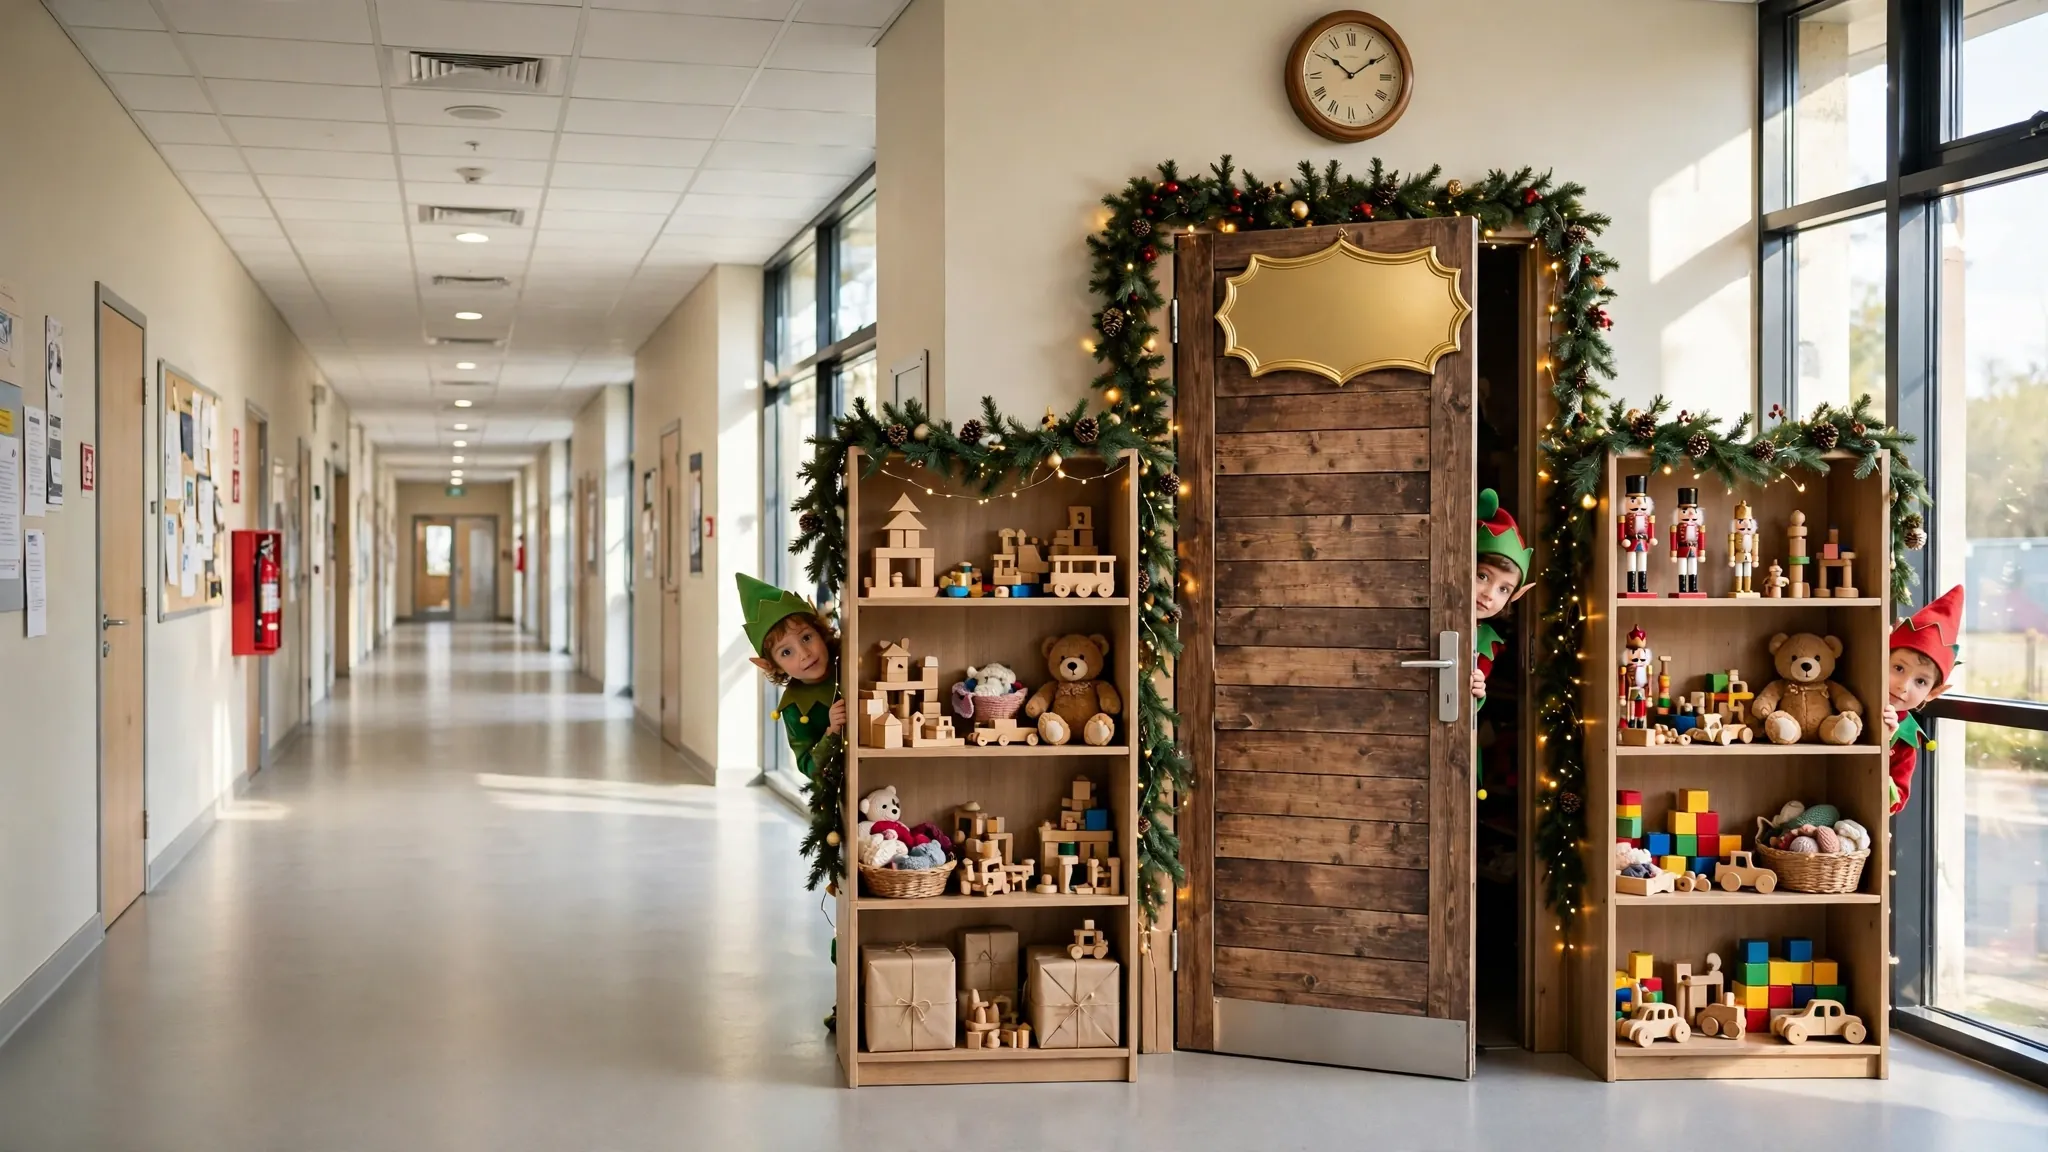
Christmas Door Decorating Contest Santa Workshop: 16 Ideas to Build a Winning Door
A Santa’s workshop is one of the most fun and flexible Christmas door themes. It has toys, elves, tools, a clock, and a sleigh. That means you can give every team member a job, and the door will have lots of little details for judges to find.
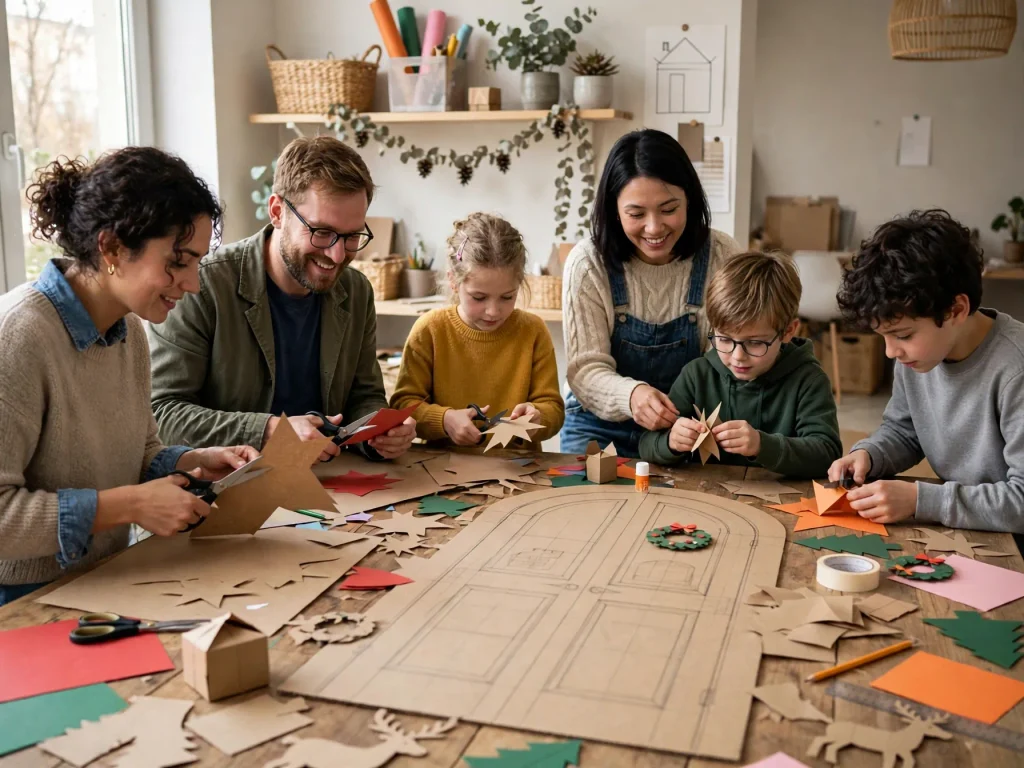
Here are 16 ideas to build your Santa’s workshop door. You can use them all together or pick your favorites. Each idea lists what you need and has easy steps. All the ideas are original, with no movie characters.
Plan Your Santa Workshop Door
- Measure the door. Write down the width and height, so your paper fits.
- Pick your colors. Brown for wood, red and green for Christmas, and gold for details.
- Sketch the door. Draw the big shapes first: sign, shelves, clock, and Santa’s chair.
- Make a list of jobs. One person makes the sign, one makes toys, one makes elves, and so on.
- Cut parts ahead of time. Keep pieces in labeled folders.
- Put it up in one session. Start with the background, then add details, and the lights last.
Build the Workshop Base
1. Wood Plank Door Base
You need: Brown paper rolls or paper bags, a darker brown marker, tape
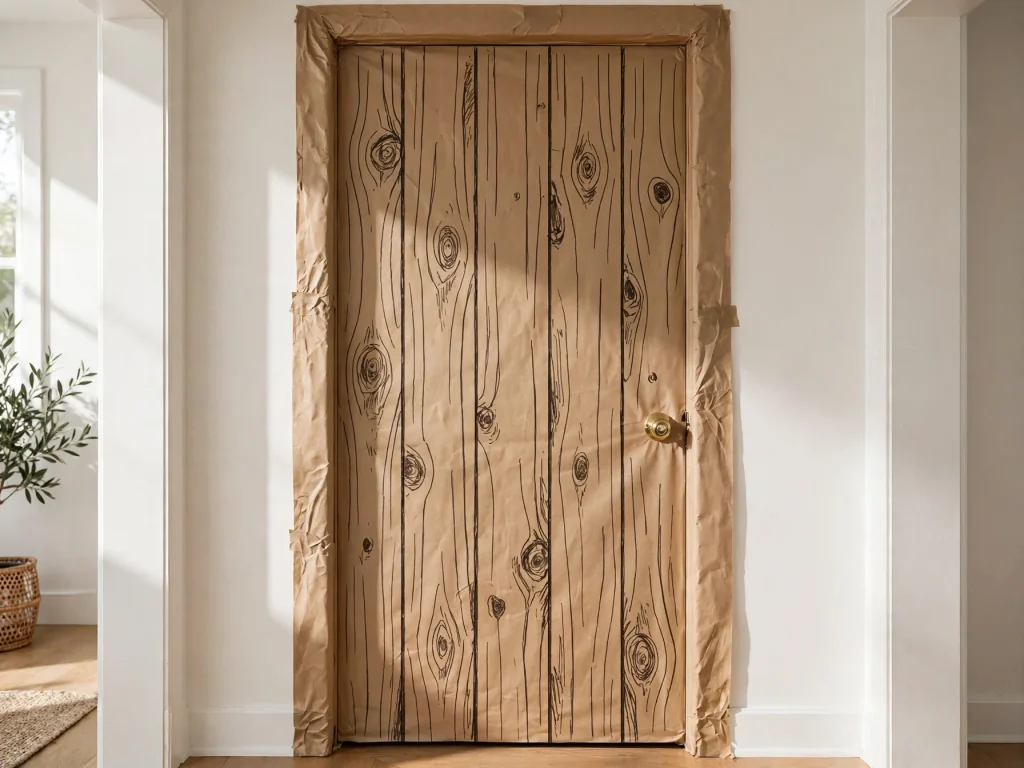
Cover the door with brown paper. Draw lines with a darker marker to look like wood planks. Add small circles for wood knots. This is the background for everything else.
2. A Big Workshop Sign
You need: A long strip of wood or cardboard, paint, a marker
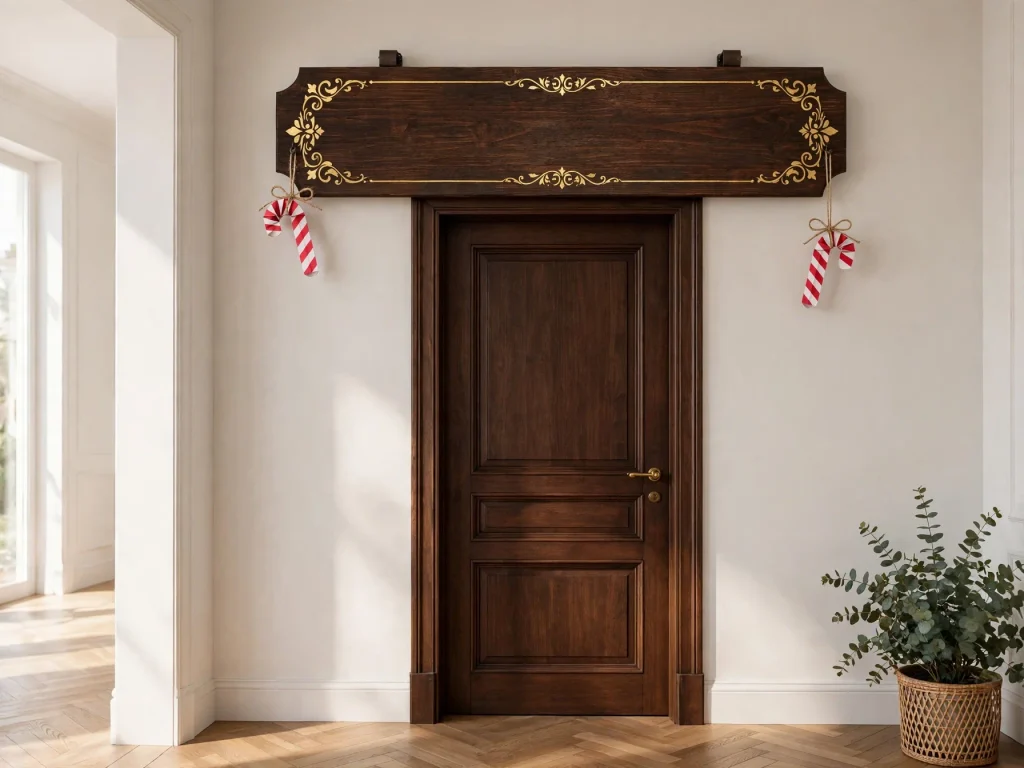
Make a sign for the top of the door. Paint it dark brown, with the words Santa’s Workshop in gold. Add a few small paper candy canes at each end. Hang it with painter’s tape.
Fill the Workshop With Details
3. Toy Shelf Wall
You need: Brown paper, colored paper, small boxes
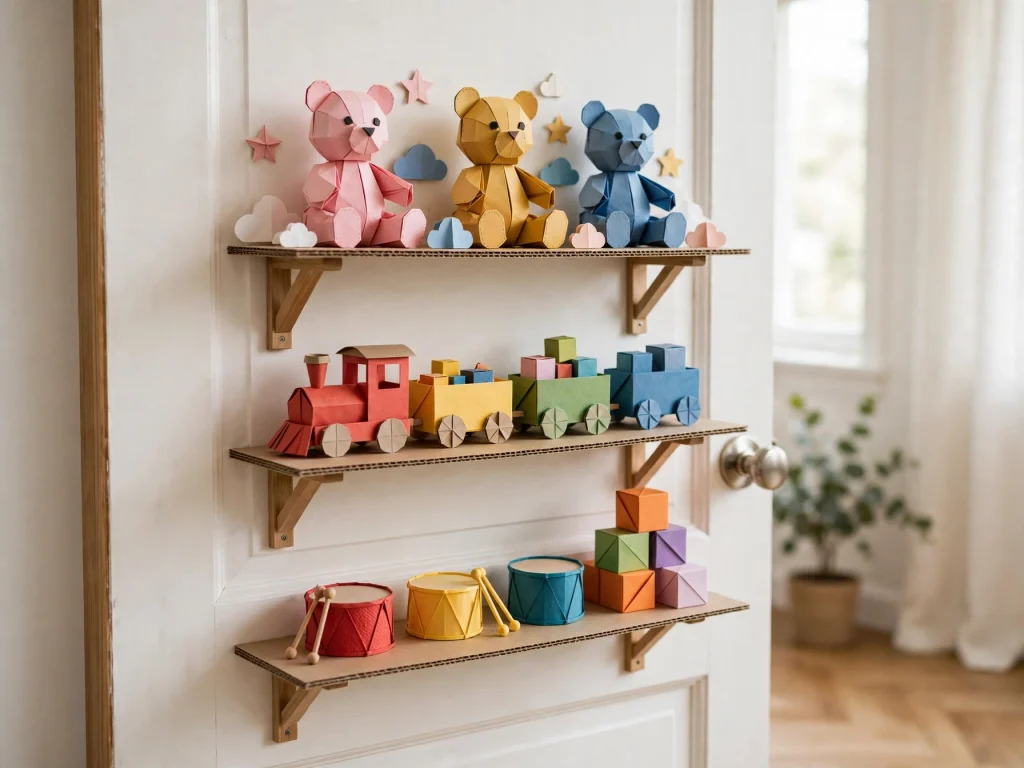
Make paper shelves on one side of the door. Fill them with paper toys, like teddy bears, trains, drums, and blocks. Use bright colors so they stand out against the brown.
4. Elf Workers Peeking Out
You need: Green and red paper, pink or tan paper, felt, markers
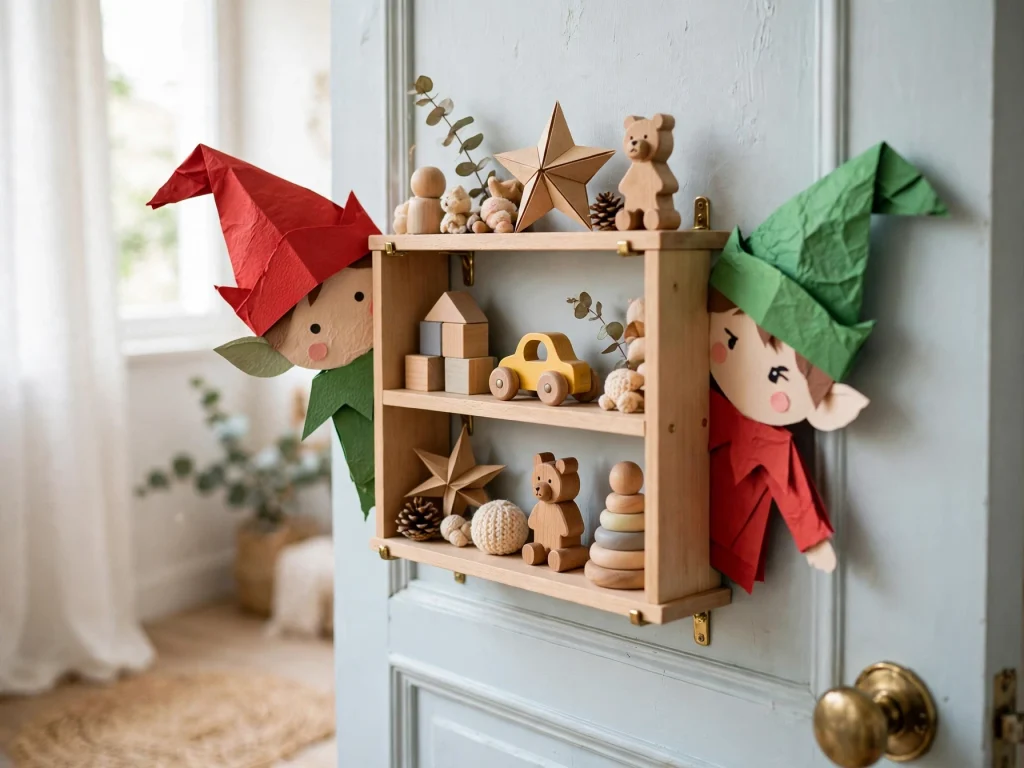
Make 3 or 4 elves with pointy hats and big smiles. Have them peek around the shelves, sit on the sign, or wave from a window. Each team member can make one elf with their name on the hat.
5. A Toy Conveyor Belt
You need: Gray paper, black paper, small paper toys
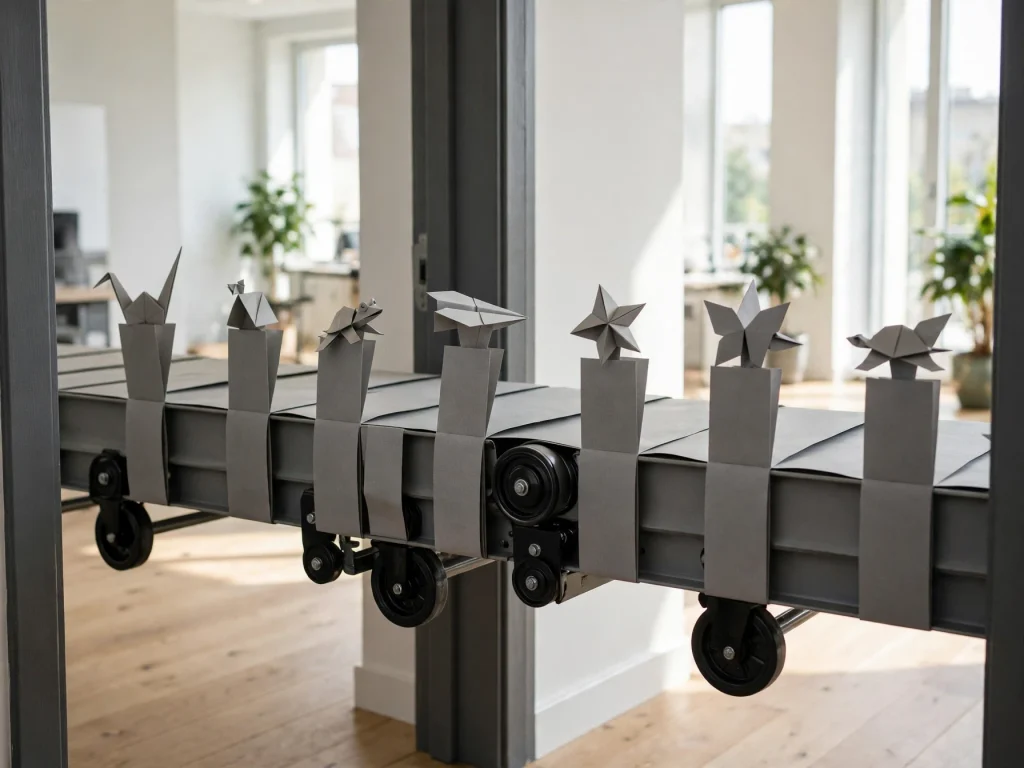
Make a long gray belt across the door with black wheels at the ends. Place paper toys on the belt. For a 3D look, attach the toys with folded paper tabs, so they stick out.
6. Giant Wall Clock Counting Down to Christmas
You need: A big paper circle, a paper plate, black paper, a pencil
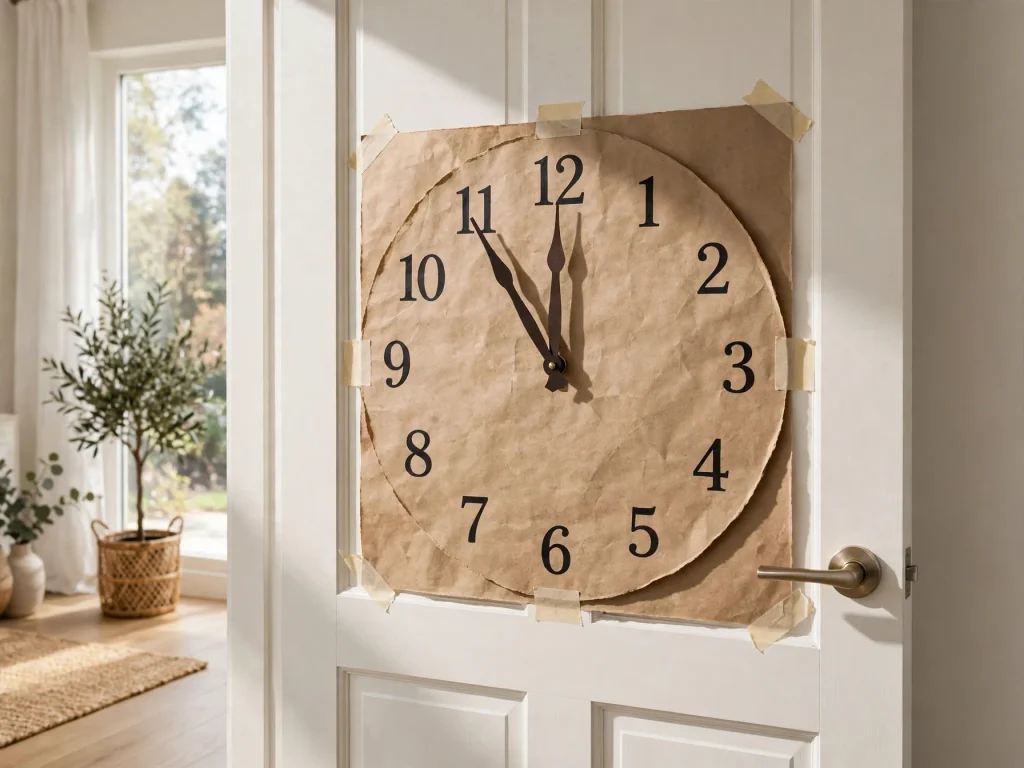
Make a big clock face with numbers. Add hands that point to a few minutes before midnight. Add a small sign that says how many days to Christmas, and change it each day of the contest.
7. Santa’s Tool Wall
You need: Light brown paper, gray paper, black marker
Make a pegboard with holes drawn in rows. Hang paper tools, like a hammer, a saw, a paint brush, and a screwdriver. Add a toolbox with a few gift ribbons.
8. Wish List Mailbox and Letters
You need: Red paper, white envelopes, markers, a small cardboard box
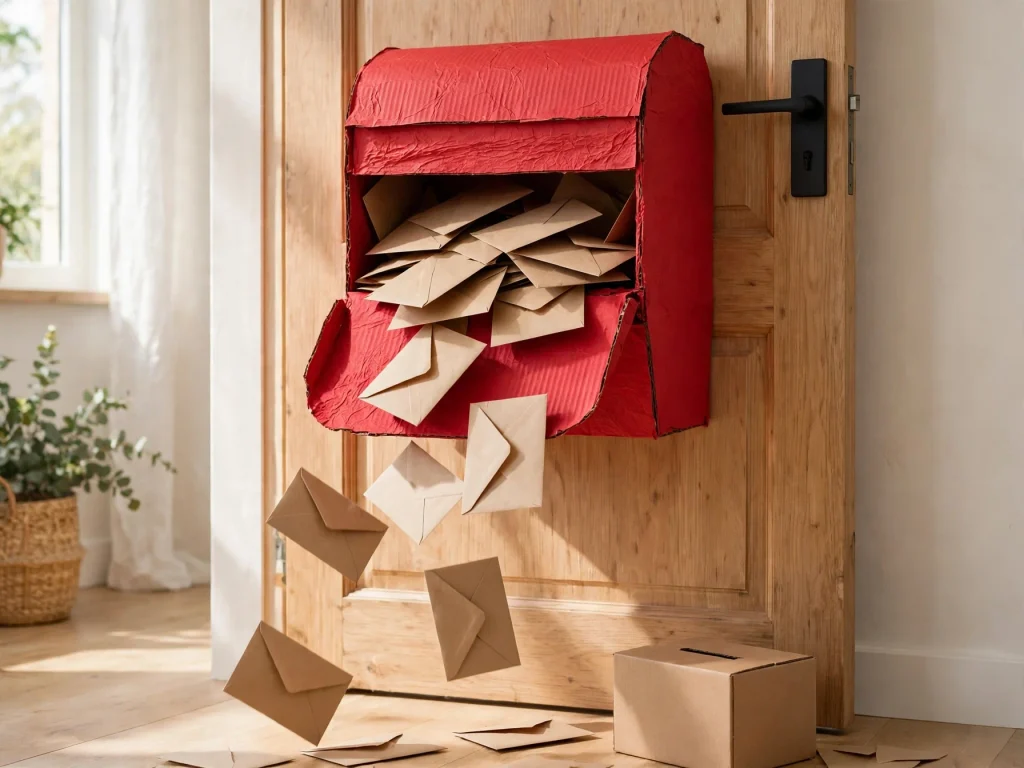
Make a big red mailbox. Add paper letters falling out of it. Place a small box with a slot on the door and put in paper and pens, so visitors can drop in their wishes. Check the contest rules about any items that stick out.
Add Santa and the Sleigh
9. A Sleigh Garage
You need: Red paper, gold paper, black paper, cotton, string
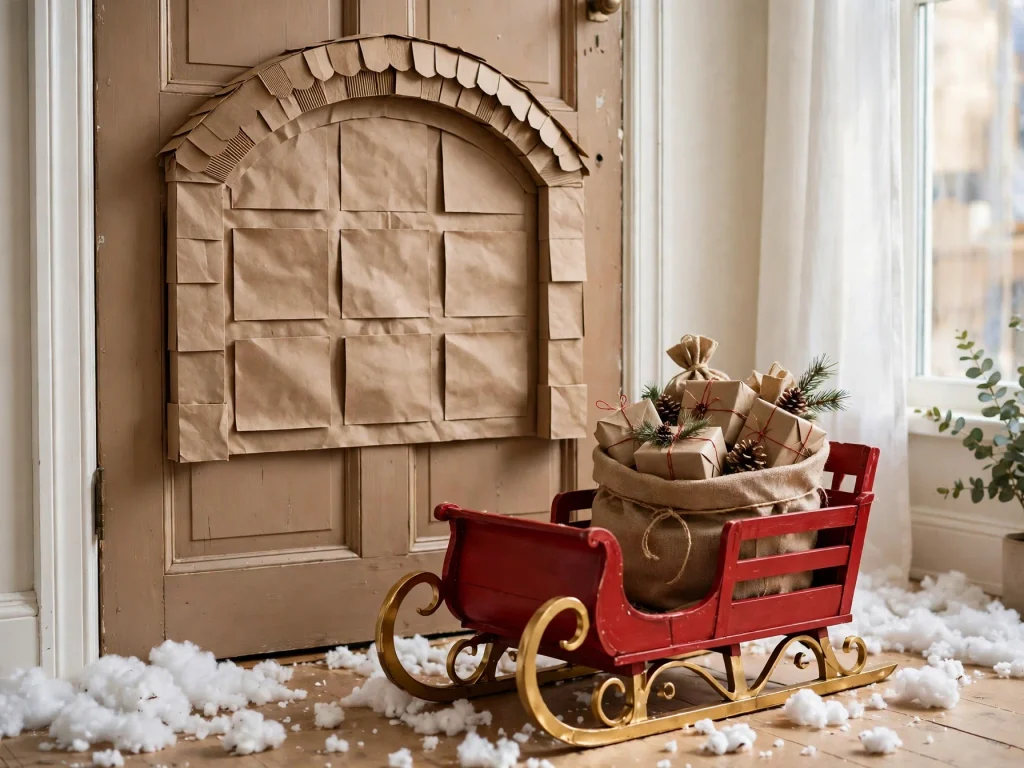
Make a big arched garage at the side of the door. Park a red sleigh inside with gold runners and a sack of gifts. Add snow on the ground with cotton. Hang a paper sign that says Sleigh Ready.
10. Santa’s Cozy Chair and Rug
You need: Red paper, brown paper, fabric scraps, cotton
Make a big armchair in red with brown legs, and a soft round rug in front. Place a small table with a cup of cocoa and a plate of cookies. Santa can sit in the chair, or leave it empty with his hat on top.
11. Candy and Cookie Corner
You need: Colored paper, white paper, brown paper, cotton
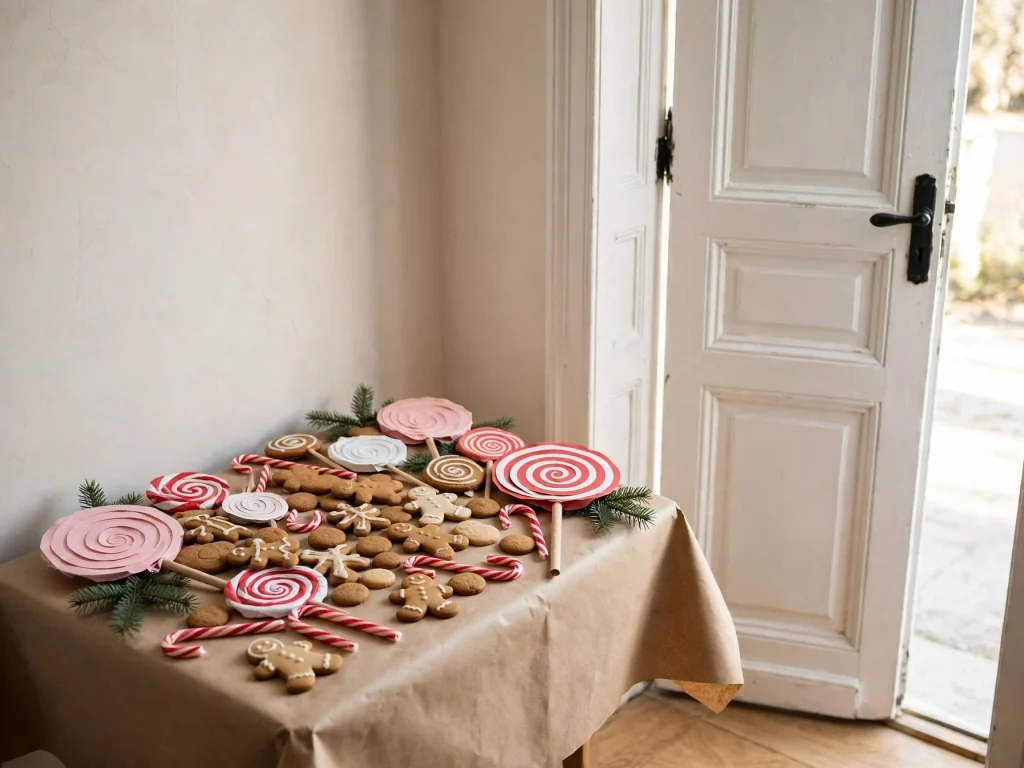
Add a small table full of sweet treats, like cookies, candy canes, and gingerbread. Make big paper lollipops. Keep the colors bright, so the corner pops.
12. Gift Wrapping Station
You need: Rolls of real ribbon, colored paper, small boxes
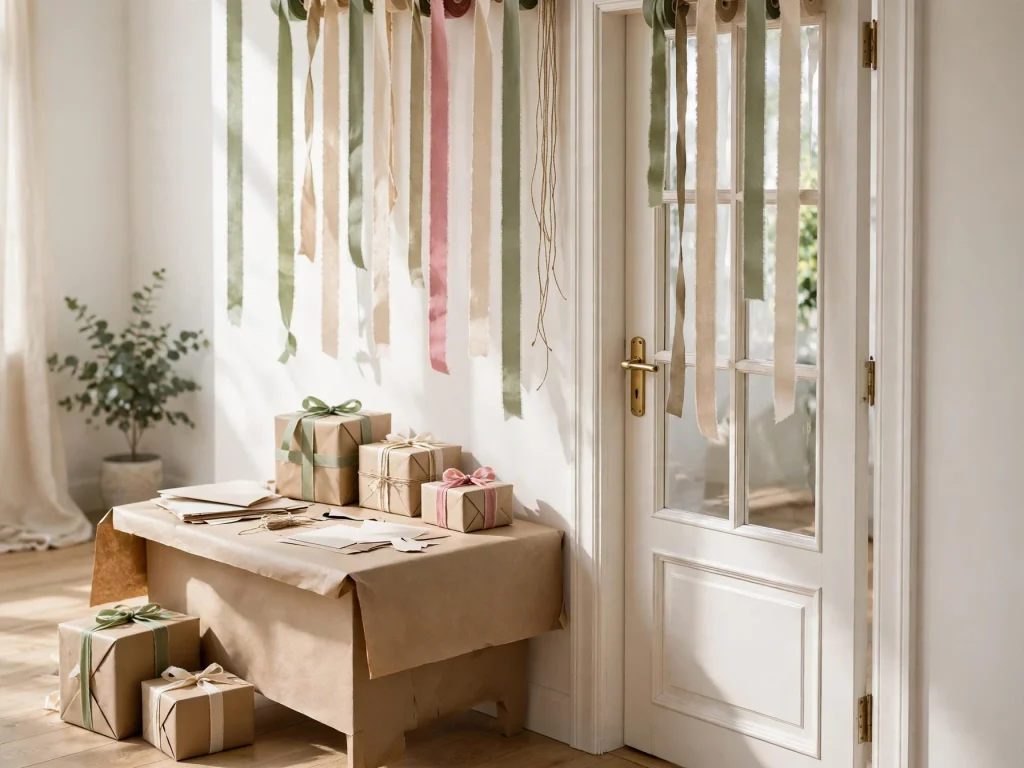
Create a station with a table, a roll of ribbon, scissors, and wrapped boxes in different sizes. Hang real ribbon streamers from the top and let them hang down. It adds color and movement.
Add the North Pole Mood
13. Snowy Roof and Chimney With Cotton Smoke
You need: Brown paper, white paper, cotton balls, red paper
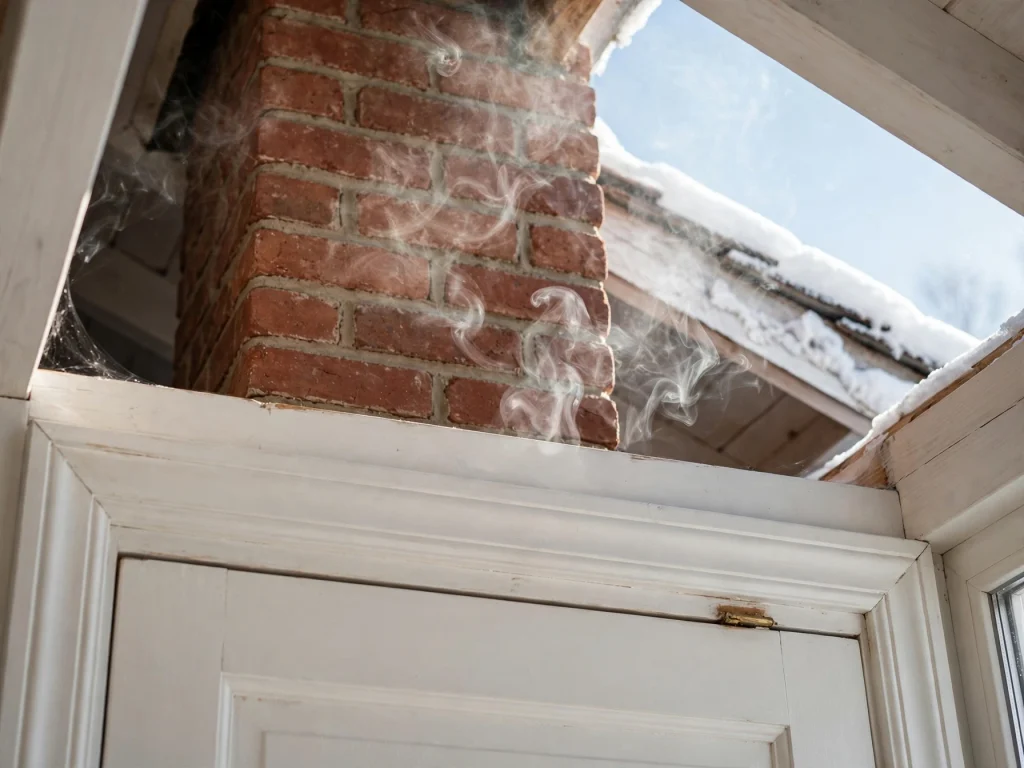
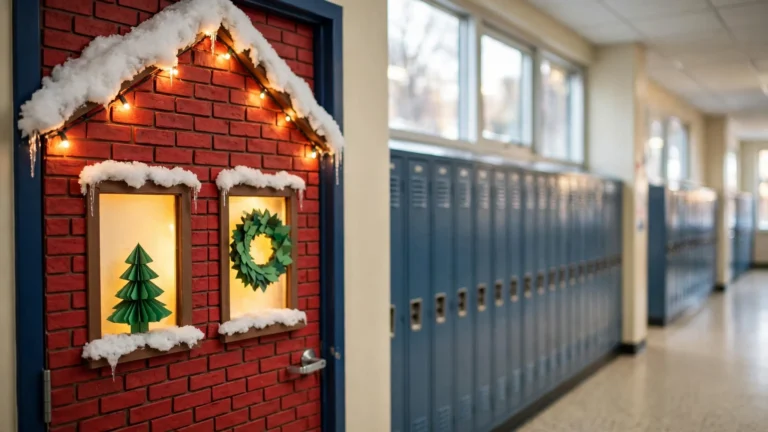
Make a roof edge at the top of the door with a brick chimney. Pull cotton balls into thin wisps for smoke. Add a layer of white paper snow along the roof edge.
14. Reindeer Stable Window
You need: Brown paper, tan paper, red pom pom, black paper
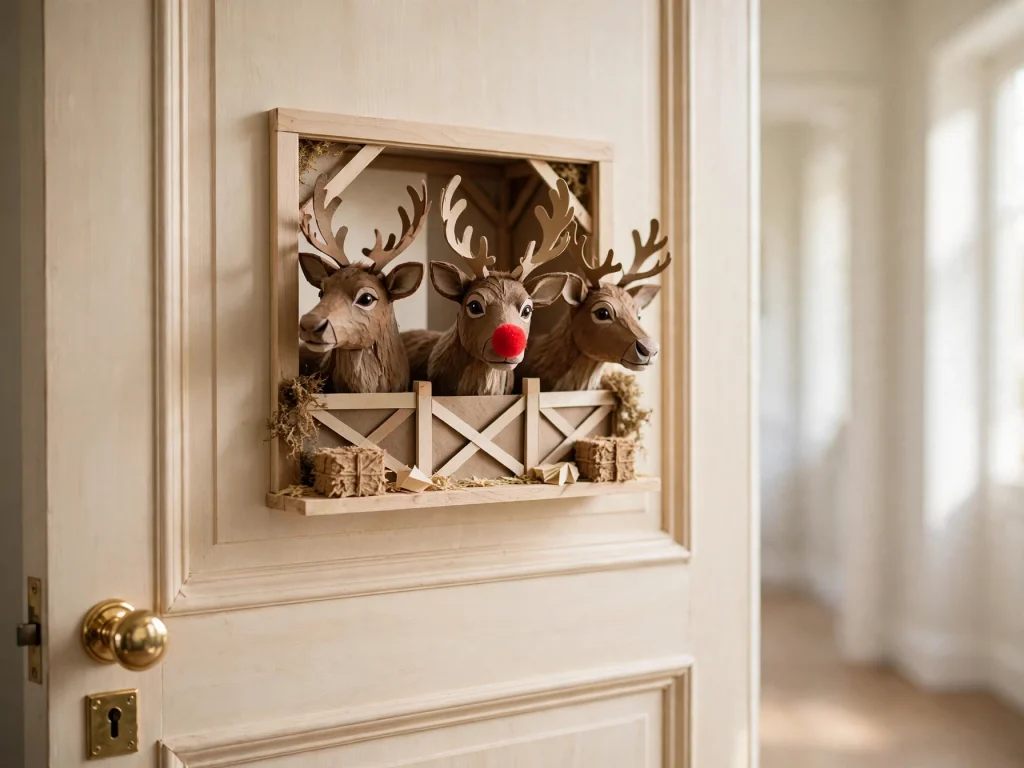
Make a small stable window at the side. Place 3 reindeer heads looking out. Each reindeer has antlers, big eyes, and a name tag. One gets a red pom pom nose.
15. Nice List Scroll With Team Names
You need: A long paper roll, a marker, a gold pen
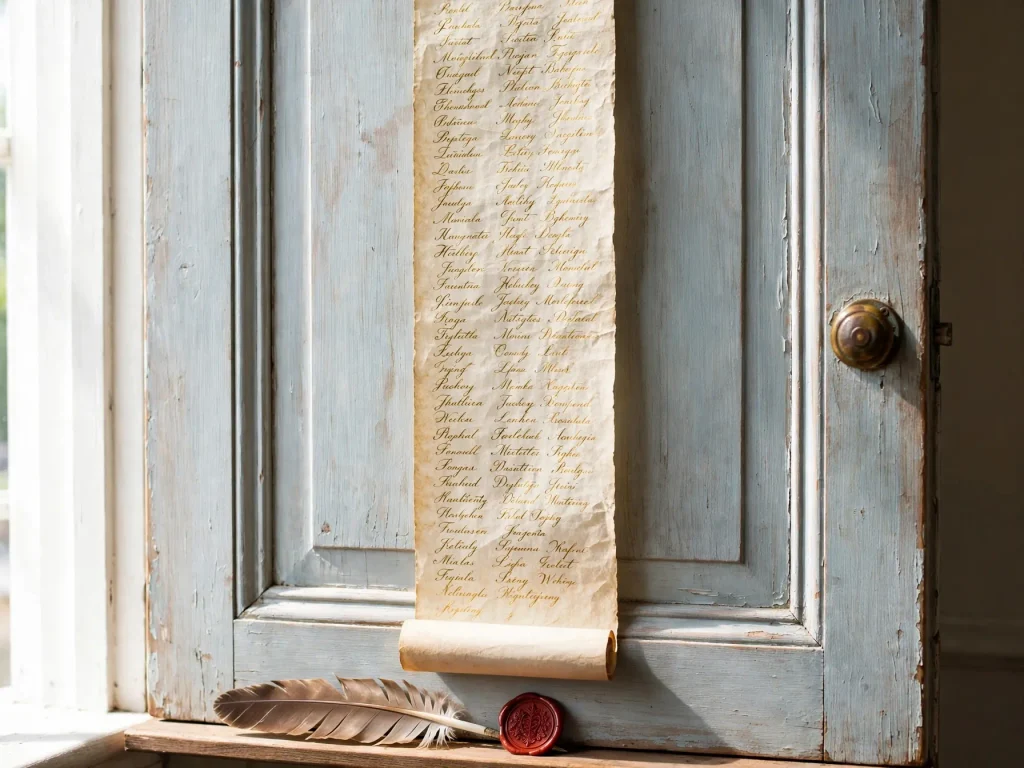
Roll out a long scroll down one side. Write the names of your team members on the Nice List in gold ink. Add a feather pen and a paper wax seal in red.
16. Glowing Lights and a North Pole Sign Post
You need: Battery string lights, tape, wood stick, colored paper, white paper
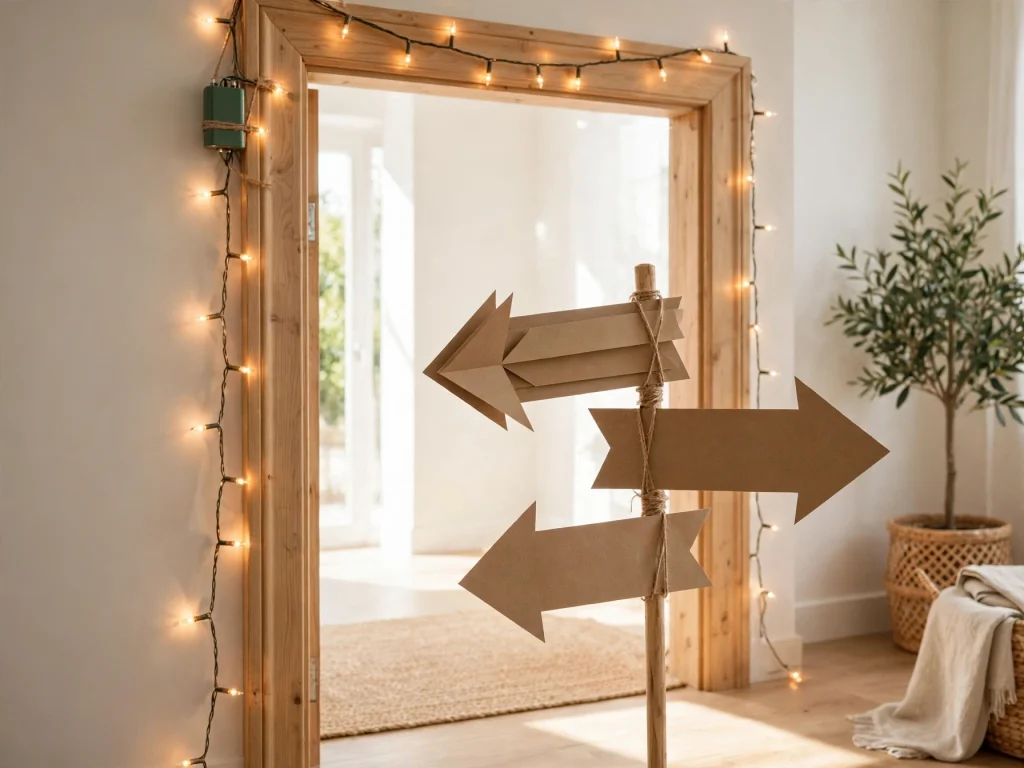
Tape battery string lights around the door frame and behind the windows. Make a sign post with arrows that point to the Workshop, Reindeer Stable, and Sleigh Garage. Use short messages like Elves This Way.
Supply List for a Santa Workshop Door
- Brown butcher paper or paper bags
- Red, green, white, gray, and black paper
- Gold and brown markers or paint
- Cotton balls
- Battery string lights
- Painter’s tape, glue, scissors, and a ruler
- Ribbon and small boxes
- Cardboard for 3D parts
Santa Workshop Door: Time Plan
- Day 1 (1 hour): Pick the layout and divide the jobs.
- Day 2 (2 hours): Cut the elves, toys, tools, and shelves.
- Day 3 (2 hours): Put up the base and the main parts.
- Day 4 (1 hour): Add the details, lights, and name tags.
- Judging day: Fix anything that fell. Take a photo.
Tips to Win a Door Contest
- Keep a clear center of focus, like Santa’s chair or the big sign.
- Make the door 3D with folded paper, hanging ribbons, and pop-out parts.
- Use bold colors against the brown base.
- Add a small surprise, like a hidden elf or a funny sign.
- Use battery lights for a warm glow.
- Make sure the door can still open and close.
- Give every team member a part.
Safety and Contest Rules
- Check your rules first. Many contests do not allow brand characters or items that stick out far.
- Do not cover door handles, windows, exit signs, or fire alarm pulls.
- Do not block hallway exits or fire doors.
- Use fire safe paper if your building asks for it.
- Use painter’s tape, so the paint is not damaged.
- Use battery lights, not plug-in lights with long cords.
- An adult should handle sharp tools.
Frequently Asked Questions
How long does it take to make a Santa’s workshop door?
Most teams need 3 to 5 hours spread over a few days, plus cutting time.
What is the cheapest way to make the workshop base?
Brown paper bags or a roll of butcher paper with marker lines for the planks.
Can I make this theme smaller for a classroom?
Yes. Pick 5 or 6 of the ideas, like the sign, shelves, elves, and the clock.
How do I make the door stand out?
Use 3D elements, a few real lights, and a clear picture that people understand from far away.
Final Thoughts
A Santa’s workshop door is fun to plan and fun to see. It gives everyone on the team a job and gives the judges lots to look at. Pick your favorite ideas and start building. Save this post and pin your favorite door ideas so you can find them later.