DIY Hanukkah Door Decorations: 16 Easy Ideas for Your Front Door
Your front door is the first thing guests see. A little blue, white, and silver can make it feel warm and festive. Hanukkah is the Festival of Lights, and a bright door says “Welcome!”
This guide has 16 easy ideas for your front door and entryway. You will find wreaths, hangers, banners, window art, and doorstep touches. Most use paper, felt, ribbon, and simple supplies. Pick a few and start crafting!
Door Colors and Symbols to Use
Here are common Hanukkah symbols for decor:
- The menorah, with nine branches
- The dreidel, a four-sided spinning top
- The Star of David
- Gold coins
- Colors: blue, white, silver, and gold
Choose two or three colors. Your door will look neat and calm.
Supplies and Age Guide
Keep these basics at home:
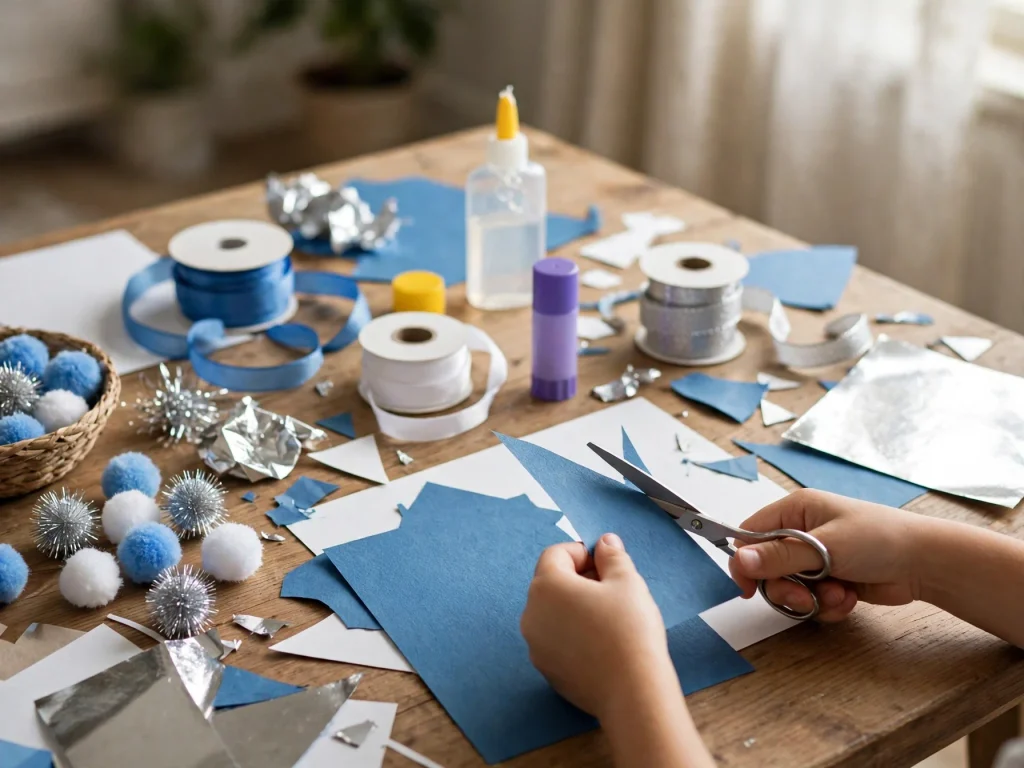
- Cardstock and construction paper in blue, white, and silver
- Felt, ribbon, and twine
- Scissors and glue sticks
- White school glue and hot glue (adult use)
- Washable paint and brushes
- Removable adhesive hooks
- Clear contact paper
- LED tea lights
Age guide:
- Ages 3 to 5: tissue paper, paper chains, and gluing with a grown-up helping.
- Ages 6 to 9: painting, cutting, and simple building.
- Ages 10 and up: most steps alone. An adult still handles hot glue, hammers, nails, drills, and spray paint.
DIY Hanukkah Wreaths for Your Front Door
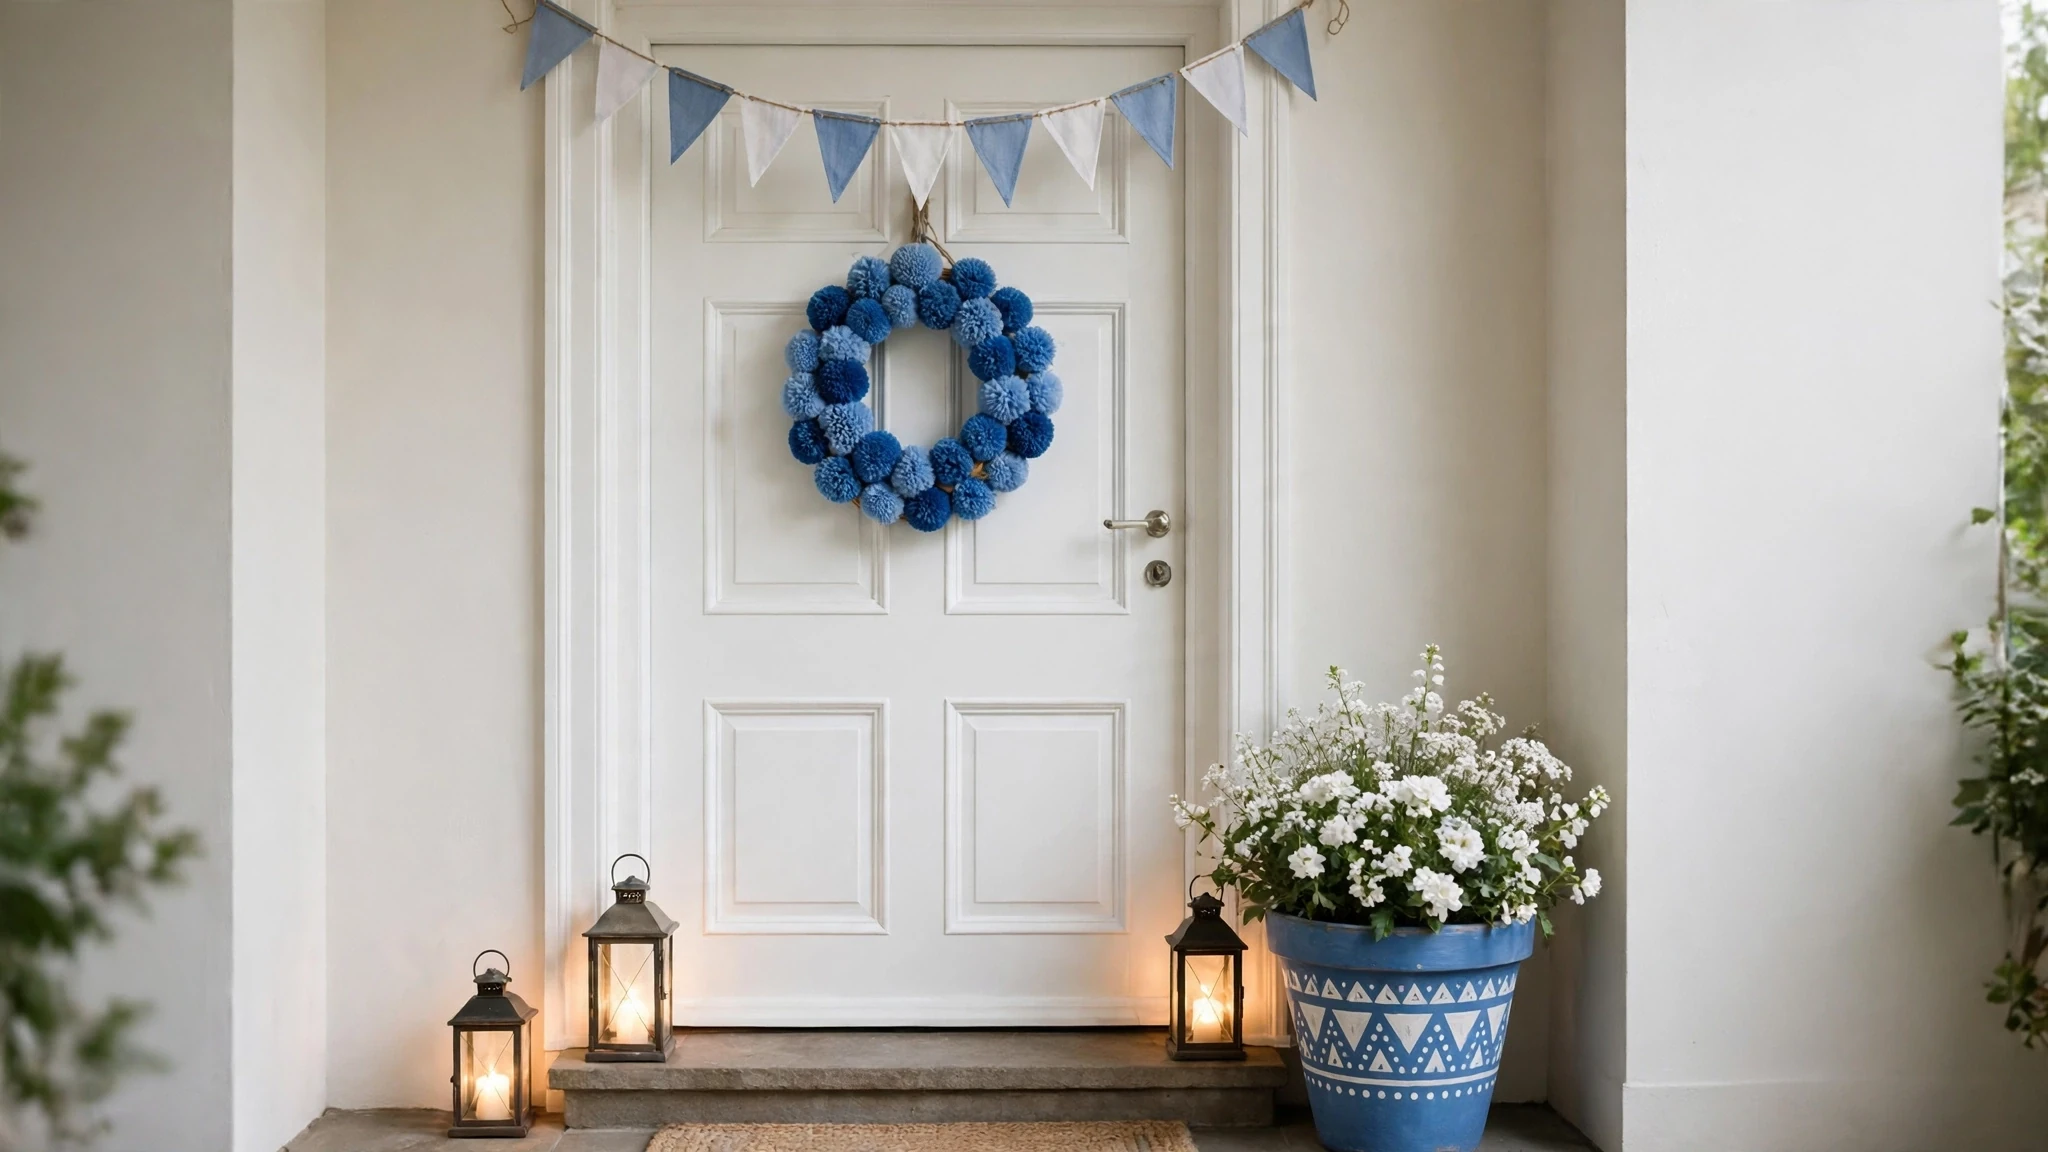
1. Blue Pom-Pom Wreath (ages 6+, adult uses hot glue)
You need: a foam or cardboard ring, blue, white, and silver pom-poms, hot glue gun, ribbon

- Cut a cardboard ring about 12 inches wide if you do not have a foam one.
- An adult puts a small dot of hot glue on the ring.
- Press one pom-pom onto the glue.
- Keep going in a color pattern until the ring is covered.
- Tie a ribbon loop at the top and hang it.
2. Embroidery Hoop Star Wreath (ages 8+)
You need: a 10-inch embroidery hoop, white felt, fabric glue, scissors, blue ribbon

- Wrap blue ribbon around the inner hoop. Glue the ends in place.
- Cut 8 to 10 small stars from white felt.
- Glue the stars around the hoop.
- Let it dry flat.
- Tie a ribbon bow at the top and hang it from a hook.
3. Cardboard Star of David Wreath (ages 8+, adult cuts the cardboard)
You need: thick cardboard, pencil, scissors or craft knife (adult), silver paint, white paint, glue, twine

- Draw two big triangles on the cardboard. Make them the same size.
- An adult cuts out each triangle as a thin outline, about 1 inch wide.
- Paint both triangles silver and let them dry.
- Flip one triangle upside down and glue it over the other to make a six-point star.
- Add white dots with paint. Let it dry.
- Tie twine to the top and hang it.
4. Coffee Filter Flower Wreath (ages 6+)
You need: white coffee filters, blue washable markers, spray bottle with water, a cardboard ring, glue
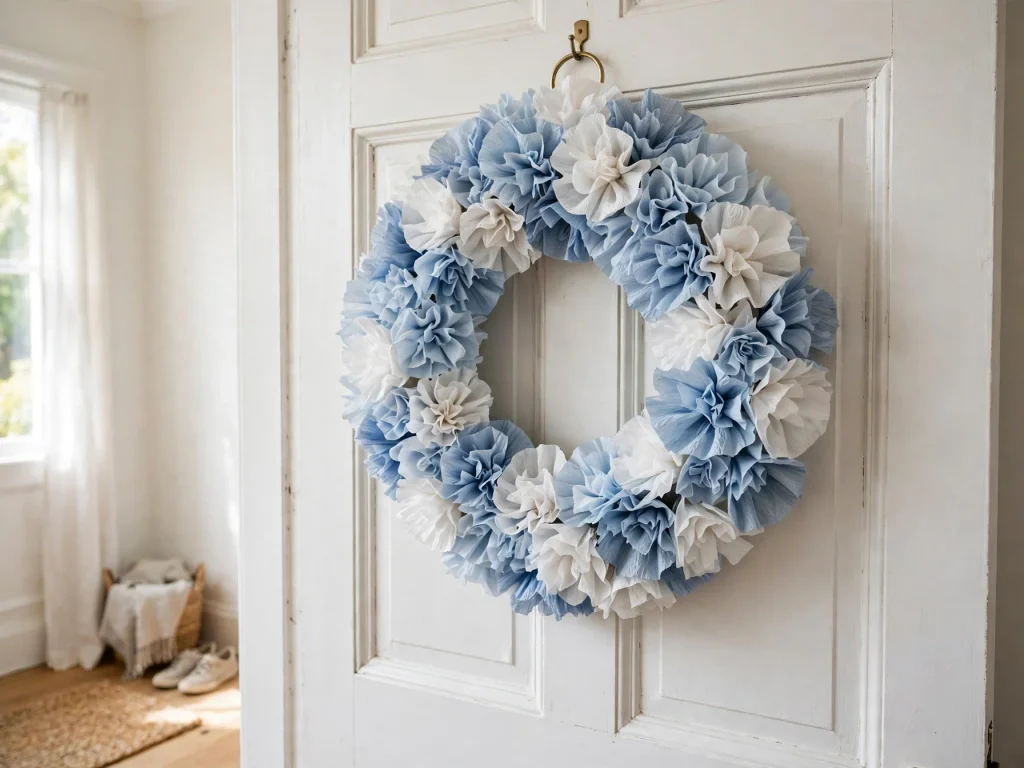
- Color a coffee filter with blue marker.
- Spray it lightly with water so the colors spread. Let it dry.
- Pinch the middle and scrunch it to make a flower.
- Glue the flowers around the cardboard ring.
- Add a few plain white flowers for contrast.
- Hang with a ribbon loop.
5. Greenery and Blue Ribbon Wreath (ages 10+)
You need: a grapevine or foam wreath form, faux eucalyptus stems, blue ribbon, small silver ornaments, floral wire, hot glue (adult)
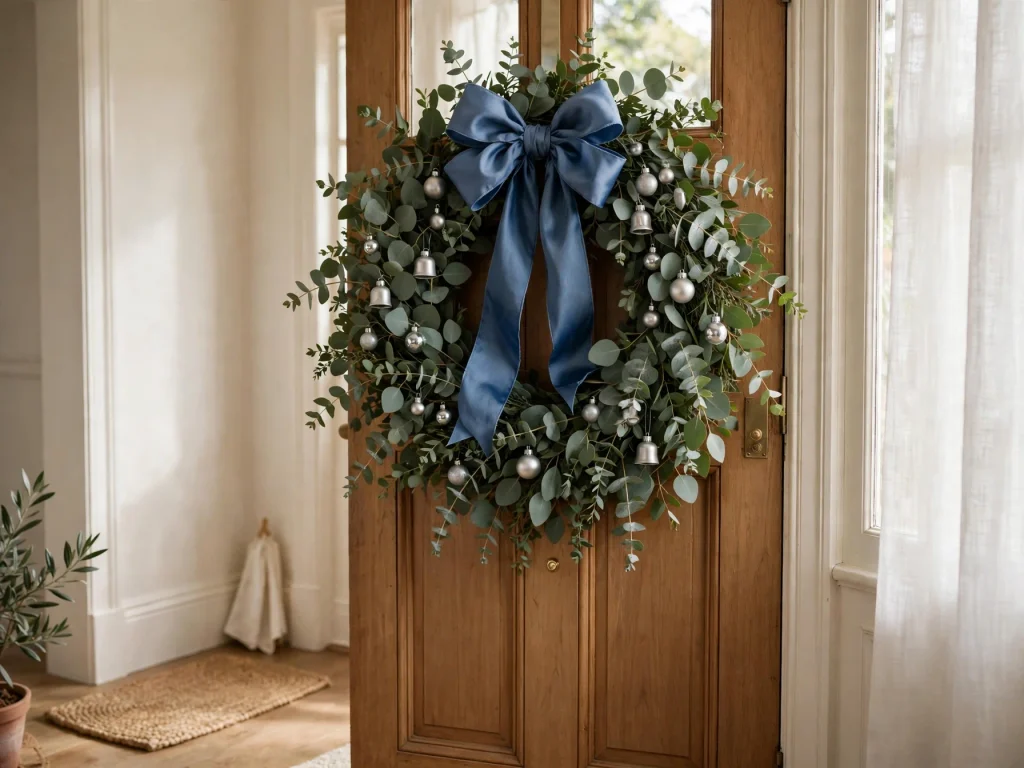
- Wire the eucalyptus stems to the wreath form. Overlap them to hide the wire.
- Tie a big blue ribbon bow and wire it near the bottom.
- An adult glues silver ornaments between the leaves.
- Hang it on a hook or a wreath hanger.
This wreath works well outdoors under a covered porch.
Door Hangers and Banners
6. Wood Slice Star Hanger (ages 8+)
You need: 3 wood slices (3 to 4 inches), white paint, a gold paint pen, jute twine, a hole punch or drill (adult)
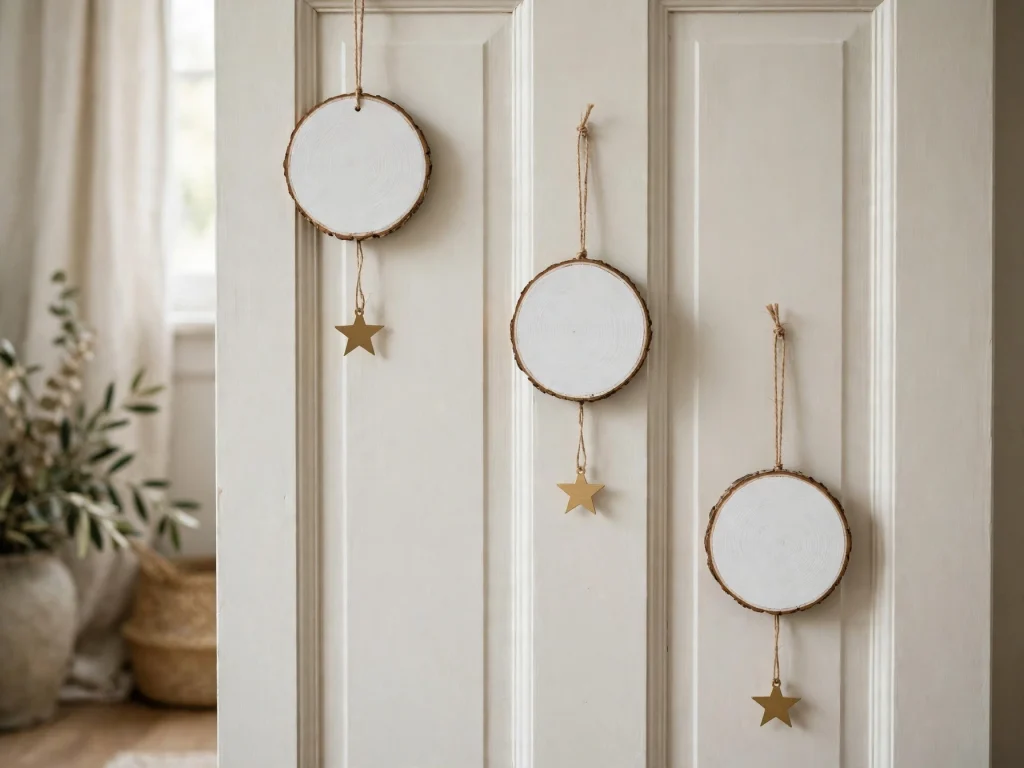
- Paint each slice white and let it dry.
- Draw a star on each slice with the gold pen.
- An adult drills a small hole at the top of each slice.
- Thread twine through each one. Hang the slices at different heights on one long string.
- Tie the string to a hook on your door.
7. Ribbon Streamer Door Hanger with Stars (ages 6+)
You need: a wooden dowel or stick, 5 ribbons in blue, white, and silver (each about 20 inches), paper stars, glue, twine

- Tie the ribbons to the dowel with a knot. Space them evenly.
- Cut paper stars and glue one near the bottom of each ribbon.
- Tie twine to both ends of the dowel.
- Hang it high on the door, out of small children’s reach. Keep ribbons short.
8. Mini Pennant Door Banner (ages 5+)
You need: cardstock in blue, white, and silver, scissors, glue, twine, a hole punch
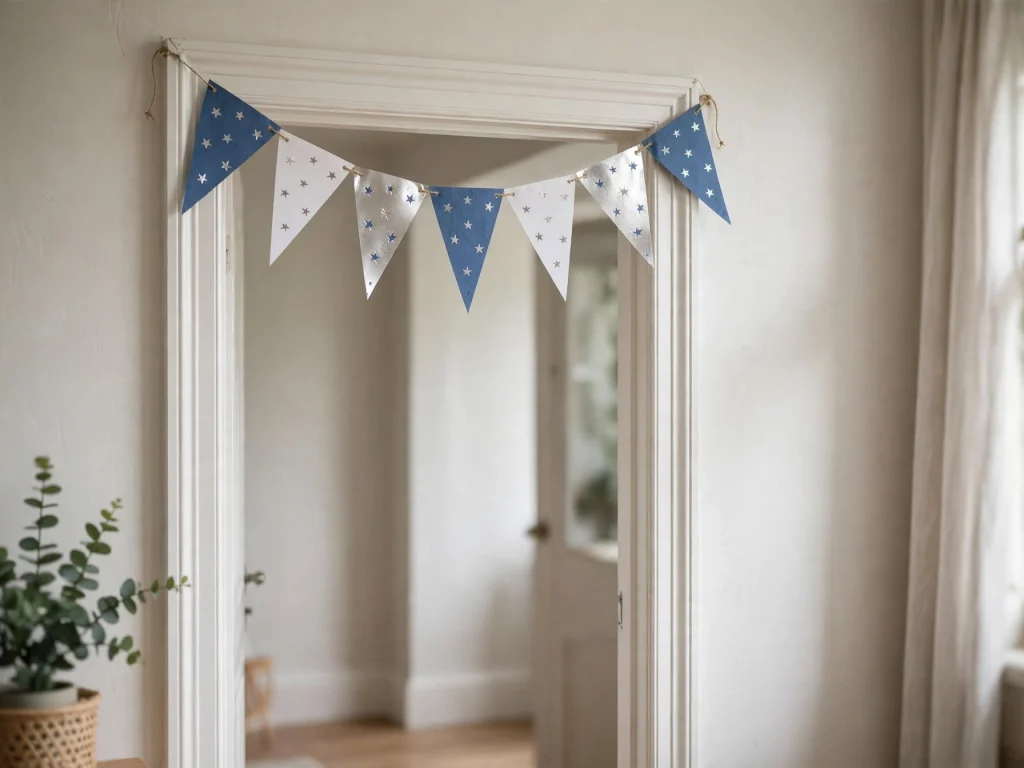
- Cut 7 triangle pennants.
- Punch two holes near the top of each pennant.
- Thread the twine through the holes.
- Glue a paper star or a dot in the center of each triangle.
- Hang the banner across the top of your door.
Door Frame and Window Decor
9. Tissue Paper Door Window Clings (ages 4+)
You need: clear contact paper, tissue paper squares, scissors, tape
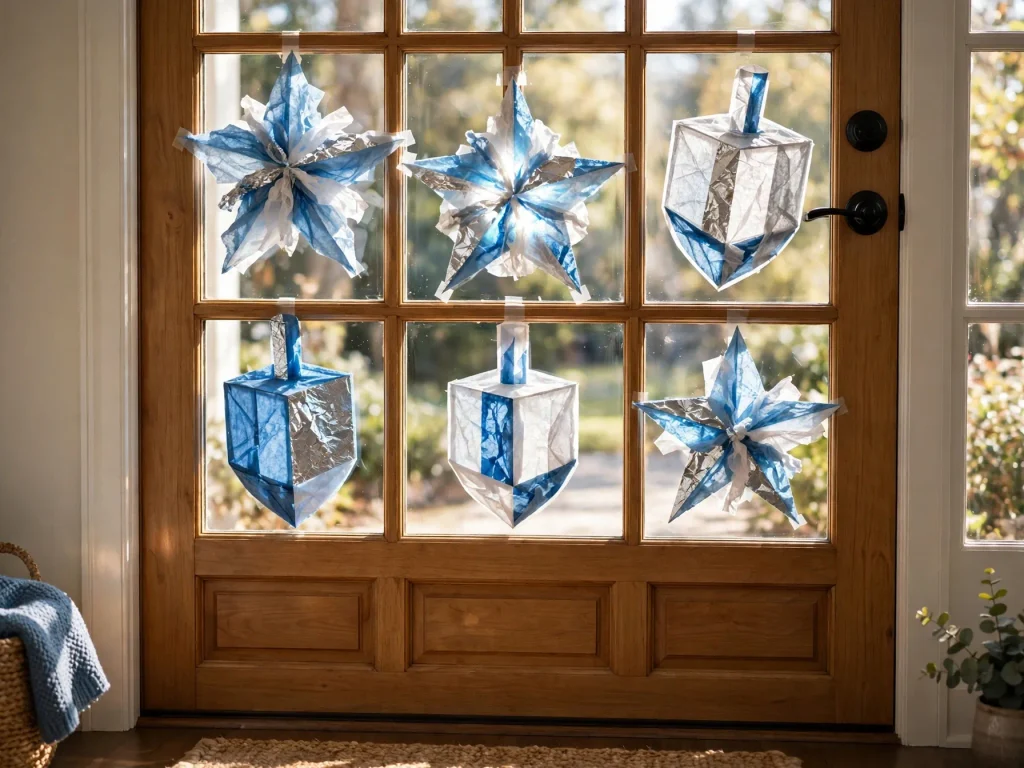
- Cut two equal pieces of clear contact paper.
- Peel one and place it sticky side up.
- Press tissue squares all over the sticky side.
- Cover with the second piece and smooth it down.
- Cut out stars or dreidel shapes.
- Tape them to the glass on your door or to the window next to it.
10. Paper Snowflake Door Frame Garland (ages 5+)
You need: white paper, scissors, string, tape or removable hooks

- Fold a square of paper in half, then in half again, then into a triangle.
- Cut small shapes along the folded edges.
- Unfold the snowflake.
- Make 7 or 8 of them. Tape each one to a long string.
- Hang the string along the top of the door frame.
11. Streamer Door Curtain (ages 4+)
You need: blue, white, and silver crepe streamers, tape, scissors

- Cut streamers into 6-foot lengths.
- Tape the tops across the top of the door frame, side by side.
- Alternate the colors.
- Stand back and check. People must walk through easily.
- Do not tape over the door handle or lock.
Use this inside only. Wind and rain can ruin streamers.
12. Blue and White Balloon Garland (ages 8+, adult inflates)

You need: about 30 balloons in blue, white, and silver, a balloon pump, fishing line or ribbon, removable hooks
- An adult inflates the balloons to different sizes.
- Tie each balloon to the line, close together. Alternate colors.
- Hang the line around the door frame with removable hooks.
Some people are allergic to latex. Use foil balloons if needed. Pick up any popped pieces right away. They are a choking risk for young children.
Doorstep and Porch Touches
13. Tin Can Star Lanterns (ages 10+, adult uses hammer and nails)
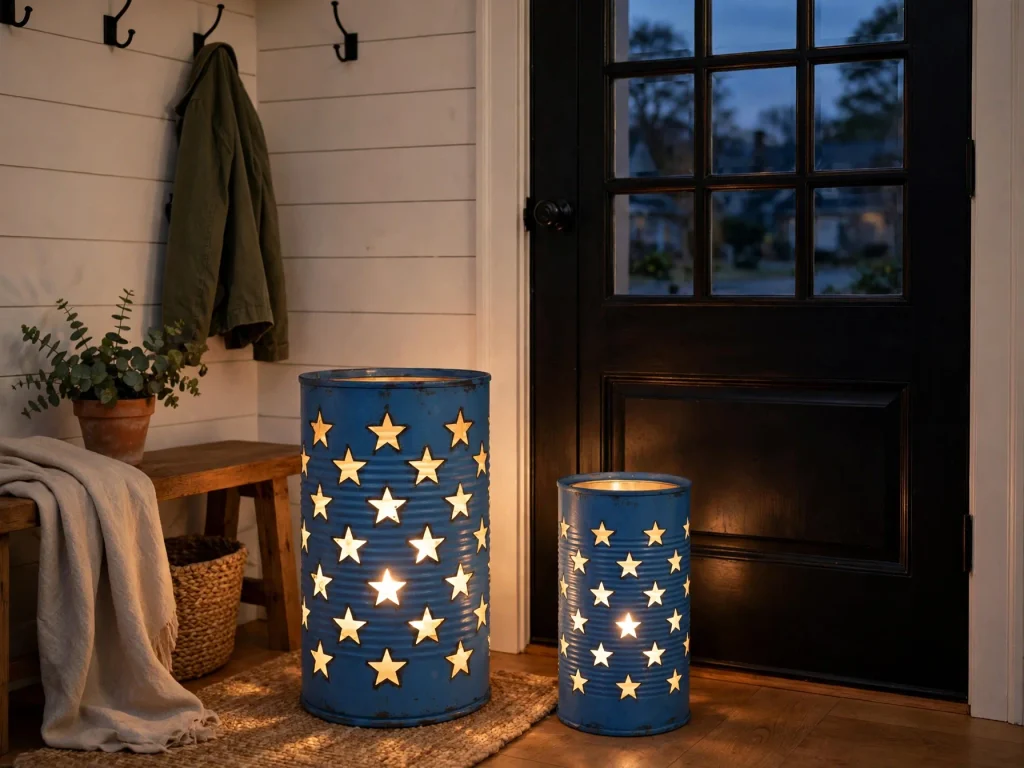
You need: 2 clean tin cans, water, a freezer, a hammer and a nail (adult), a towel, paint, LED tea lights
- Fill each can with water and freeze overnight. The ice keeps the metal from bending.
- An adult puts the can on a folded towel. Use the hammer and nail to tap small holes in a star pattern.
- Let the ice melt. Empty and dry the cans.
- Check that there are no sharp edges inside.
- Paint the outside blue or white. Let it dry.
- Put an LED tea light inside. Place the lanterns beside the door.
14. Painted Stripe Doormat (ages 8+)
You need: a plain coir doormat, painter’s tape, outdoor craft paint, a foam brush, newspaper
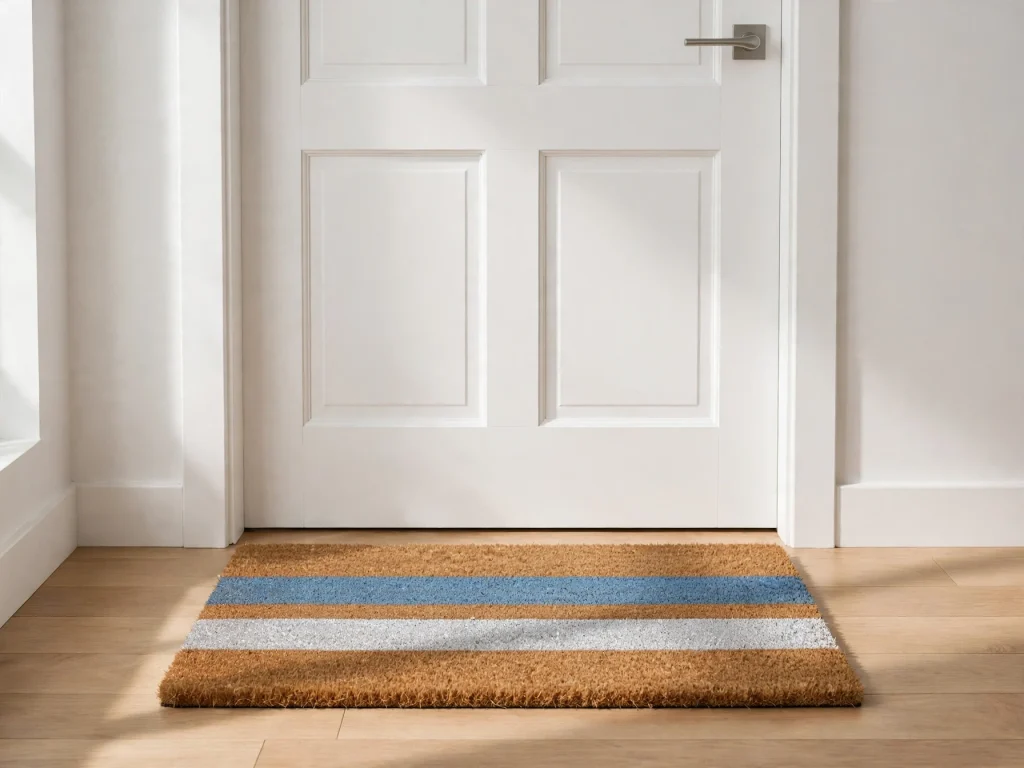
- Place the mat on newspaper outside.
- Press painter’s tape across the mat to make wide stripes.
- Paint in the open stripes with blue and silver paint.
- Let it dry for a few minutes. Peel off the tape slowly.
- Dry the mat flat for 24 hours before use.
Put this out only after it dries completely.
15. Painted Planter Pot with Star Stakes (ages 6+)
You need: a clay pot, blue and white acrylic paint, craft sticks, white paint, a gold paint pen, white flowers or greenery

- Paint the pot blue. Let it dry.
- Add white dots or stripes. Let it dry again.
- Paint the craft sticks white and draw a gold star on each.
- Fill the pot with white flowers or greenery.
- Push the craft sticks into the soil as star stakes.
- Set the pot beside your door.
16. Paper Bag Lanterns (ages 5+)
You need: white paper lunch bags, blue paint or markers, a star hole punch, LED tea lights, small stones

- Decorate the outside of each bag with blue stripes or dots.
- Punch star shapes into the bag, or cut small shapes.
- Place a small stone at the bottom of the bag.
- Set the LED tea light on top of the stone.
- Line the bags up on your porch steps.
Use LED lights only. Never use real candles in paper. Bring them inside if it rains.
Simple Tips for Better Door Decor
- Keep the door easy to open and close. Nothing should block the handle or the hinges.
- Use removable adhesive hooks. They keep your paint and door safe.
- Choose waterproof paint for items that go outside.
- Use paper and tissue crafts only inside or under a covered porch.
- Hang a wreath at eye level.
- Match your colors to your front door color. Blue and silver look great on white and gray doors.
- Keep ribbons and strings short. They are hazards for toddlers and pets.
Make-Ahead Planning Guide
Hanukkah dates change each year, so check a calendar.
- 3 weeks before: Pick your ideas and buy supplies.
- 2 weeks before: Paint pots, wood slices, and doormats. They need time to dry.
- 1 week before: Make wreaths, banners, and window clings.
- 2 to 3 days before: Hang the decor on your door.
- First night: Switch on the LED lanterns and enjoy.
Safety and Allergy Notes
- An adult should handle hot glue, craft knives, hammers, nails, drills, and spray paint.
- Use spray paint outside only.
- Never use real candles near door decor. Paper, felt, ribbon, and wreaths burn quickly. Use LED lights only.
- Real candles belong only in a menorah, lit by an adult, with your family’s tradition.
- Keep small parts like pom-poms and balloon pieces away from children under 3.
- Latex balloons can cause allergic reactions. Use foil balloons if needed.
- Check tin cans for sharp edges before kids touch them.
- Do not hang decor with nails or tape if your lease or paint does not allow it.
- Use non-toxic paint and glue.
FAQ
What is a simple Hanukkah door decoration?
A paper pennant banner or a ribbon wreath is easy and quick. Kids can help.
What colors should I use for a Hanukkah door?
Blue, white, silver, and gold are the most common. Two or three colors look best.
Can I use real candles near my door decor?
No. Use LED candles near decor. Real candles belong only in a proper menorah.
How do I hang a wreath without nails?
Use a removable adhesive hook or an over-the-door wreath hanger.
Which door decorations are good for outdoors?
Greenery wreaths, painted pots, doormats, and tin can lanterns do well outside. Keep paper crafts under a cover.
When should I put up my Hanukkah door decor?
Many families hang it a few days before the first night. Check the date each year.
Final Thoughts
A handmade door makes Hanukkah feel warm and welcoming. Start with one wreath or banner, and add more if you like. Let the kids help paint and glue. Happy crafting and happy Hanukkah!