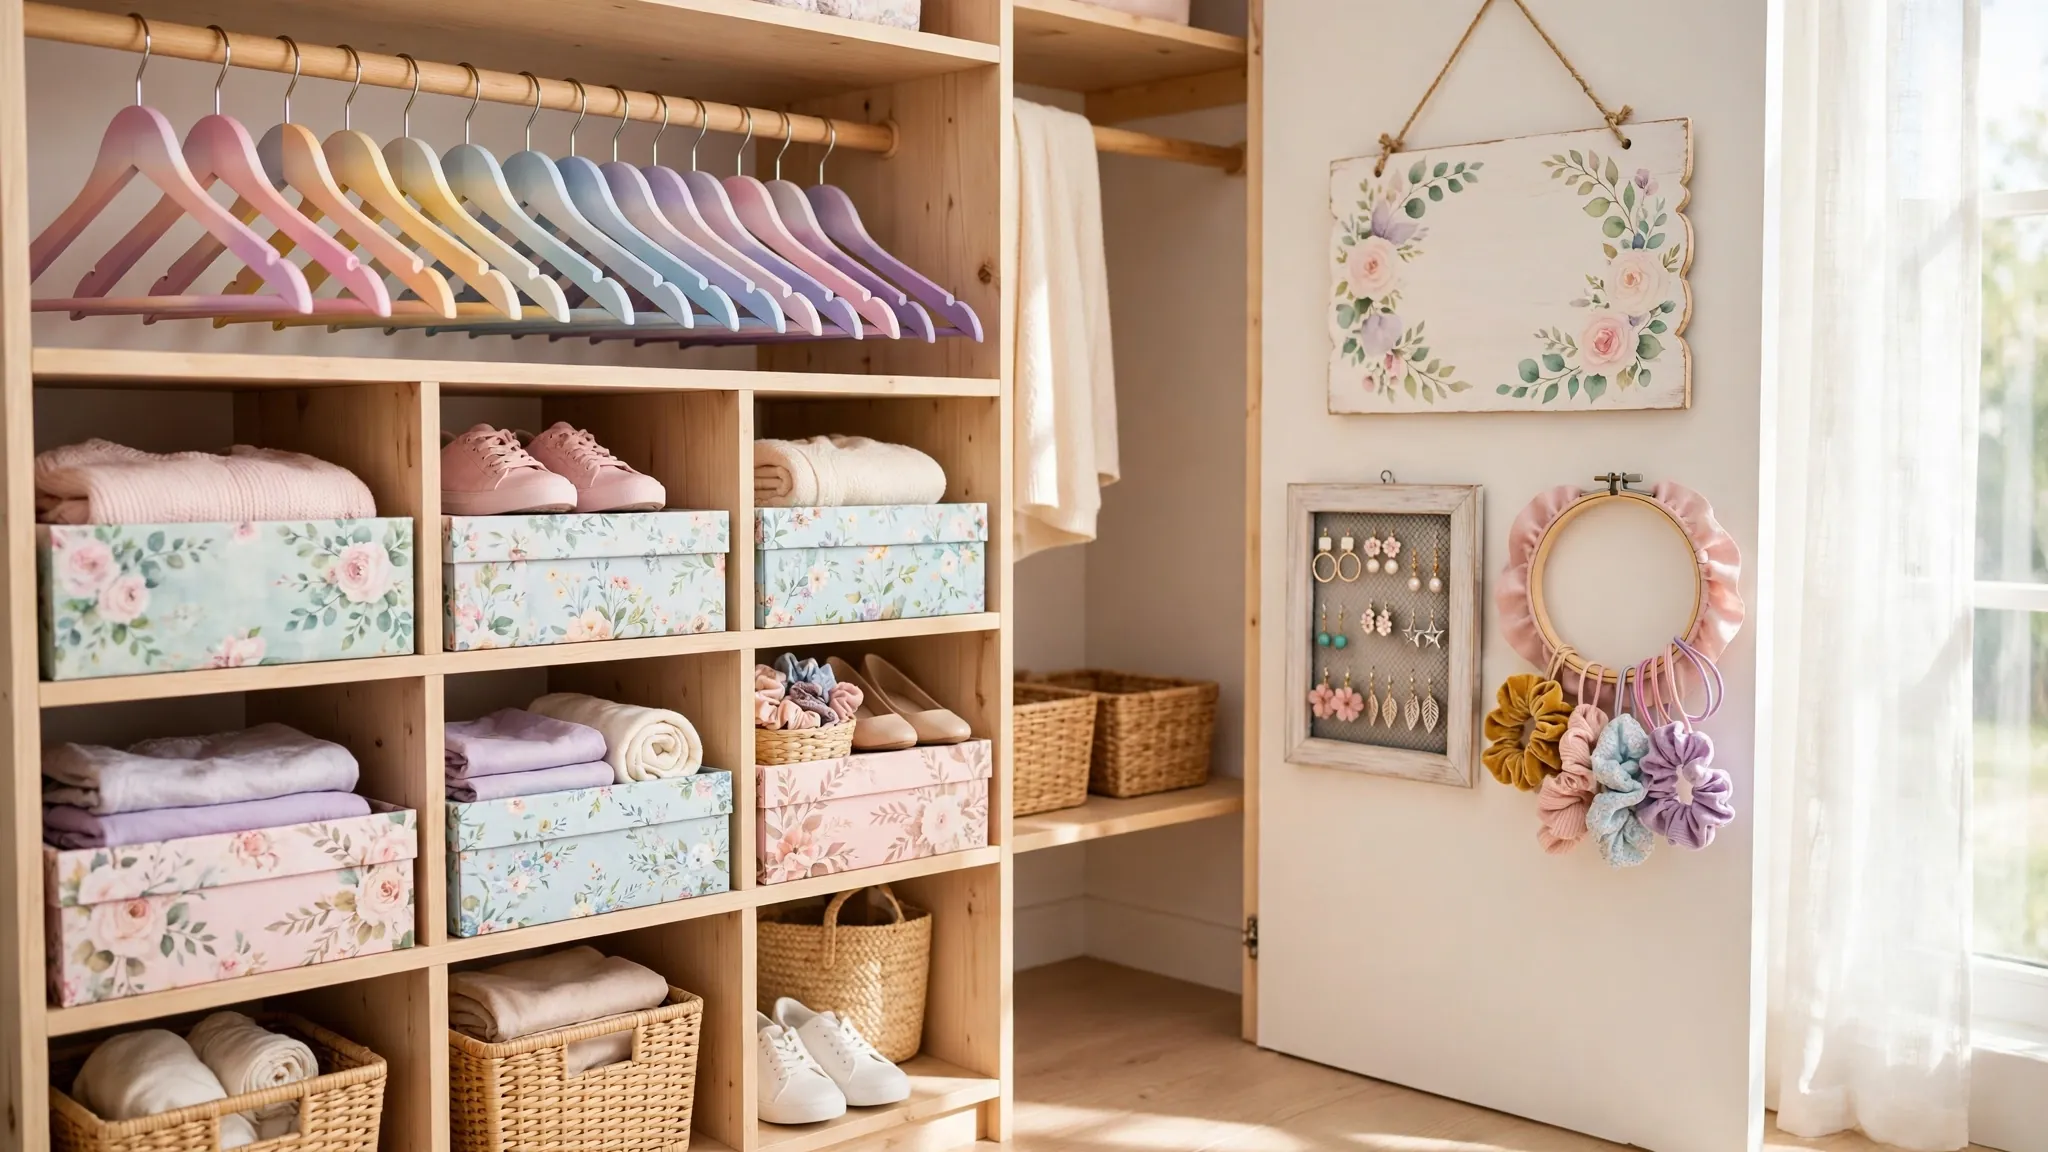
Girl Closet Ideas DIY: 19 Easy Projects You Can Make
You do not need to buy fancy storage to have a pretty, organized closet. With a few simple supplies and some free time, you can make storage and decor yourself. DIY projects cost less, fit your space, and let her pick the colors and style.
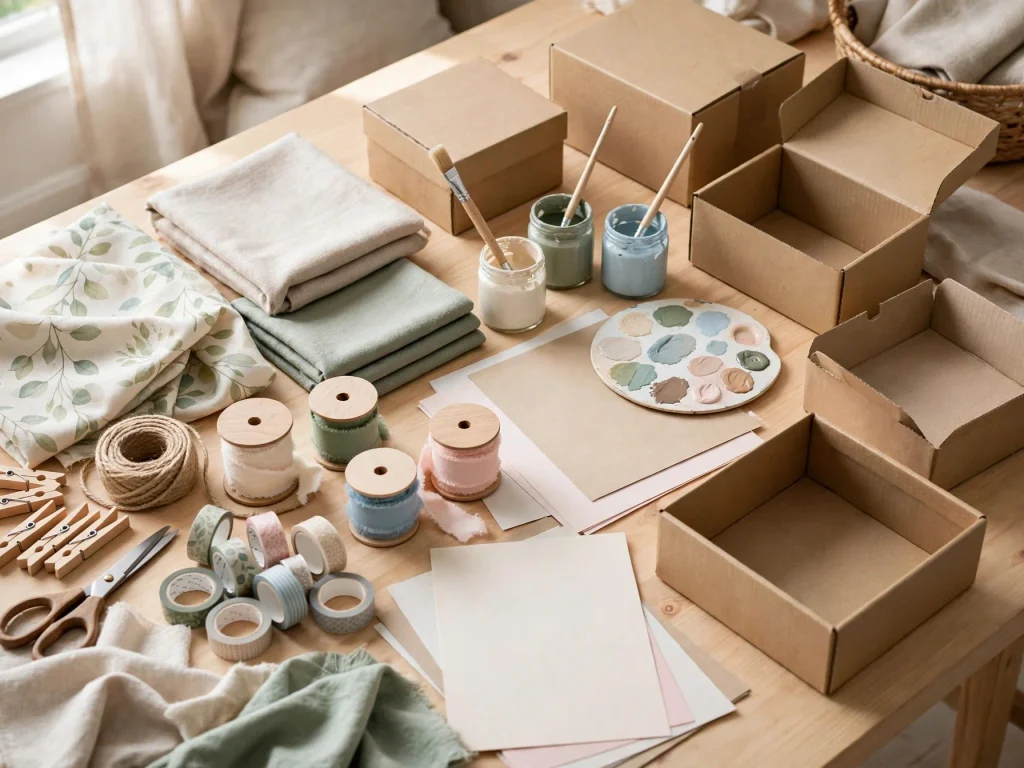
Here are 19 easy girl closet DIY projects. Each one lists what you need, the steps, and who does what, so kids can help and adults handle the tools. Pick a few and start with the easiest ones.
Before You Start
- Adult jobs: Cutting with a craft knife or saw, drilling, hot glue, spray paint, and using a stapler.
- Kid jobs: Painting with washable paint, decorating, gluing with school glue, and sorting.
- Work in a clean, open space, and cover the floor.
- Use non-toxic, washable paint and glue.
- Keep small parts, like beads and clips, away from toddlers.
- If your home was built before 1978, test old paint for lead before you sand or scrape.
1. Shoe Box Cubbies
You need: Empty shoe boxes with lids removed, wrapping paper or fabric, glue, a ruler, scissors
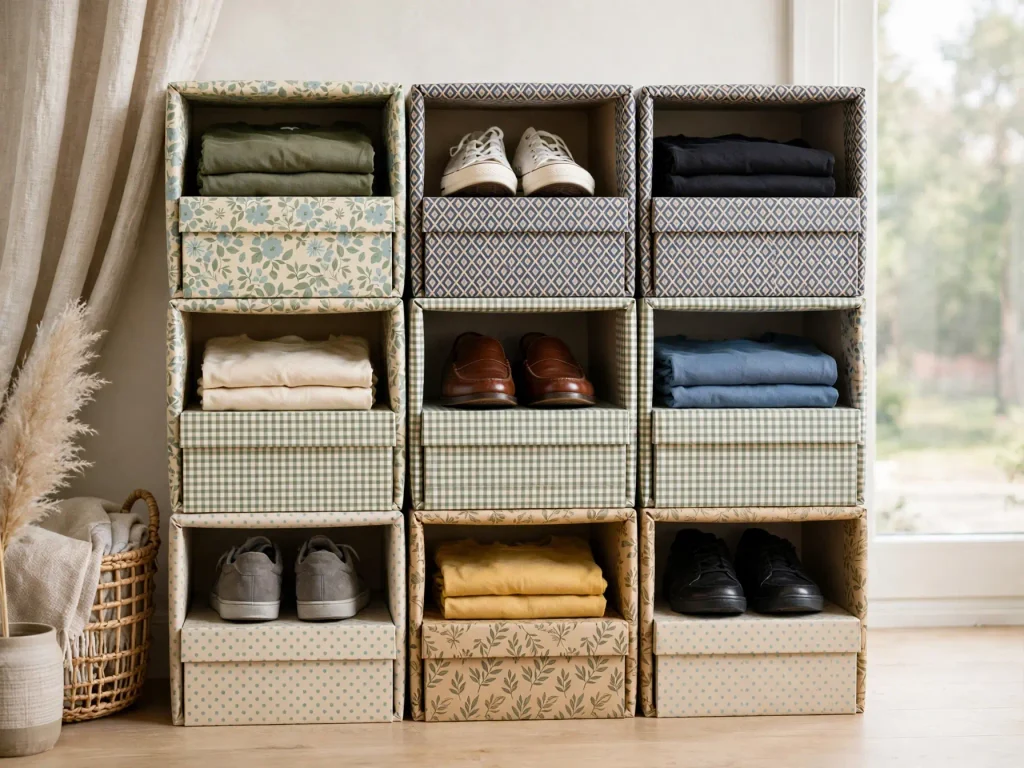
Cover the outside of each shoe box with wrapping paper and glue it down. Stack the boxes on their sides like cubbies. Use them for shoes, folded tees, or rolled leggings. Glue the boxes together where they touch, and keep the stack low, so it is stable.
2. Ombre Painted Hangers
You need: Plain wooden hangers, acrylic paint in 3 shades of one color, brushes, newspaper
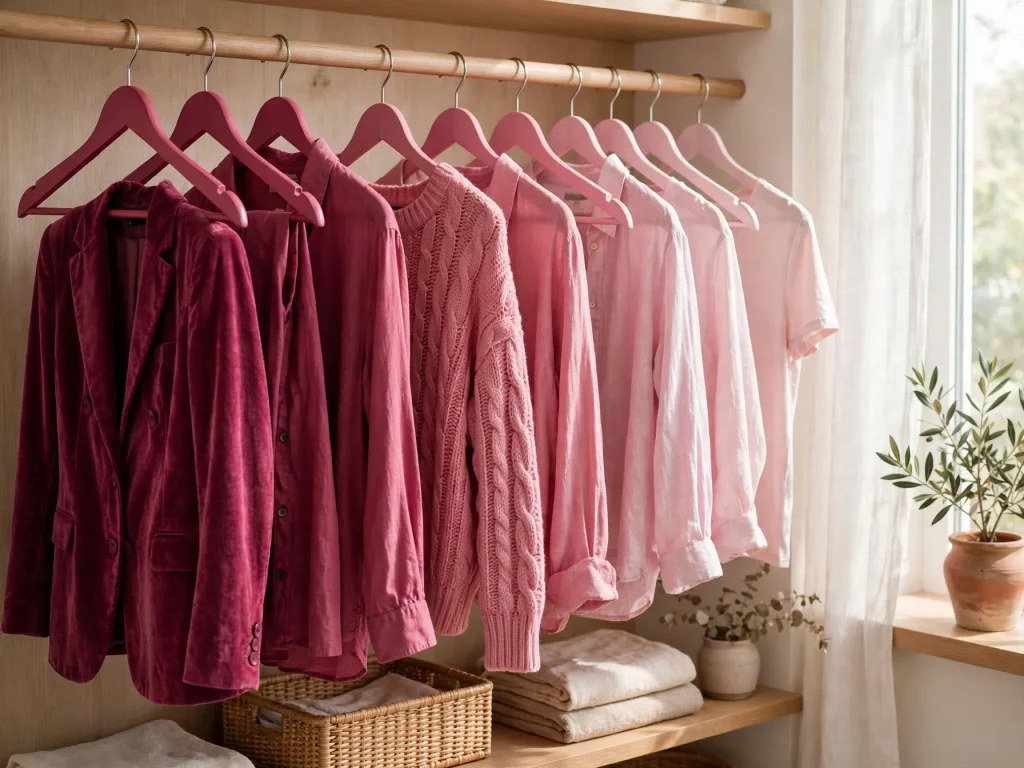
Paint each hanger in a shade of the same color, from dark to light. Let them dry for an hour, then add a second coat. Let them dry fully before hanging clothes. A rainbow of hangers looks pretty and helps her sort her outfits.
3. Picture Frame Earring Holder
You need: A picture frame (8 by 10 inches or bigger) with the glass removed, fabric or window screen mesh, a staple gun (adult use), spray paint (optional)
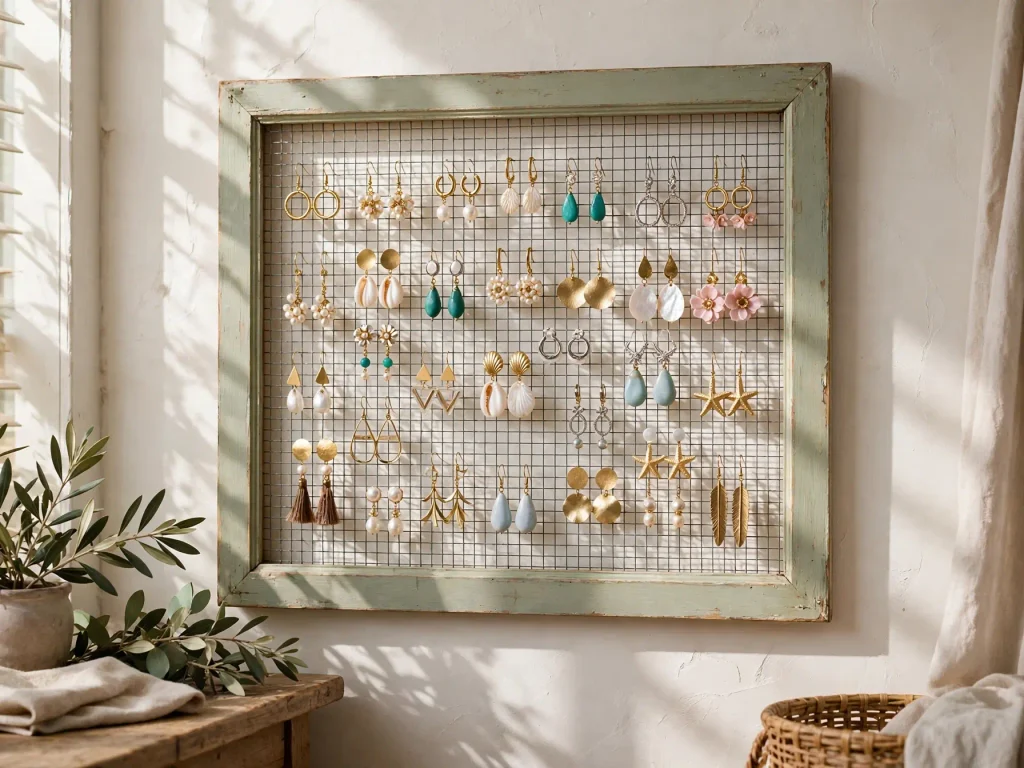
Remove the glass and the back. Paint the frame if you like and let it dry. Staple a piece of fabric or screen mesh tightly across the back. Put earrings through the screen, or hang studs through the fabric. Hang the frame on the wall. Use a flat hook so it hangs safely.
4. Embroidery Hoop Hair Tie Holder
You need: An embroidery hoop (8 inches), ribbon, fabric, hot glue (adult use)
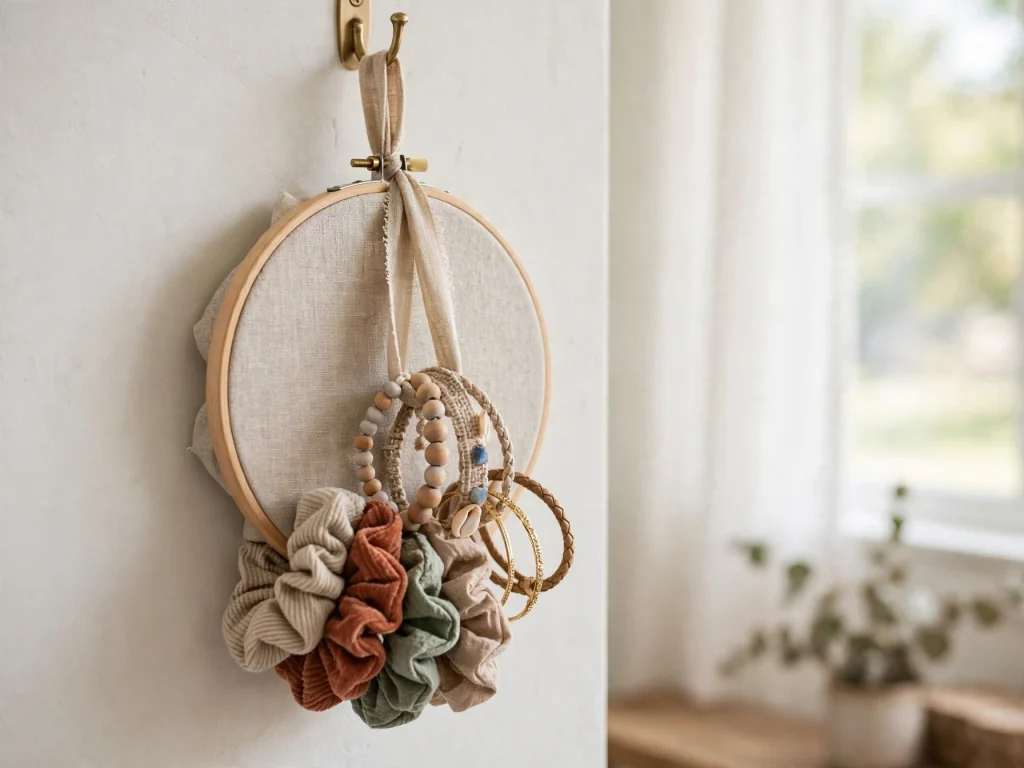
Stretch fabric inside the hoop, and tighten the screw. Trim the extra fabric. Glue a loop of ribbon on top for hanging. Slide hair ties and bracelets around the inner ring, or pin small clips to the fabric. Hang it on a hook at her height.
5. Shower Curtain Ring Scarf Holder
You need: A wood or metal hanger, 8 to 10 shower curtain rings
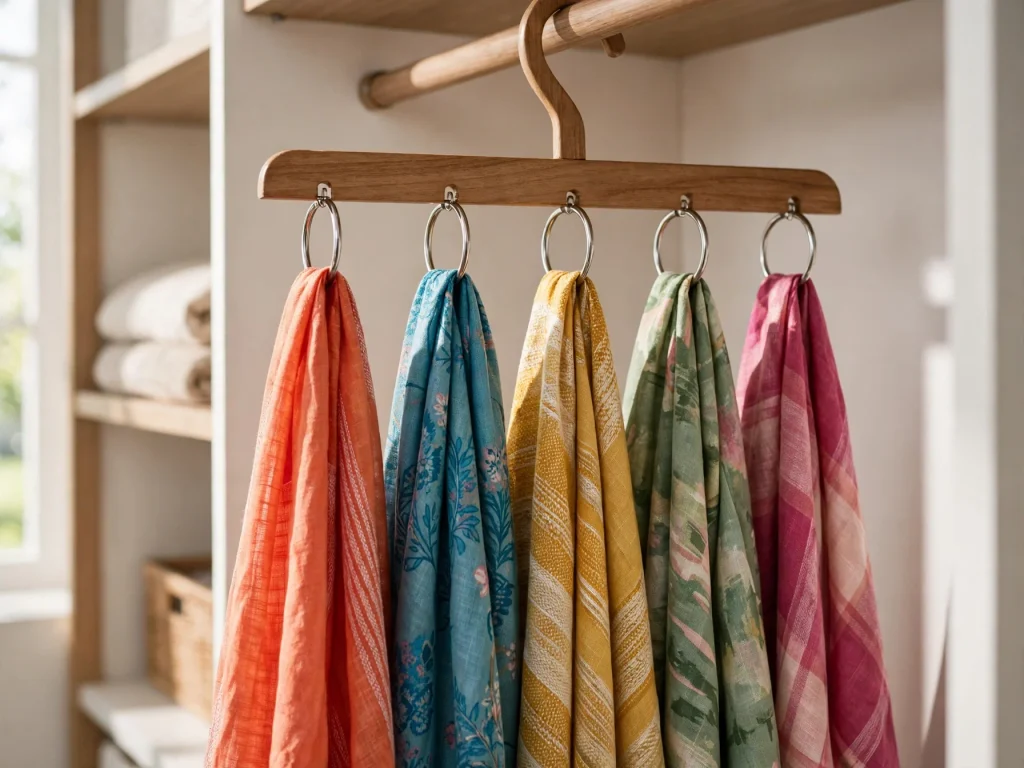
Clip the rings along the bottom bar of the hanger. Slide a scarf through each ring and let it hang. Each scarf gets its own spot, and it is easy to find a favorite. Hang the hanger on the closet rod.
6. Dowel Belt and Bag Rail
You need: A wood dowel (1 inch wide, 24 inches long), 2 wall hooks or cup hooks, a drill (adult use), sandpaper
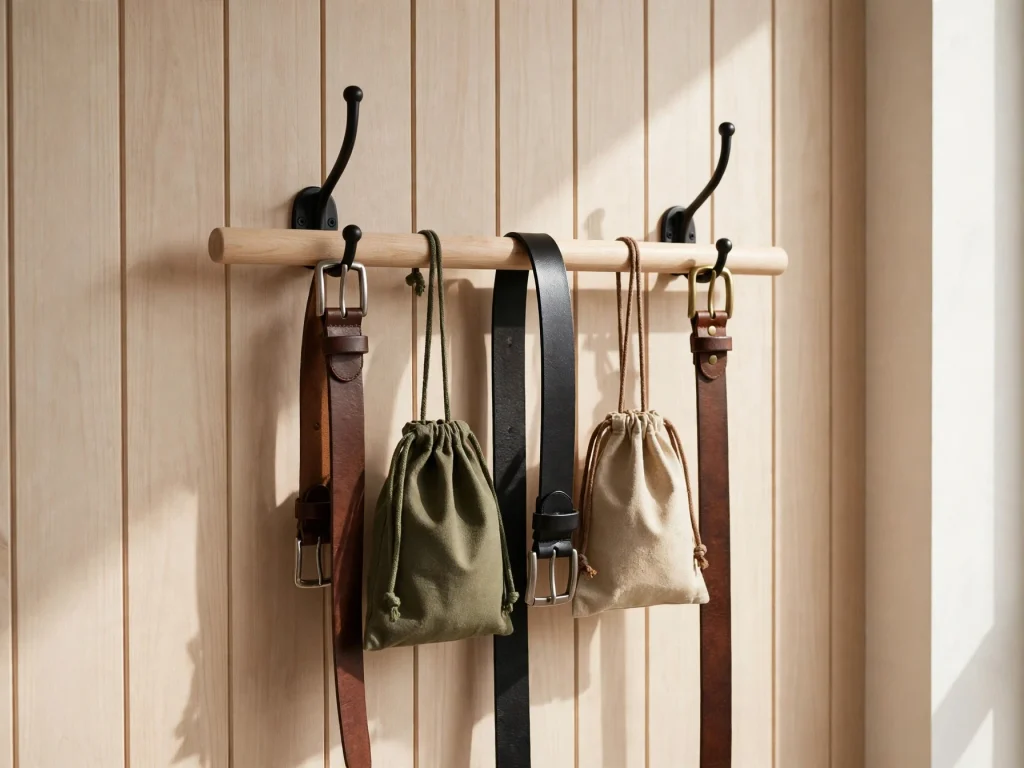
An adult sands the dowel, so it is smooth. Mount two sturdy hooks in the wall studs or use strong anchors. Rest the dowel on the hooks. Hang belts and small bags over the dowel. Check that the dowel cannot slide off.
7. Stacked Crate Shelves
You need: 4 to 6 wooden crates, sandpaper, paint or stain, wood glue, wall straps or brackets
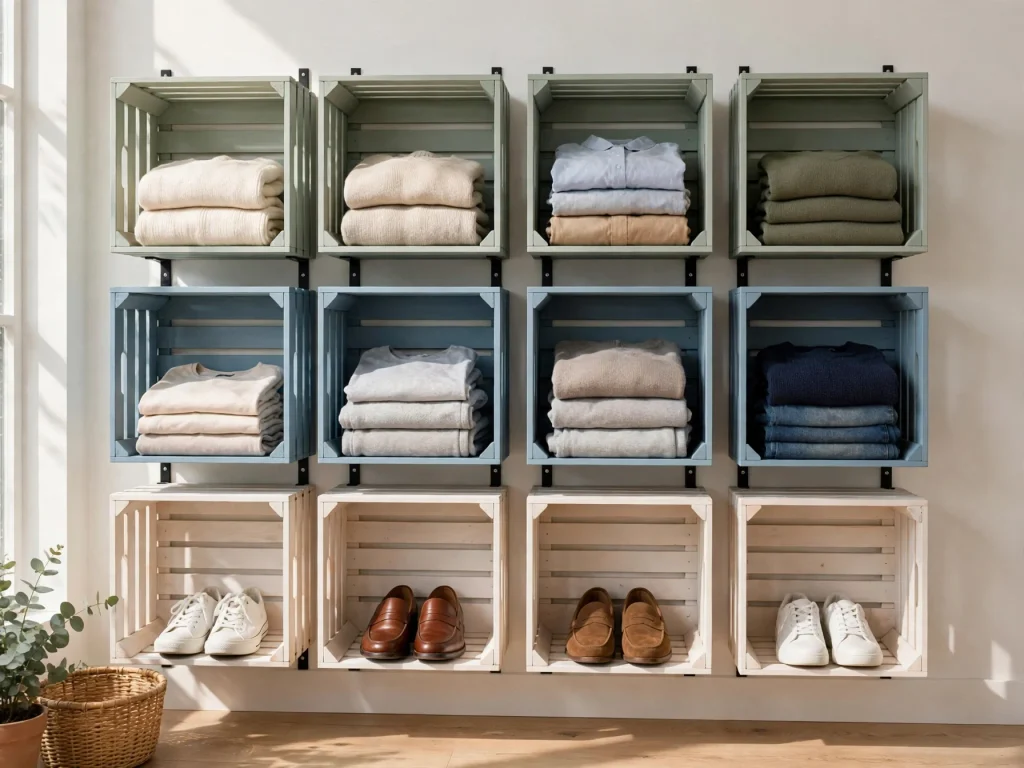
Sand the crates until smooth, with no splinters. Paint or stain them in a color she likes. Stack them in a pyramid or a grid, and glue them where they touch. Anchor the stack to the wall with straps, so it cannot tip. Use the crates for folded clothes, shoes, and bins.
8. Fabric Covered Storage Boxes
You need: Sturdy cardboard boxes with lids, fabric, glue or double sided tape, scissors
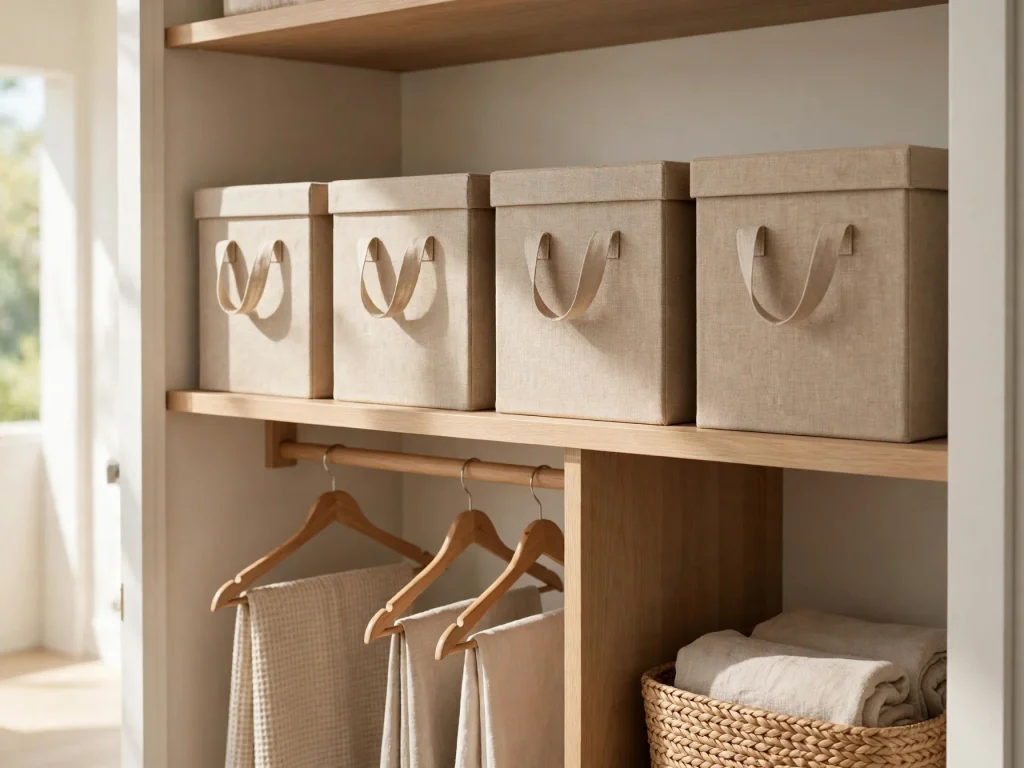
Cut the fabric to fit around the box with a little extra on the edges. Glue it on the sides and fold the edges inside. Cover the lid the same way. Add a ribbon handle. Use them for out-of-season clothes, craft supplies, or accessories.
9. Painted Peg Board Bag Rack
You need: A wood board (about 24 by 6 inches), wooden pegs or dowels cut to 4 inches, paint, a drill (adult use), wood glue, wall hooks or picture hanging hardware
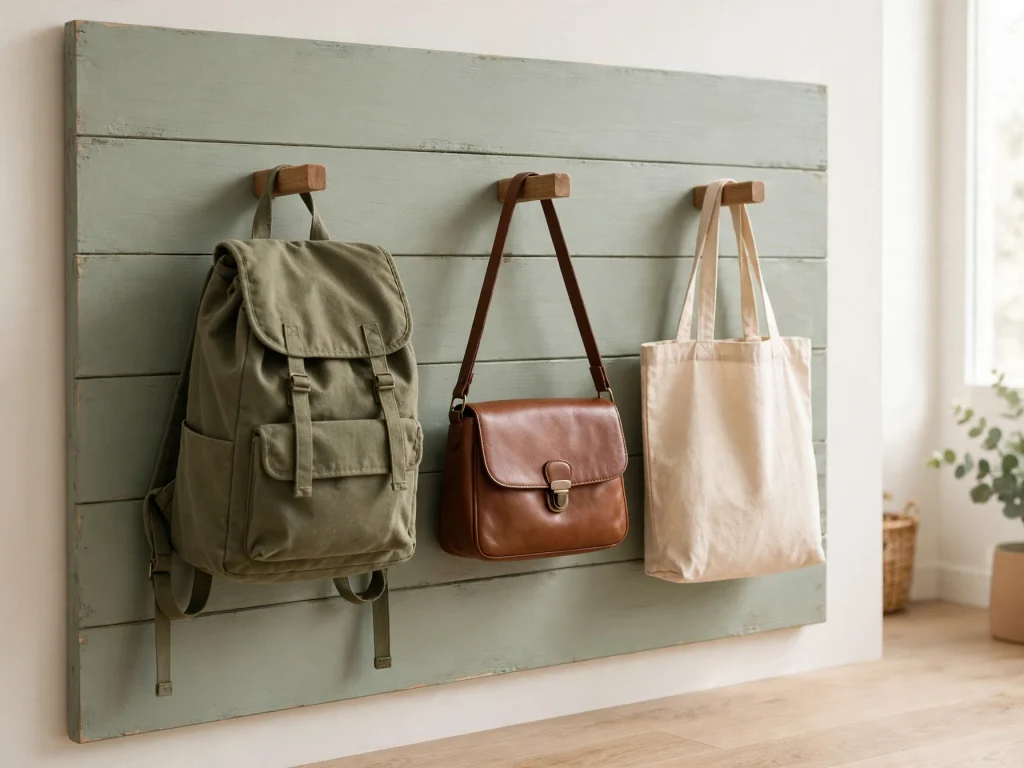
An adult drills holes in the board, spaced about 5 inches apart, at a slight upward angle. Glue the pegs into the holes and let them dry. Paint the board and the pegs. Mount the board into wall studs. Hang backpacks, purses, and tote bags.
10. Headband Tower From a Cardboard Tube
You need: A cardboard tube from wrapping paper or paper towels, fabric or wrapping paper, glue, a small paper plate or a round cardboard base

Cut the tube to about 12 inches. Cover it with fabric or paper. Glue the tube upright on a cardboard circle base, and let it dry. Slide headbands over the tube. It stands on a shelf and keeps headbands from tangling.
11. Outfit Planner Board
You need: A piece of wood or a flat piece of cardboard, chalkboard paint or magnetic paint, a chalk marker, small hooks (optional)
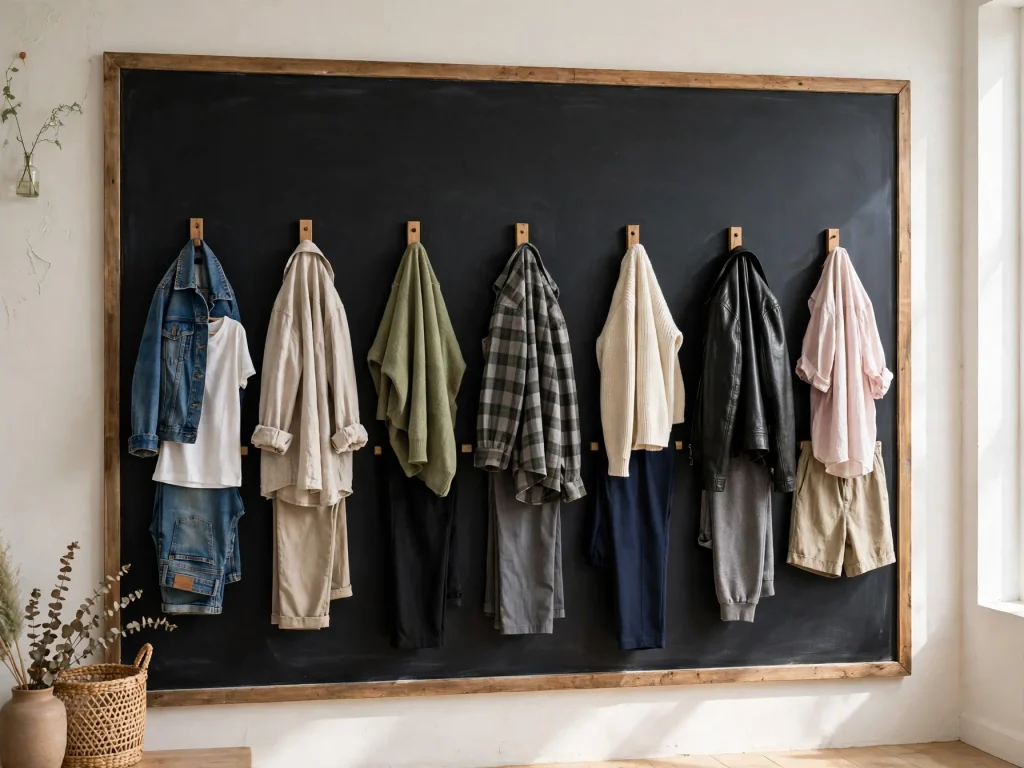
Paint the board with chalkboard paint, and let it dry fully. Write the days of the week on it. She plans her outfits for the school week and hangs the clothes on the hooks. It saves time and helps her choose in advance. Paint outside or in a place with fresh air.
12. Contact Paper Shelf Liners
You need: Self-adhesive contact paper in a pretty pattern, a ruler, scissors
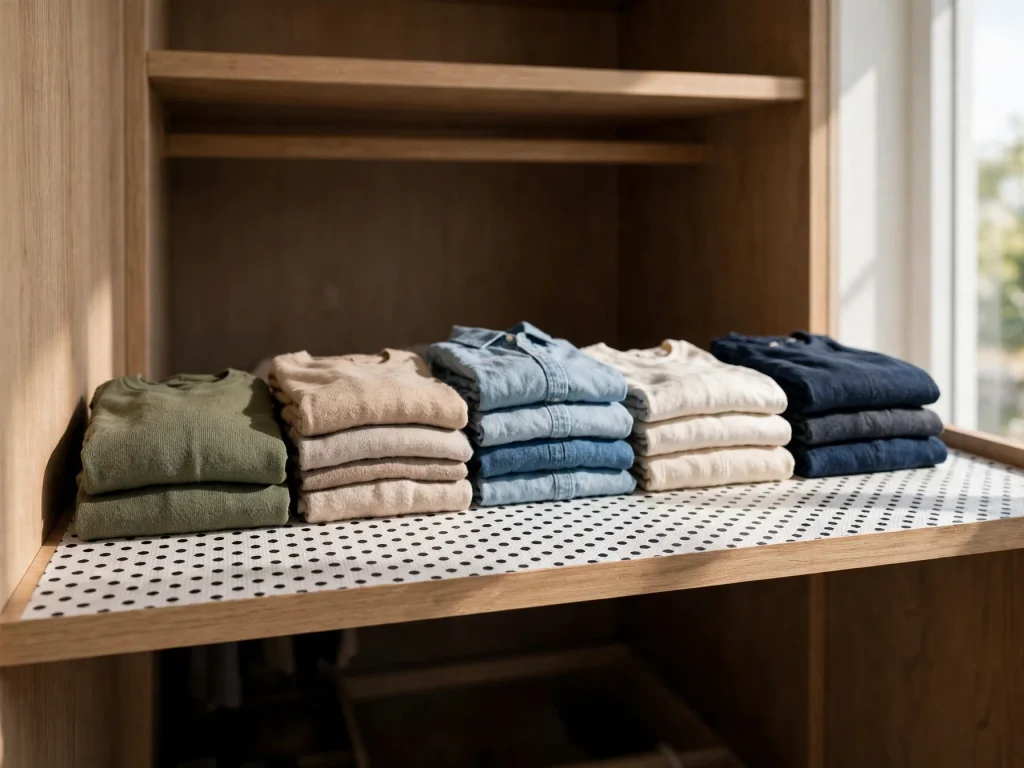
Measure the shelf and cut the paper to size. Peel and stick it smoothly, pressing out the bubbles. Choose a pattern like stripes or polka dots. It protects the shelf, looks cute, and is easy to wipe clean.
13. No-Sew T-Shirt Basket
You need: An old stretchy T-shirt, scissors, a small bowl or a round base for shape
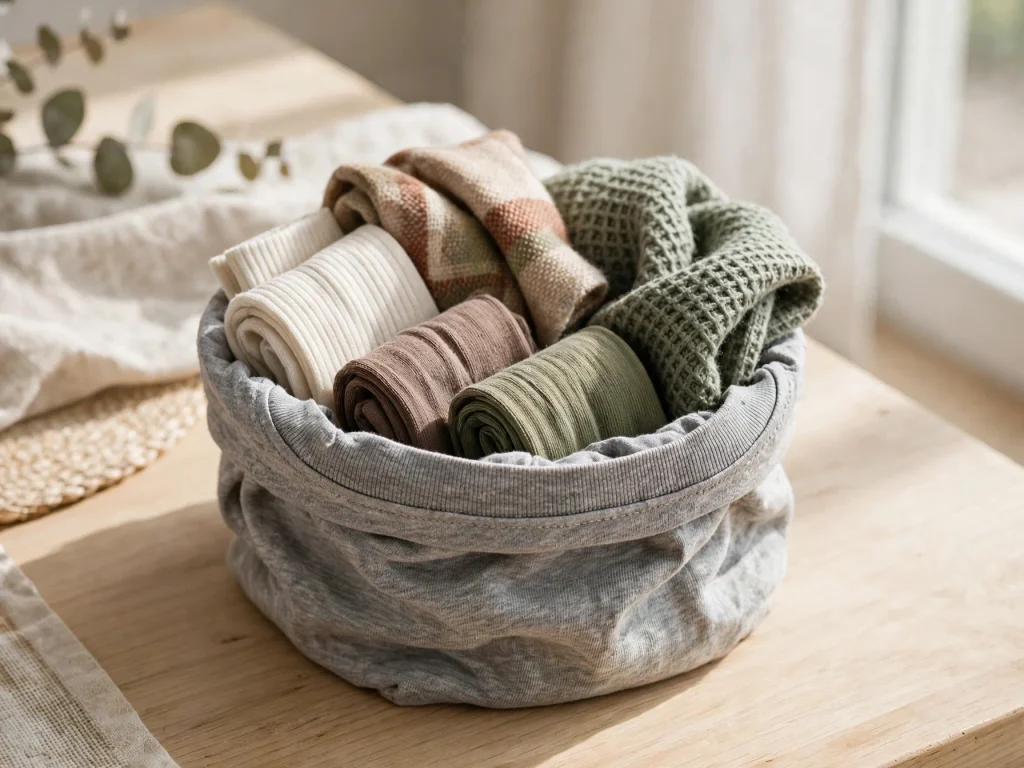
Cut off the sleeves and the neck. Lay it flat. Tie the bottom hem shut with a tight knot or cut small fringe and tie the strips in pairs. Turn it inside out and shape it into a basket. It is good for socks, scarves, or small toys.
14. Washi Tape and Label Bins
You need: Plain bins or baskets, washi tape, paper tags, a marker, string
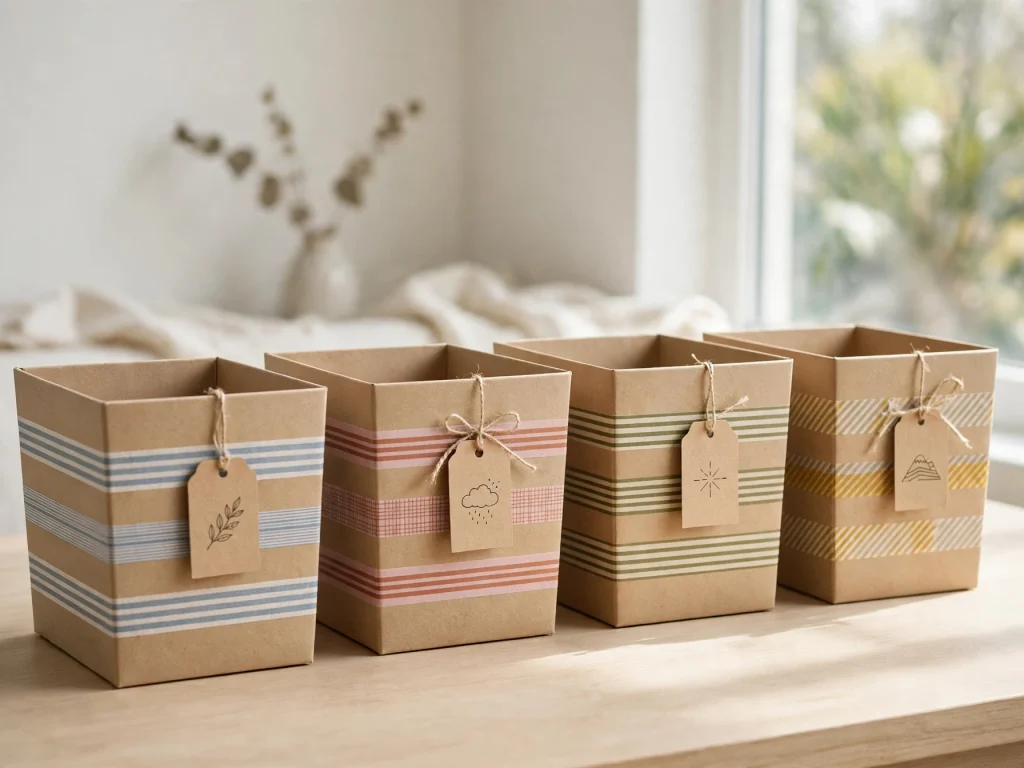
Wrap a strip of washi tape around the top of each bin. Write the word or draw a small picture on a paper tag. Tie it to the bin with string. Pictures help young kids who cannot read yet.
15. Cardboard Drawer Dividers
You need: Cereal boxes or other cardboard boxes, wrapping paper, glue, a ruler, a craft knife (adult use)
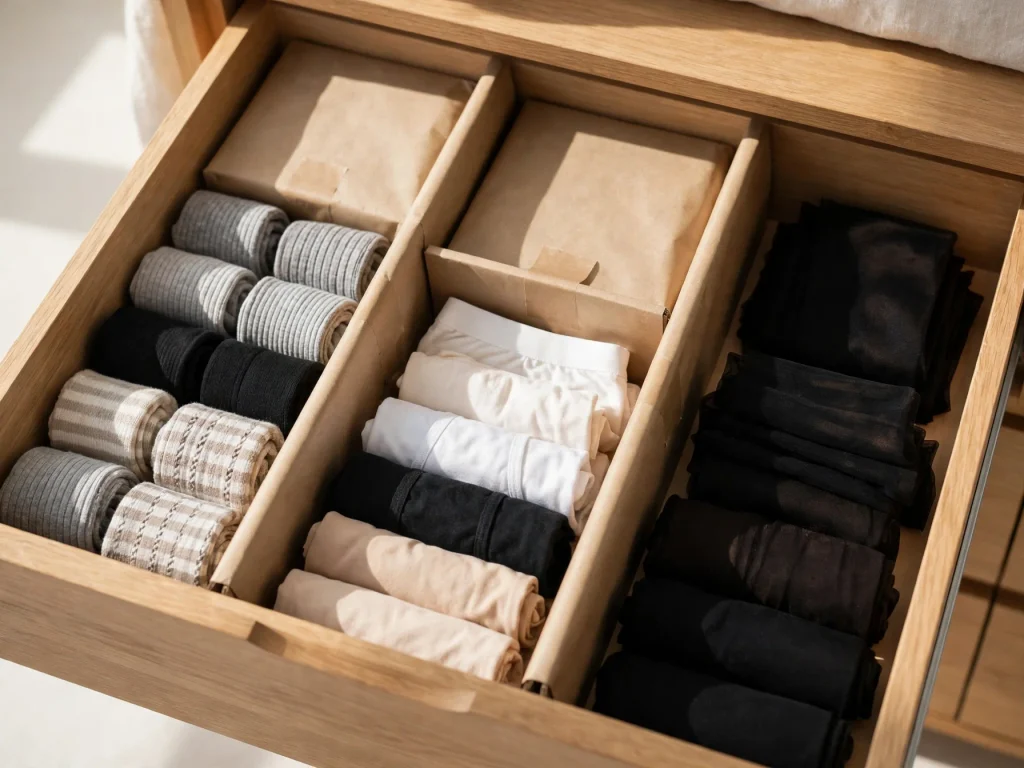
An adult cuts the boxes into strips that match the height of the drawer. Cover them with paper. Slide them into the drawer to make zones for socks, underwear, and tights. Cut them to fit snug.
16. Donation Box With a Painted Label
You need: A sturdy cardboard box or a basket, paint, a brush, a marker
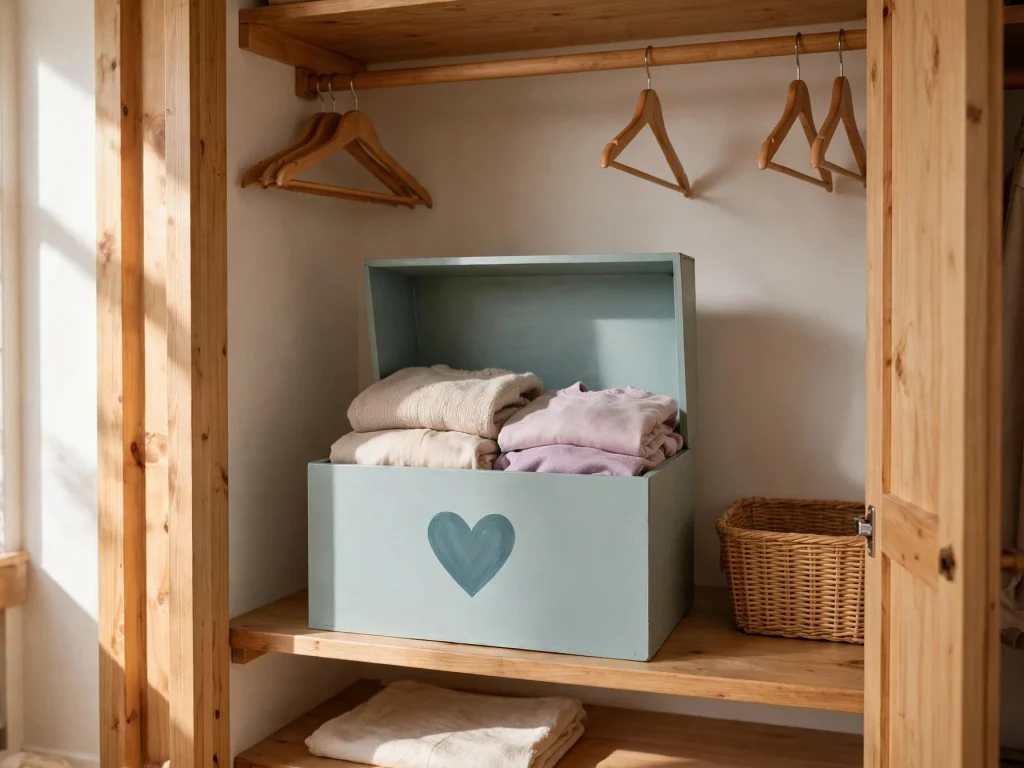
Paint the box in a color she loves. Add a label, like Share the Love. Keep it in the closet. When she outgrows a piece, she puts it in the box. When it is full, you can donate it. It teaches giving and keeps the closet neat.
17. Closet Door Fabric Panel
You need: A piece of fabric, a staple gun (adult use) or strong double sided tape, scissors
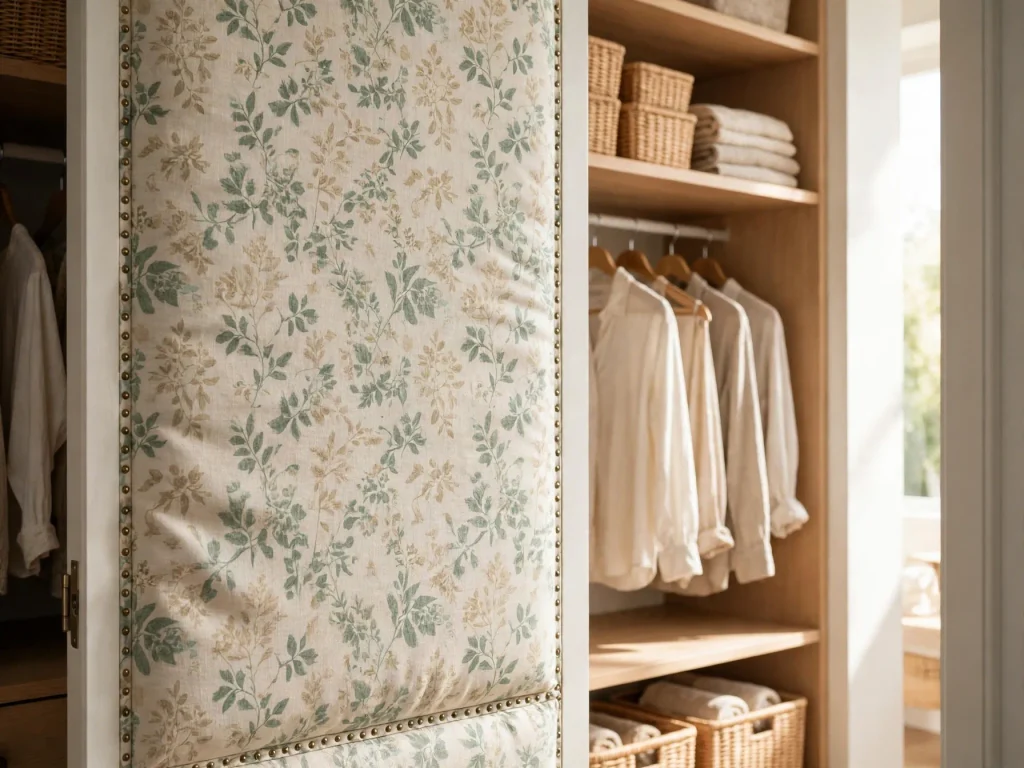
Measure the inside of the closet door. Cut the fabric a little bigger. An adult staples the fabric around the edges with the staples set flat, and trims the extra. It adds a soft, pretty touch. Do not use staples on a door where small hands can touch them. Choose tape for young children.
18. Paper Flower Wall
You need: Colored card stock or tissue paper, scissors, glue dots, a ruler

Cut paper into flower shapes and layer them. Glue the layers together, and attach a small piece of tape on the back. Stick the flowers to the closet wall in a cluster. It makes a cheerful accent wall and is easy to take down.
19. Painted Name Sign
You need: A small wood plaque, wooden letters, paint, brushes, glue, ribbon
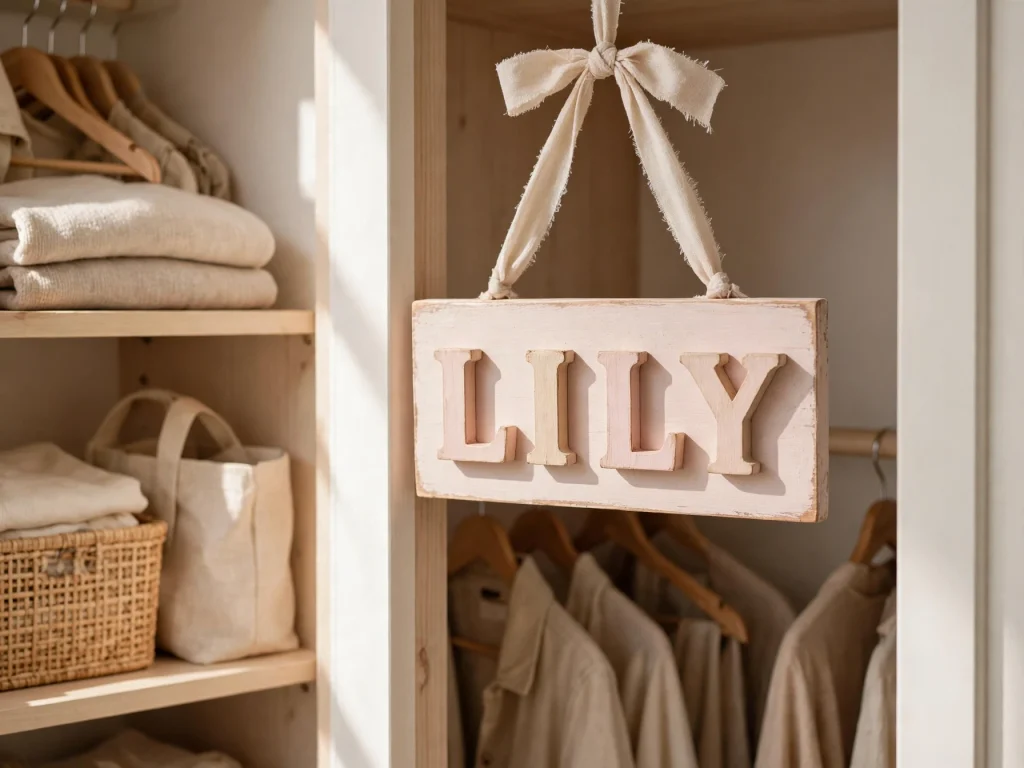
Paint the plaque in her favorite color. Paint the letters in a second color. Glue the letters to spell her name. Add a ribbon for hanging. It makes the closet feel like her own.
DIY Girl Closet Ideas: Cost and Time Chart
- Under 15 minutes, almost free: Shower curtain ring holder, washi tape labels, contact paper shelf liners.
- 30 to 60 minutes, low cost: Shoe box cubbies, ombre hangers, headband tower, fabric covered boxes, T-shirt basket, and the donation box.
- 1 to 2 hours, low to medium cost: Picture frame earring holder, embroidery hoop holder, outfit planner board, drawer dividers, name sign, and paper flower wall.
- Weekend projects, medium cost: Stacked crate shelves, peg board rack, dowel rail, and the door fabric panel.
Who Does What
- Ages 3 to 5: Paint with washable paint, decorate with stickers, help sort, and place paper flowers.
- Ages 6 to 9: Cover boxes with paper, tie labels, make the headband tower, and paint the hangers.
- Ages 10 and up: Cut with scissors, make the earring holder, plan the outfit board, and make the T-shirt basket.
- Adults: Use the saw, craft knife, drill, staple gun, hot glue, and spray paint, and install anything on the wall.
Girl Closet DIY Color Palettes
- Blush, white, and gold: Sweet and glam.
- Lavender and gray: Calm and soft.
- Sage, cream, and wood: Fresh and natural.
- Sky blue and white: Clean and bright.
- Bright rainbow: Fun and playful for a younger girl.
Pick 3 colors and repeat them in the hangers, the boxes, and the labels.
Supply Shopping List for Most Projects
- Acrylic paint and brushes
- Washable school glue and a hot glue gun (adult use)
- Fabric scraps and ribbon
- Wrapping paper or contact paper
- Cardboard boxes and tubes
- Wooden dowels, pegs, and a plain wood board
- Washi tape, labels, and markers
- Sandpaper and wall hooks
How to Plan Your Closet DIY in 5 Steps
- Empty and clean the closet, and sort the clothes into keep, donate, and too small.
- Make a list of what she needs: more hanging, shoe storage, accessory storage, or labels.
- Choose 3 or 4 projects that match the list.
- Gather the supplies and set a time, like one Saturday.
- Make the projects, set up the closet, and let her help with the final touches.
Safety Notes
- Anchor tall shelves, crate stacks, and heavy mirrors to the wall, so they cannot tip.
- Sand all wood until smooth. Remove nails, staples, and sharp edges.
- Use paint, stain, and spray paint outside or in a very open space. Let them dry fully before use.
- Test old paint for lead before you sand it.
- Keep hot glue guns, craft knives, and drills for adults only.
- Keep cords and ribbons away from young children, so they cannot get tangled.
- Keep small items, like beads, clips, and pegs, away from toddlers.
- Do not overload shelves, rods, or hooks.
- Use LED or battery lights, and do not leave cords where children can pull them.
Common Mistakes to Avoid
- Starting too many projects at once.
- Using paint that is not dry before you stack items.
- Making things too heavy for the wall or the shelf.
- Skipping the anchors on tall pieces.
- Making things too high for a child to reach.
- Not letting her help choose the colors.
Frequently Asked Questions
What is the easiest DIY for a girl’s closet?
Shower curtain ring scarf holders, washi tape labels, and contact paper liners. Each takes a few minutes.
How much does a DIY closet cost?
Many projects cost very little. Boxes, tubes, and fabric scraps are often free.
Can kids help with these projects?
Yes. Kids can paint, decorate, and sort. Adults handle the tools.
How do I make a closet look pretty without painting?
Use contact paper, fabric, washi tape, and matching hangers.
What if my closet is very small?
Use over the door and wall projects, like the peg board, the frame holder, and the hoop holder.
Final Thoughts
DIY girl closet ideas are budget friendly, fun, and make the closet truly hers. Pick a few easy projects, let her help, and keep safety first. Save this post and pin your favorite girl closet DIY ideas so you can find them later.
Image note: The pictures in this post were created with AI as inspiration, so your own projects may look a little different.