Hanukkah Menorah Crafts for Preschool: 12 Easy Ideas for Little Hands
The menorah is a special symbol of Hanukkah. It has nine branches. Eight are for the eight nights, and one is the helper candle, called the shamash. Some people call it a hanukkiah.
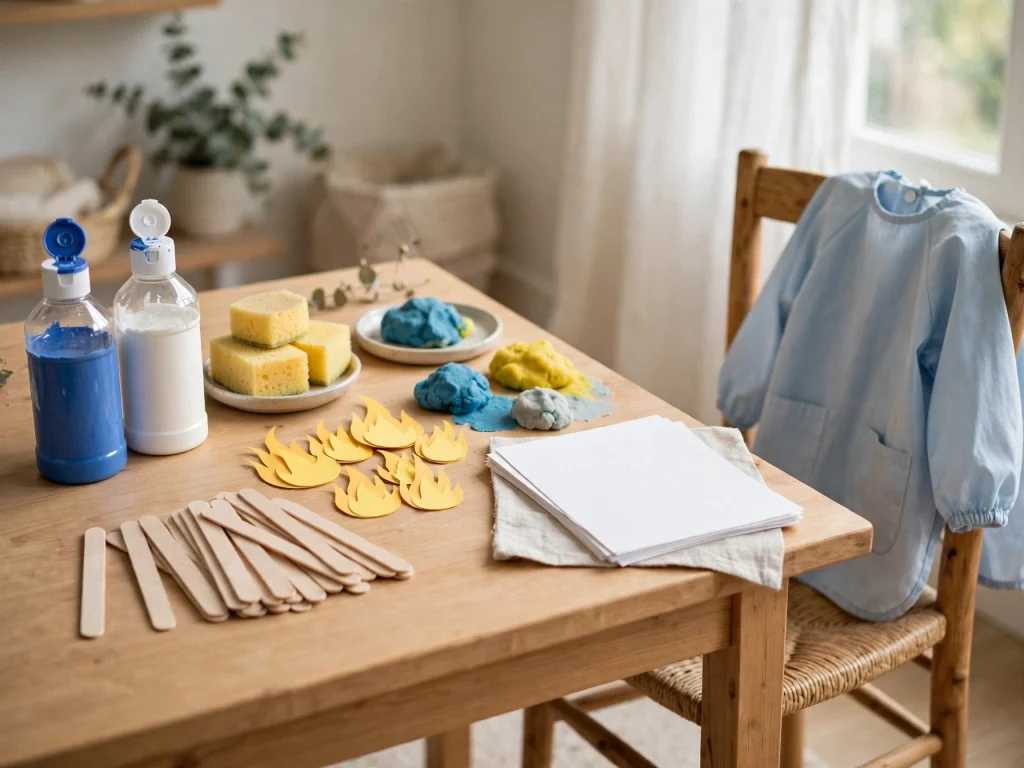
Preschoolers can make their own menorahs with paint, paper, and playdough. These crafts are for display only. They are also a fun way to practice counting to eight and nine. An adult does the cutting and the hard parts. Pick a few and enjoy crafting together!
Menorah Basics for Preschoolers
Keep the talk short and simple while you craft.
- The menorah has nine branches.
- Eight branches are for the eight nights.
- The ninth branch holds the helper candle, the shamash. It sits higher, lower, or apart from the rest.
- Families add one more light each night.
- Blue, white, silver, and gold are popular colors.
Counting game: Count the branches out loud as you craft. Say “one, two, three” up to nine.
Supplies and Age Guide
Keep these basics on hand:
- White paper and cardstock
- Washable paint in blue, white, silver, and gold
- Brushes, sponges, and cotton swabs
- Crayons, markers, and glue sticks
- White school glue
- Kid-safe scissors (adult use for cutting)
- Craft sticks and cardboard
- Playdough
- Yellow paper or foam for flames
- Wet wipes, newspaper, and a smock
Age guide:
- Ages 3 to 4: painting, stamping, tearing, and gluing. An adult helps with every step.
- Age 5: simple cutting practice, counting, and building with a little help.
- An adult always handles scissors, hole punches, and anything sharp or hot.
- Children under 3 should skip crafts with small parts like pom-poms or beads.
Easy Paint and Print Menorah Crafts for Preschool
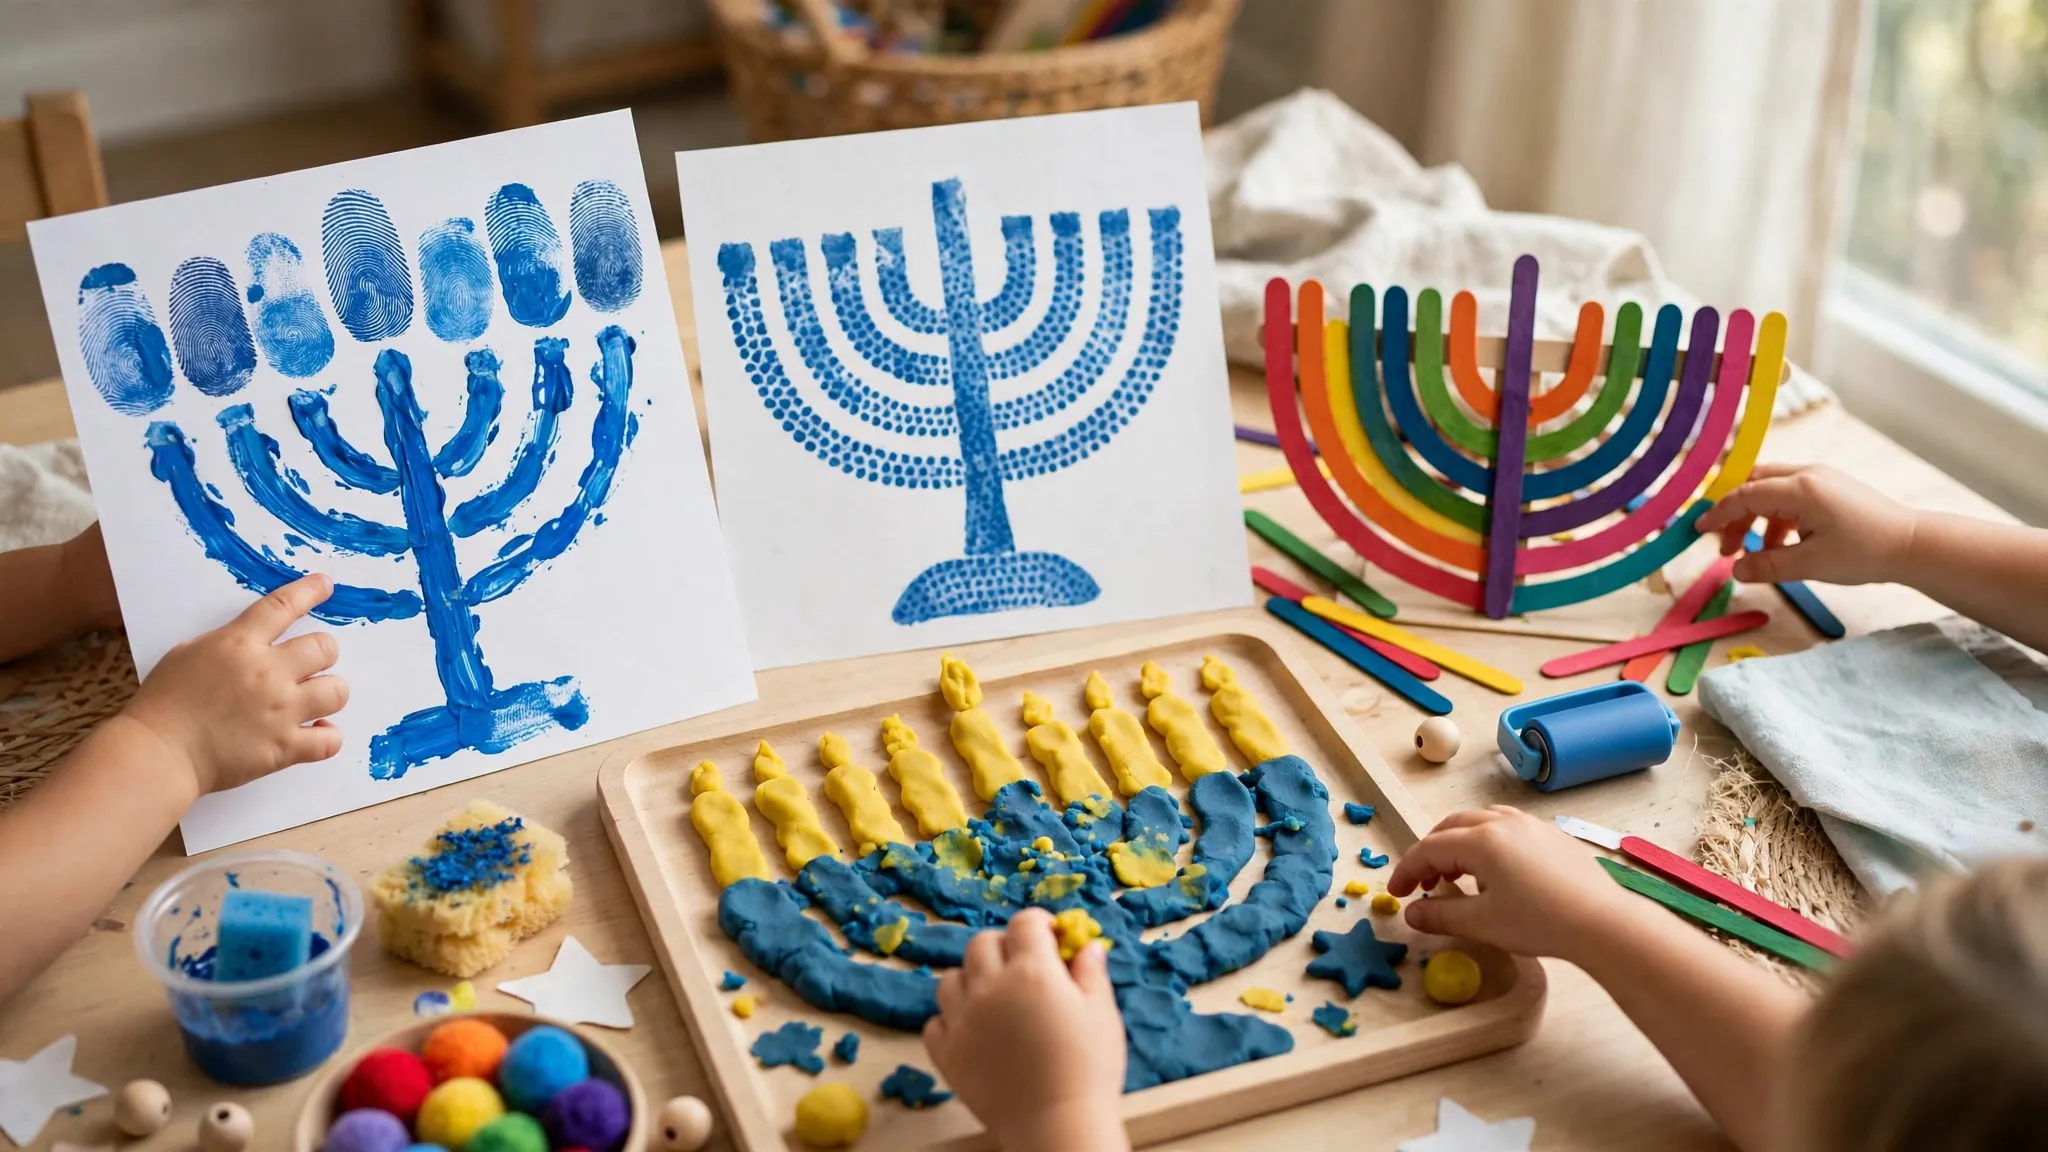
1. Finger Painted Menorah (ages 3+)
You need: blue cardstock, white and yellow washable paint, paper plate, wet wipes
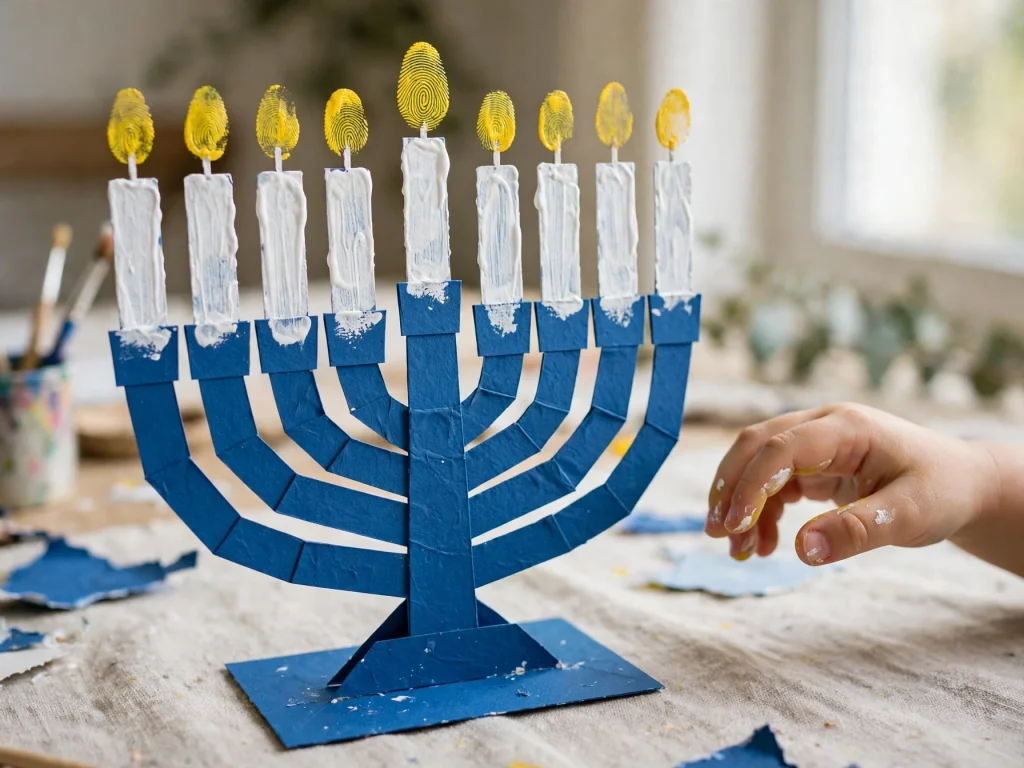
- An adult draws a long curved base and nine thin lines going up from it.
- Dip one finger in white paint. Paint a short line on each branch.
- Wipe the finger clean. Dip it in yellow paint.
- Press a yellow fingerprint on top of each line for the flame.
- Count the flames out loud. Make the middle one the tallest.
- Dry flat.
2. Sponge Print Menorah Candles (ages 3+)
You need: white paper, a kitchen sponge cut into small rectangles (adult), blue and silver paint, yellow paint, paper plate

- An adult cuts sponge pieces about 1 by 2 inches.
- Dip a sponge in blue paint.
- Print 9 rectangles in a row on the paper. Leave small gaps.
- Print the middle rectangle a little higher for the shamash.
- Dip a finger in yellow paint. Add a flame on top of each candle.
- Dry flat.
3. Crayon Resist Menorah (ages 3+)
You need: white paper, a white crayon, blue watercolor paint, a wide brush, a cup of water
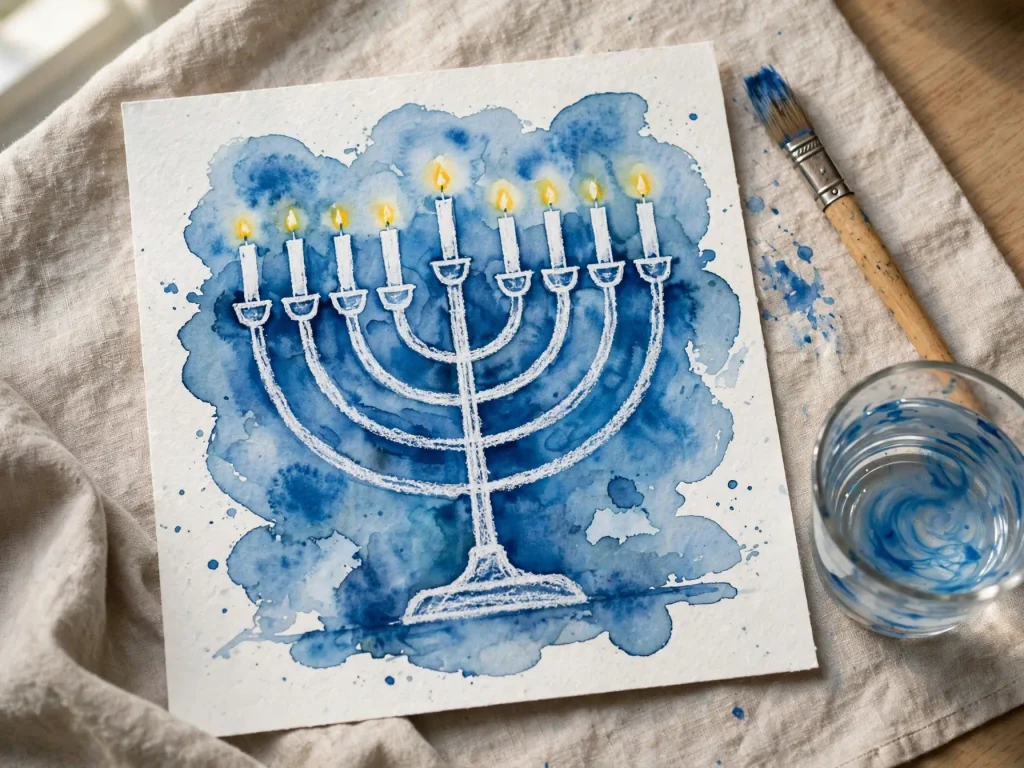
- An adult draws a menorah with nine branches using the white crayon. Press hard.
- Wet the brush and dip it in blue paint.
- Paint all over the paper.
- The white menorah shows up as the paint dries.
- Add yellow dots for flames when dry.
4. Bubble Wrap Print Menorah (ages 4+)
You need: bubble wrap, tape, a small block, white cardstock, blue paint, yellow marker
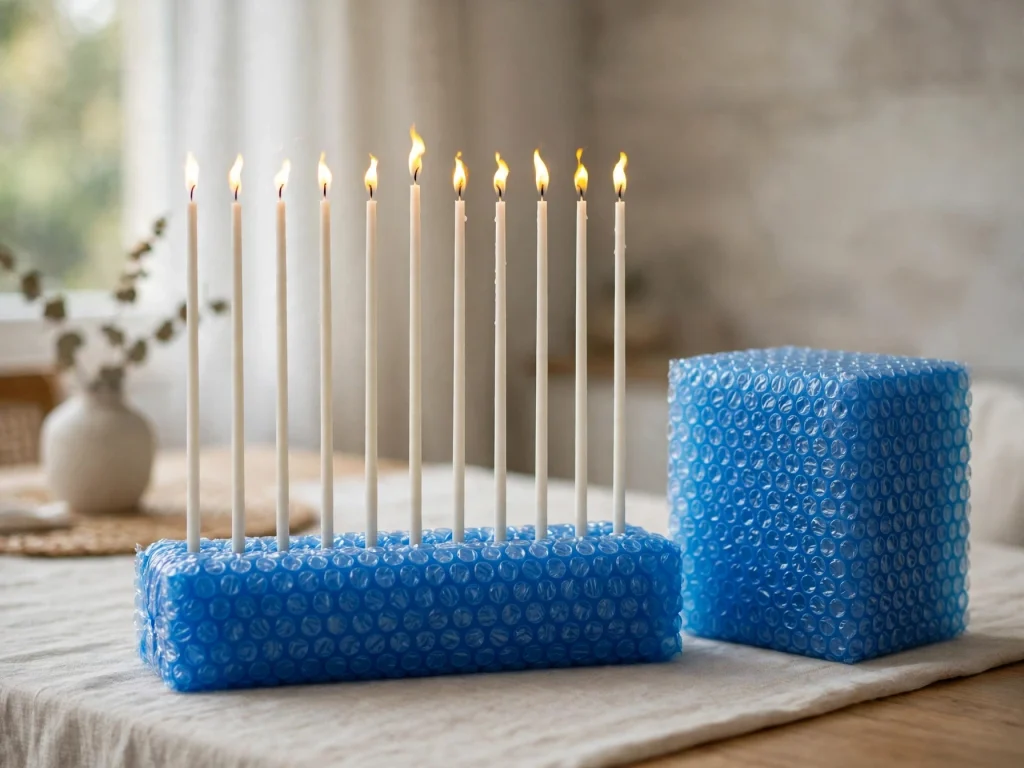
- Tape bubble wrap around a small block.
- Dip it in blue paint.
- Press it on the cardstock to make a long band for the menorah base.
- Use a cotton swab to add 9 short lines above the band.
- Draw yellow flames on top with a marker. Count them together.
Tear, Stick, and Glue Menorah Crafts
5. Torn Paper Menorah Candles (ages 3+)
You need: cardstock, a marker, blue and white construction paper, yellow paper, a glue stick

- An adult draws a menorah outline with 9 tall candle shapes on the cardstock.
- Tear blue and white paper into small pieces.
- Rub the glue stick inside each candle shape.
- Press the pieces onto the glue.
- Tear yellow paper for the flames and glue one on each candle.
- Hang it in a window.
6. Rainbow Number Menorah (ages 4+)
You need: 9 craft sticks, washable markers or paint, a cardboard base, yellow paper flames, glue
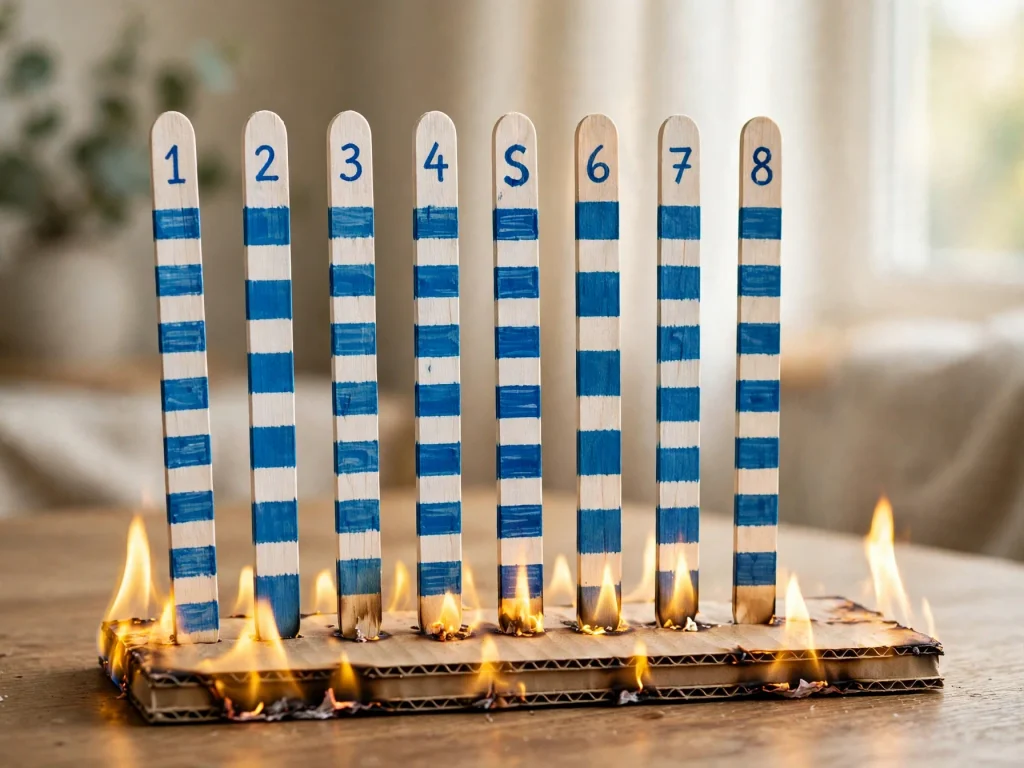
- Color the craft sticks in blue and white. Let them dry.
- Write a number from 1 to 8 on 8 sticks with a marker. An adult can help with the writing.
- Glue the sticks upright on the cardboard base in order.
- Glue the ninth stick a little higher. Write “S” on it for the shamash.
- Glue a yellow flame on top of each stick.
- Use it to practice counting each night.
7. Foam Sticker Menorah (ages 4+, adult helps)
You need: cardstock, 9 yellow foam flame stickers (or foam cut by an adult), markers, a ruler

- An adult draws a curved base with 9 lines on the cardstock.
- The child colors each line with a different marker.
- Press one foam flame at the top of each line.
- Count the flames together.
- Foam stickers are a choking risk. Keep them away from children under 3.
Playdough and Sensory Menorah Crafts
8. Playdough Menorah Tray (ages 3+)
You need: playdough in blue, white, and yellow, a rolling pin, a paper plate, small yellow pom-poms (ages 4+ only)
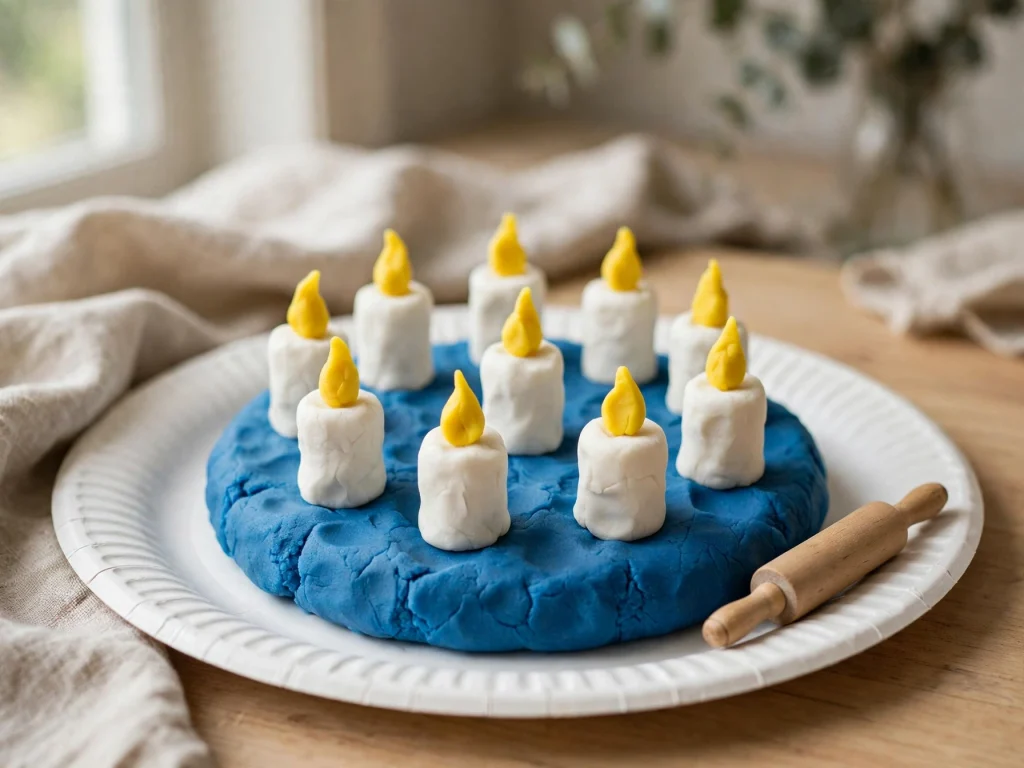
- Roll a long blue snake. Place it on the plate as the base.
- Roll 9 small white balls or short sticks. Stand them up on the snake.
- Add a small yellow flame of dough on top of each one.
- Count the candles. Make the middle one taller.
- Squish it and make it again.
Playdough is not food. It contains wheat.
9. Salt Dough Handprint Menorah (ages 4+, adult bakes)
You need: 1 cup flour, 1/2 cup salt, 1/2 cup water, rolling pin, parchment paper, baking sheet, washable paint
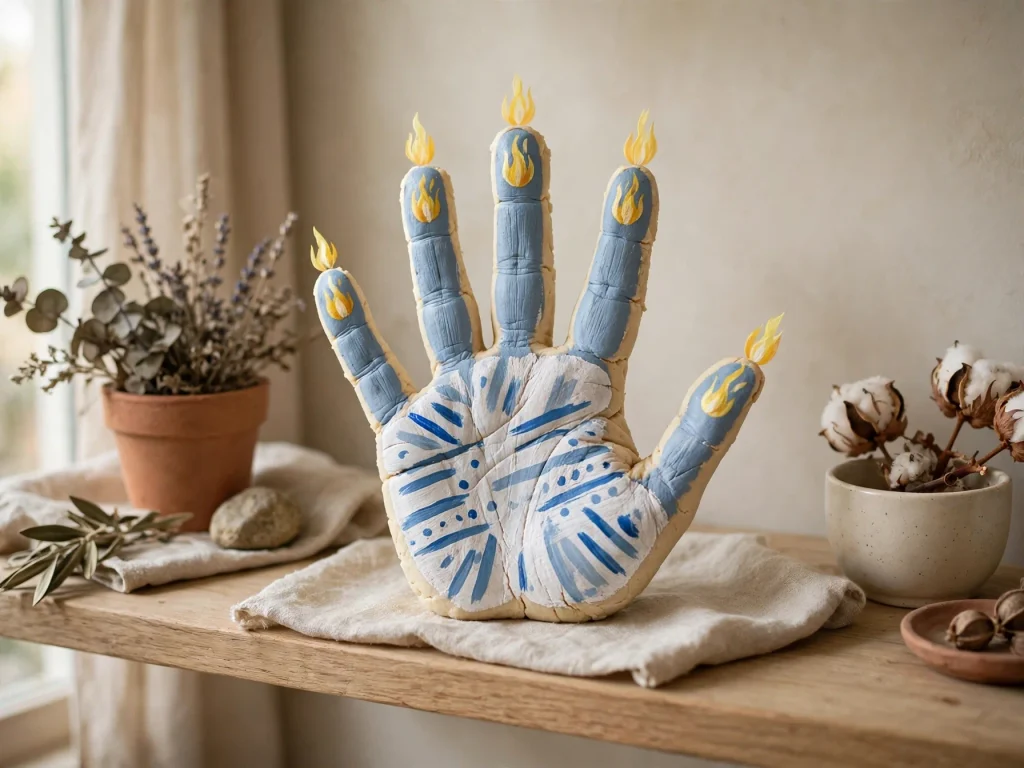
- Mix the flour, salt, and water into a smooth dough.
- Roll it flat to 1/2 inch thick.
- The child presses a hand into the dough.
- An adult bakes it at 250°F (120°C) for 2 to 3 hours until hard. Cool fully.
- Paint the fingers blue and white. Add a yellow dot on each fingertip for the flame.
- Dry before displaying.
This is a display piece. Do not eat the dough. It contains wheat flour.
10. Kinetic Sand Menorah Tray (ages 3+)
You need: kinetic sand or play sand in a tray, 9 craft sticks or plastic candles, a small bowl

- Smooth the sand in the tray.
- Press 8 craft sticks into the sand in a row.
- Press the ninth stick in a little apart for the shamash.
- Count them together. Add a yellow paper flame to the top of each stick.
- This is for play only. Never use real candles in sand with children.
Menorah Crafts to Wear and Give
11. Thumbprint Menorah Card (ages 3+)
You need: folded cardstock, a washable blue ink pad or paint, a yellow marker, wet wipes

- An adult draws a long curved base on the front of the card.
- Press a thumb on the blue ink pad.
- Make 9 thumbprints in a row above the base. These are the candles.
- Draw a yellow flame on top of each one with a marker.
- Write “Happy Hanukkah” inside. An adult can write for little ones.
- Give it to a grandparent or friend.
12. Paper Bag Menorah Puppet (ages 4+)
You need: a small paper bag, blue and white paper, yellow paper, glue stick, markers
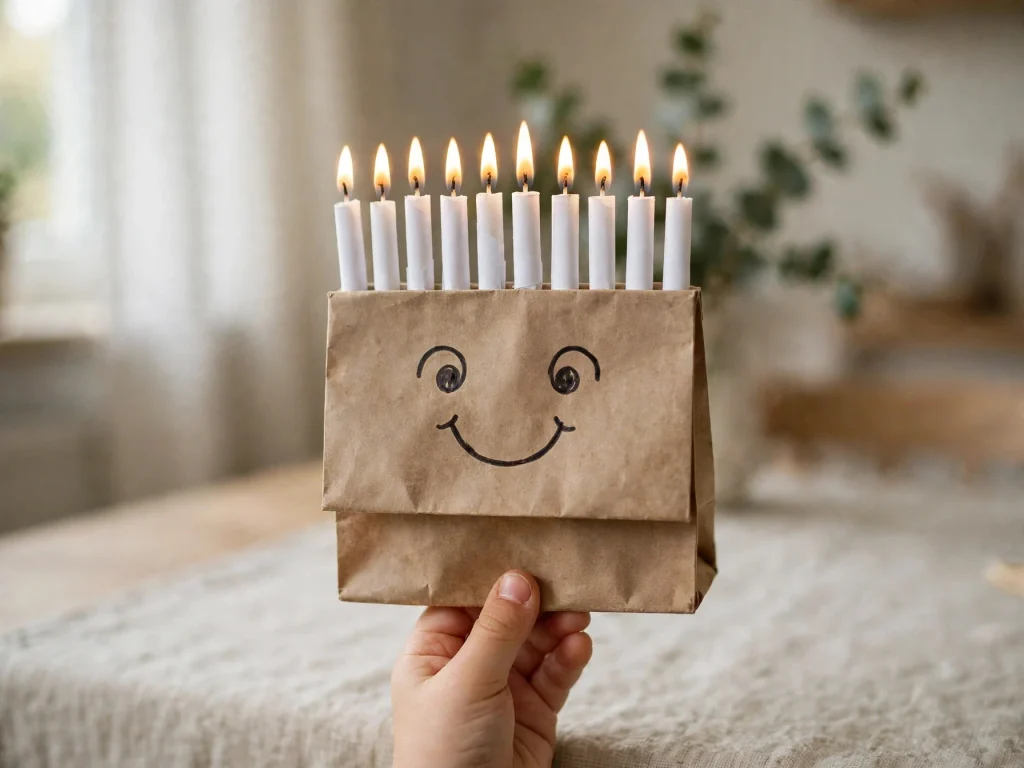
- Draw a happy face on the bottom flap of the bag.
- Cut 9 candle shapes from white paper and 9 flames from yellow paper (adult cuts).
- Glue the candles along the top of the bag, with the middle one higher.
- Glue a flame on each candle.
- Put a hand inside and use it in a song or story.
- Great for circle time.
Simple Tips for Menorah Crafts With Preschoolers
- Pick one or two crafts a day. Short sessions work best for ages 3 to 5.
- Cut shapes ahead of time and set up trays.
- Count the branches together. It builds early math skills.
- Praise the effort. Every menorah looks different, and that is fine.
- Write each child’s name on the back with a pencil before they start.
- Use a drying rack or a clean floor spot for wet art.
- Keep wet wipes close.
- Let children tell you about their menorah. Write their words on a sticky note.
Make-Ahead Planning Guide
Hanukkah dates change each year, so check a calendar.
- 3 weeks before: Pick your crafts and gather supplies.
- 2 weeks before: Pre-cut shapes and sort supplies into trays.
- 1 week before: Start the crafts that need drying time, like the salt dough handprint.
- 2 to 3 days before: Finish cards and hang art.
- First night: Show the menorah crafts to your family. Light your own menorah the way your family does.
For classrooms: Set up 3 or 4 craft stations with one adult at each. Rotate the children every 10 to 12 minutes.
Safety and Allergy Notes
- An adult should handle scissors, hole punches, sharp tools, ovens, and anything hot.
- Use only washable, non-toxic paint, glue, and markers.
- Watch young children closely. Foam stickers, pom-poms, and small parts are choking hazards for children under 3.
- Salt dough, playdough, sand, and glue are not food. Do not let children eat them.
- Playdough and salt dough contain wheat and gluten. Some children need wheat-free dough.
- Cotton swabs are for painting only.
- All these menorahs are for display and play. Never put real candles in them.
- Real candles belong only in a proper menorah, lit by an adult. Follow your family’s tradition.
- Wash hands after painting and before snacks.
FAQ
What is an easy menorah craft for a 3-year-old?
Finger painted menorah, sponge prints, and crayon resist are easy. They need no cutting.
How many branches does a menorah have?
Nine. Eight are for the eight nights, and one is the helper candle called the shamash.
Can preschoolers use real candles?
No. Only an adult lights real candles in a proper menorah. Crafts are for display only.
How do I teach counting with a menorah?
Count the branches as you craft. Add one flame each night and count how many are lit.
What menorah craft works for a classroom?
Torn paper candles, sponge prints, and thumbprint cards are cheap and easy for a group.
Can I make a menorah craft without paint?
Yes. Try playdough, torn paper, or foam stickers.
What if my child has allergies?
Check labels on playdough, glue, and paint. Skip playdough and salt dough if wheat is an issue.
Final Thoughts
Menorah crafts help little ones learn about Hanukkah and practice counting too. Keep it simple, colorful, and fun. Pick two or three ideas and let your preschooler lead. Happy crafting and happy Hanukkah!