Large DIY Hanukkah Decorations: 14 Big Easy Ideas
Hanukkah is the Festival of Lights. It is a joyful time for family, food and hope. Big decorations make your home feel bright and special. They also make great photo spots for the whole family.
In this post, you will find 14 large DIY Hanukkah decorations. Most use simple supplies like cardboard, paper, fabric and balloons. Each idea has a short supply list and easy steps. There are ideas for your walls, windows, table, porch and party space.
Pick one big piece to start. Add a few more as time allows.
Before You Start
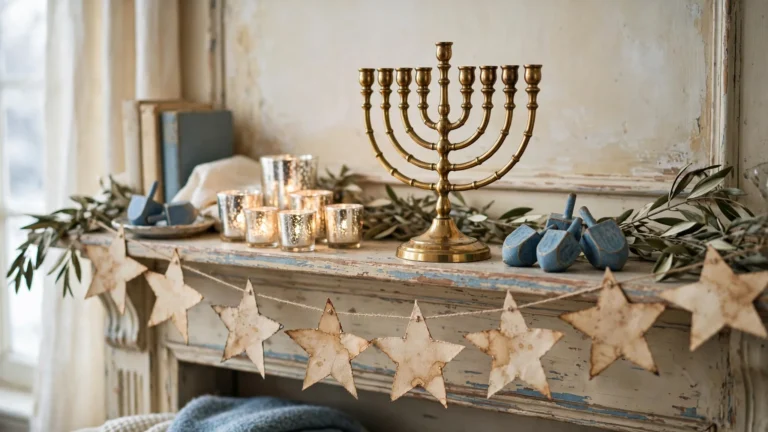
- A Hanukkah menorah has 9 branches. There are 8 for the 8 nights and 1 helper candle, called the shamash. The shamash is usually set higher or lower than the rest.
- A dreidel has four Hebrew letters: Nun, Gimel, Hei and Shin. In Israel, the last letter is Pe.
- Classic colors are blue, white, silver and gold.
- Make the decorations for joy and fun. Do not use real candles or flames on any craft.
- Measure your space before you build. Big pieces need room.
Basic Supplies to Keep on Hand
- Large cardboard boxes and poster board
- Blue, white, silver and gold paint, paper and tissue paper
- Craft glue and a hot glue gun (adult use only)
- Painter’s tape and strong tape
- Scissors and a box cutter (adult use only)
- Battery LED candles and LED string lights
- String, ribbon and fishing line
- Balloons and a balloon pump
14 Large DIY Hanukkah Decorations to Make
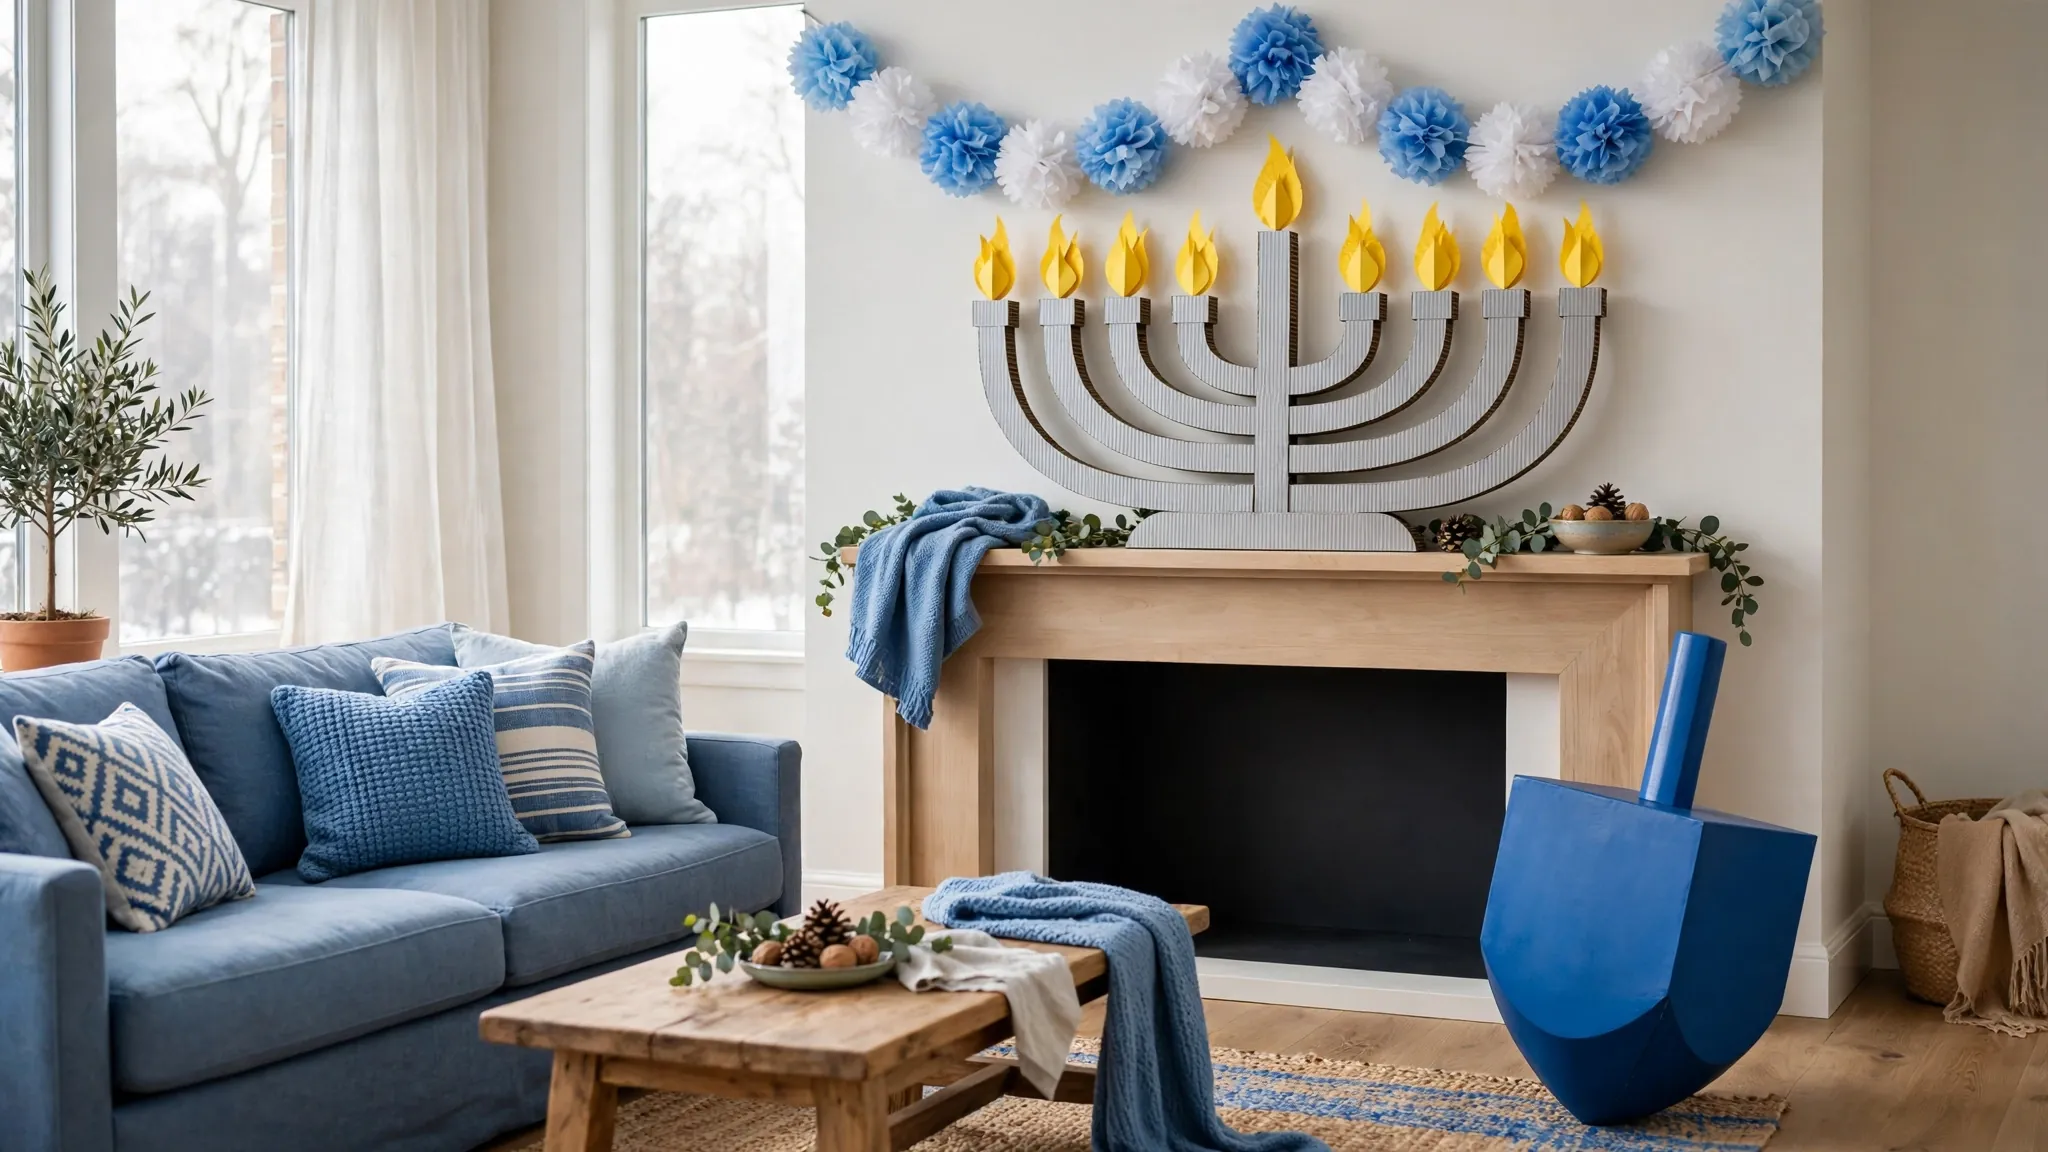
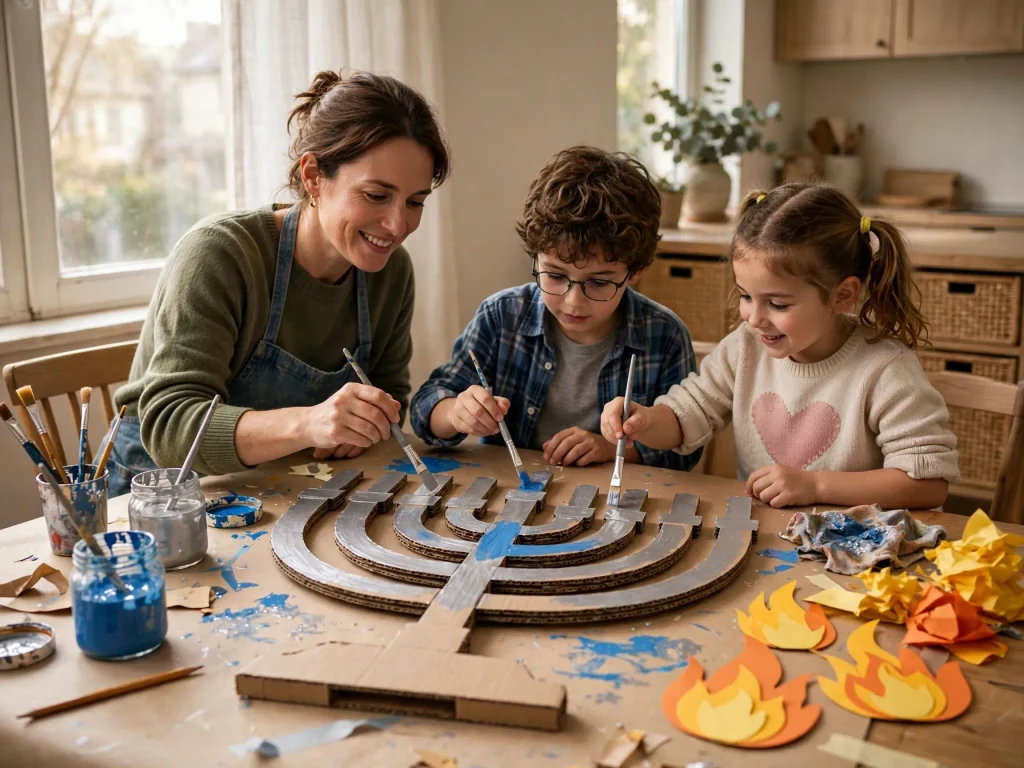
1. Giant Cardboard Menorah

You need: Large flat cardboard, blue and silver paint, yellow and orange paper, hot glue, pencil.
- An adult cuts a big menorah shape from flat cardboard. Make it about 36 inches wide with 9 branches. Make the center branch a bit higher than the others.
- Paint it silver or blue. Let it dry well.
- Cut 9 flames from yellow and orange paper.
- Glue one flame on top of each branch. Add paper stars or dots to the base.
- Lean it on a mantel or hang it on a wall.
2. Oversized Dreidel from a Cardboard Box

You need: A large square cardboard box, blue paint, white and silver paint, a paper tube or wooden dowel, hot glue.
- An adult tapes the box closed and cuts the top and bottom corners to form a dreidel shape. Or keep it as a simple cube for an easy version.
- Paint the box blue. Let it dry.
- Paint a large Hebrew letter on each side: Nun, Gimel, Hei and Shin. Use white or silver paint.
- Glue a paper tube on top as the handle.
- Place it next to the front door or by the fireplace.
Best for ages 8 and up. Younger children can paint the box.
3. Large Star of David Wall Hanging

You need: 6 wooden paint stirrers or flat sticks, blue paint, silver glitter glue, white glue, string.
- Paint all the sticks blue. Let them dry.
- Glue 3 sticks into a triangle. Make a second triangle.
- Lay one triangle upside down over the other to make a six-point star.
- Glue where the sticks cross. Let it dry.
- Add glitter glue dots. Tie a string to the top.
- Hang it on a wall or a window frame.
4. Big Tissue Paper Pom-Pom Garland

You need: Blue, white and silver tissue paper (about 8 sheets per pom-pom), floral wire or pipe cleaners, string, scissors.
- Stack 8 sheets of tissue paper. Fold them back and forth like a fan, with folds about 1 inch wide.
- Tie the center with floral wire. Round or point the ends with scissors.
- Gently pull each layer up and toward the center to fluff it out.
- Make 8 to 10 pom-poms in different sizes.
- Tie them to a long string with the wire.
- Hang across a wall, a window or over the table.
5. Giant Blue and Silver Balloon Garland Arch

You need: 50 balloons in blue, white and silver (a mix of 5-inch and 12-inch), balloon pump, fishing line or a balloon strip, tape.
- An adult inflates the balloons to different sizes.
- Tie 4 balloons together to make small clusters.
- Attach the clusters to a long piece of fishing line or a balloon strip.
- Mix colors and sizes for a full, natural look.
- Hang it over a doorway, a dessert table or a photo spot.
Check for latex allergies. Pick up broken balloon pieces right away because they are a choking risk for young children.
6. Oversized Paper Lanterns
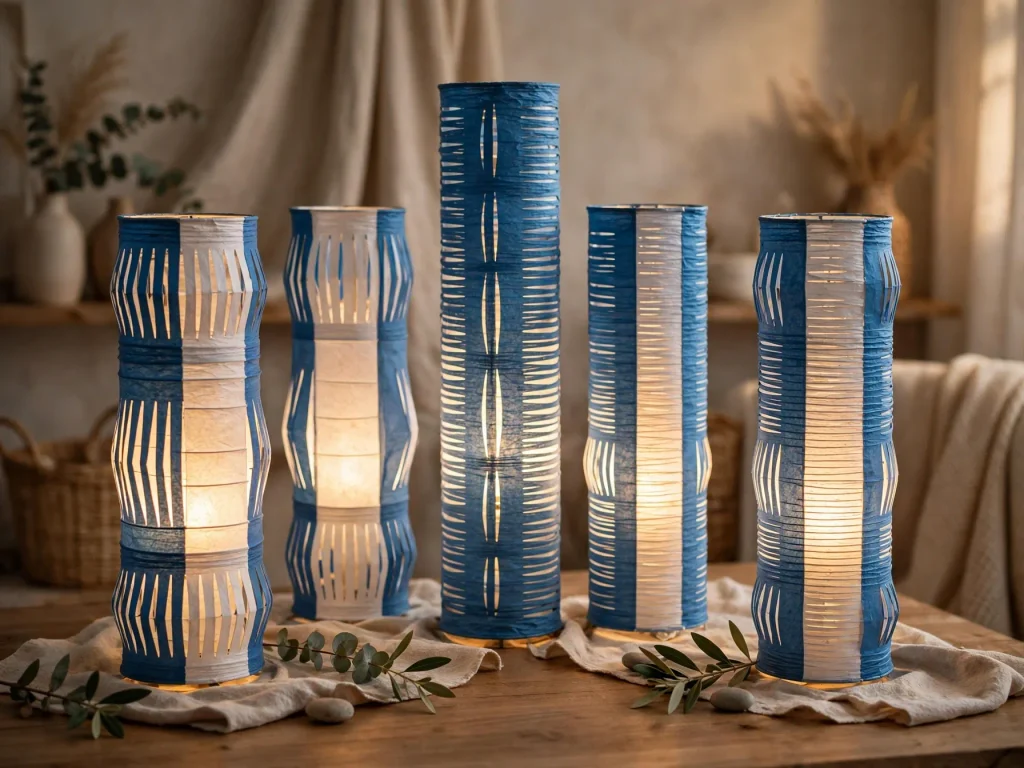
You need: Blue and white paper, glue, scissors, battery LED tea lights, ruler.
- Fold a large sheet of paper in half the long way.
- Cut slits from the folded edge up to 1 inch from the open edge. Make them about 1 inch apart.
- Unfold the paper and curve it into a tube. Glue the short edges together.
- Add a paper strip across the top as a handle.
- Set a battery LED light inside on a tray, or hang the lantern with the light attached to the base.
7. Large “Happy Hanukkah” Felt Banner

You need: Blue and white felt, fabric glue, a wooden dowel, ribbon, scissors, chalk.
- Cut 14 large flags from felt, each about 8 by 10 inches. Cut triangle or rectangle shapes.
- Cut big white letters from felt. Spell “Happy Hanukkah” over the flags.
- Glue each letter on a blue flag.
- Glue the flags to a long piece of ribbon.
- Tie the ribbon to a dowel or hang it directly on the wall.
8. Oversized Gold Coin Garland

You need: Gold cardstock or cardboard, a large round cup or plate to trace, scissors, glue, string.
- Trace and cut 20 large circles, about 5 inches wide.
- Add a simple star or a line pattern with a gold marker.
- Glue each coin to a long string, spaced a few inches apart.
- Hang across a wall, a mantel or a dessert table.
This is a fun nod to chocolate gelt. Use paper coins to keep it allergy-friendly.
9. Glowing Window Menorah

You need: Warm white LED string lights, removable hooks or painter’s tape, a battery pack.
- Plan a menorah shape on the window. Use 9 vertical lines for the candles, a curved line for the base and a stem.
- Stick small hooks or tape on the window frame.
- Arrange the lights in your design. Keep the center line a little higher.
- Secure the wire along the way with tape.
- Turn it on in the evening.
Use battery or low-heat LED lights. Keep cords away from curtains and young children.
10. Branch Centerpiece Menorah

You need: A sturdy tree branch with a Y shape, a heavy vase or pot, white paint, 9 battery LED candles, floral foam or sand.
- Choose a clean, dry branch about 24 inches tall.
- Paint it white or silver. Let it dry.
- Fill the pot with sand or floral foam and place the branch inside.
- Tie or glue 9 small LED tea lights to the branches at different heights. Put one slightly higher in the center.
- Add small blue ribbons at the base.
- Place it on the dining table or a console.
11. Giant Hanging Paper Snowflakes and Stars

You need: Large white and silver paper, scissors, string, glue.
- Cut paper into large squares, about 14 inches wide.
- Fold each into a triangle. Fold again into a smaller triangle.
- Cut shapes and notches along the edges.
- Unfold the snowflake. Press it flat under a book for an hour.
- Make stars by gluing two or three snowflakes together.
- Hang them at different heights with string from the ceiling or a doorway.
12. Shimmering Streamer and Tinsel Photo Backdrop
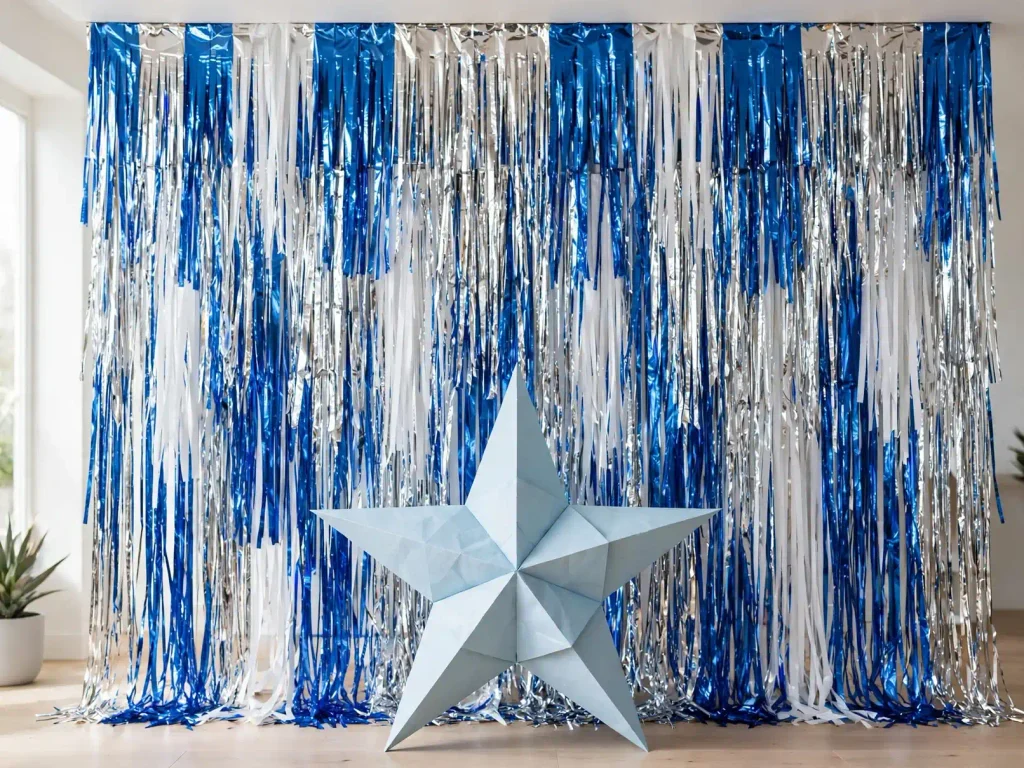
You need: Blue, white and silver foil fringe curtains or streamers, a curtain rod or tension rod, tape.
- Mount a rod across a wall or a doorway.
- Tape the streamers to the rod, side by side, about 1 inch apart.
- Mix the colors for a shiny waterfall look.
- Add a large paper star or a paper menorah in front.
- Use it for family photos or at the party table.
13. Large Painted Canvas Menorah Art

You need: A large blank canvas (24 by 36 inches or bigger), blue and white paint, a gold or silver paint pen, painter’s tape, a brush.
- Paint the whole canvas blue. Let it dry.
- Use tape to mark a clean menorah shape. Paint inside the tape in white or silver.
- Peel off the tape slowly.
- Add small gold dots, stars and flames with a paint pen.
- Lean it against a wall or hang it above the sofa.
14. Big Porch Lanterns with Blue LED Lights

You need: 2 or 3 large lanterns or big glass jars, blue and white paper, battery LED candles, outdoor-safe string.
- Choose sturdy lanterns or large jars. Plastic is best for young children.
- Cut paper stars or Star of David shapes from blue paper. Glue them to the outside.
- Place a battery LED candle inside each one.
- Set the lanterns on the porch steps or by the door. Add a few at different heights.
- Use outdoor-safe lights if the lanterns will be in wet weather.
An adult should handle glass. Do not use real flames in or near any lantern or paper decor.
Tips for Styling Big Decorations
- Pick two or three colors. Blue, white and silver look clean and bright.
- Make one big piece the star of the room. Use smaller pieces to support it.
- Repeat shapes, such as stars or dreidels, in a few places.
- Hang decorations at different heights for depth.
- Use painter’s tape or removable hooks to protect paint and walls.
- Keep walkways, doors and exits clear.
- Light a room softly. LED candles and string lights look warm and lovely.
Age Guidance
- Ages 4 to 6: Painting, tearing tissue paper, gluing big shapes, adding stickers.
- Ages 7 to 10: Cutting simple shapes, making pom-poms, assembling stars and coin garlands.
- Ages 11 and up: Making banners, lanterns, canvas art and window designs with little help.
Always supervise young children during craft time.
Safety Notes
- An adult should handle box cutters, hot glue guns, spray paint and glass.
- Use battery LED candles only. Never use real candles or flames near paper, fabric or decor.
- Use non-toxic paint and glue.
- Use a stable ladder or step stool to hang high items. Have another person hold it.
- Keep small items, such as glitter, balloons and beads, away from young children.
- Keep cords and string lights away from cribs, curtains and walkways.
- Check for latex and glitter allergies.
Plan Ahead and Make-Ahead Guide
- 3 to 4 weeks before: Pick your ideas and gather supplies.
- 2 weeks before: Build the big cardboard pieces (menorah, dreidel). Let the paint dry fully.
- 1 week before: Make the garlands, pom-poms, banner and lanterns.
- 2 to 3 days before: Hang the wall pieces and set up the backdrop.
- 1 day before: Inflate the balloons and set up the window and porch lights.
- After the holiday: Store flat pieces in a large box. Keep the pom-poms in a bag. You can reuse them next year.
FAQ
What colors are used for Hanukkah?
Blue, white, silver and gold are the most common colors.
How many candles are on a menorah?
A Hanukkah menorah has 9 branches. There are 8 for the 8 nights and 1 helper candle, called the shamash.
What is the easiest large Hanukkah decoration to make?
A tissue paper pom-pom garland or a balloon garland is the easiest. A cardboard menorah is also simple.
Can I make these decorations on a small budget?
Yes. Use free boxes, scrap paper and paint you already have. Dollar stores are good for balloons and LED lights.
Can I use real candles on a handmade menorah?
No. Use battery LED candles on all craft projects. A real menorah for lighting is a separate item and should be used by adults with care.
How long does Hanukkah last?
Hanukkah lasts 8 nights. The dates change every year.
Final Thoughts
Large DIY Hanukkah decorations bring light, color and joy to your home. Start with one big piece, like a cardboard menorah or a balloon arch. Add a few smaller touches around it. Build them with your family and keep it simple, safe and fun. Your home will glow all eight nights.