15 Hanukkah Crafts for Adults That Look Stylish and Feel Calm
Hanukkah is the Jewish festival of lights. It lasts eight nights. Many families like to decorate their homes for it. But many Hanukkah crafts online are made for young kids. If you want something more grown-up, this list is for you.
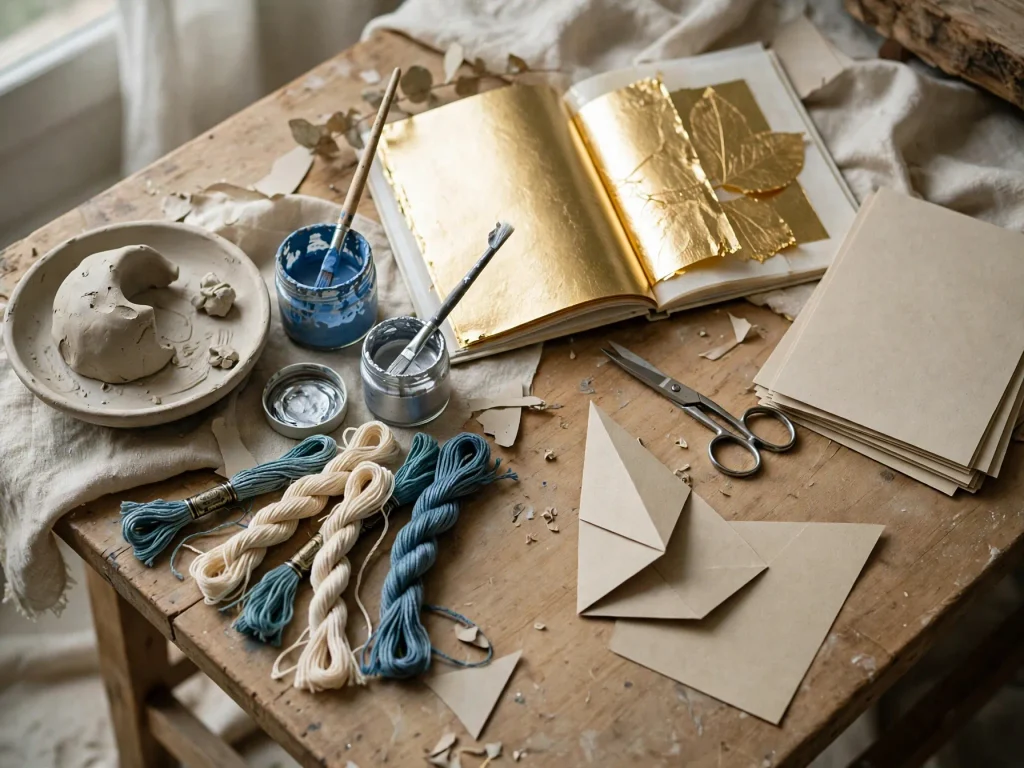
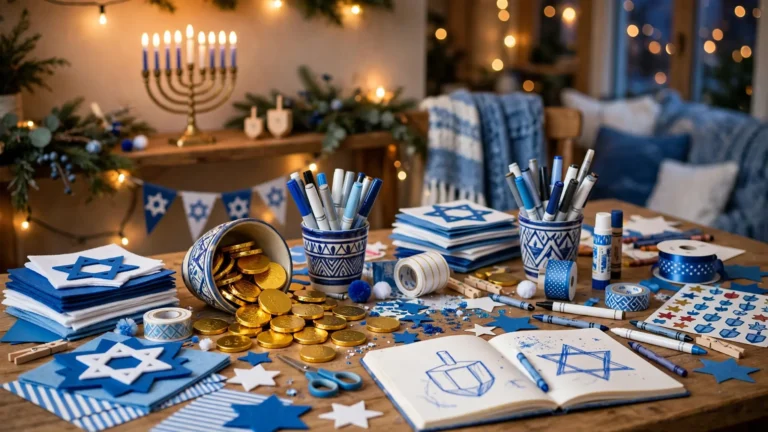
These 15 crafts use clay, fabric, paper, thread and gold leaf. They look good on a shelf, a table or a wall. Each idea has a short supply list and simple steps. Most can be done in one evening. Some make good gifts too.
A quick note: Hanukkah is its own holiday. It is not a “Jewish Christmas.” So these crafts focus on traditional symbols like the menorah, the dreidel and the star. Keep the look simple and respectful.
Know the Symbols First
- Menorah (also called a hanukkiah): This holder has nine places for candles. Eight are for the eight nights. The ninth is the helper candle, called the shamash. It sits higher or apart from the others.
- Dreidel: A four-sided spinning top. Each side has a Hebrew letter. They are nun, gimel, hey and shin. Copy the letters from a real dreidel if you add them.
- Star: The six-pointed star is a common Jewish symbol. Many people use it in decor.
- Gelt: Chocolate or gold-colored coins that people give out during Hanukkah.
Who Can Make These?
- These crafts are made for adults and teens.
- Teens can join, with an adult nearby for hot glue, craft knives and spray paint.
- Keep small parts, glass and button batteries away from young kids and pets.
Color Palettes for Hanukkah Decor
- Classic: royal blue, white and silver.
- Soft Winter: pale blue, cream and light gold.
- Midnight: navy, gold and white.
- Modern Neutral: white, gray and brushed gold.
Pick two main colors. Use one more only for small details.
Best Materials for These Crafts
- Air-dry clay and acrylic paint
- Embroidery hoops, floss and fabric
- Cotton cord and wooden beads
- Gold leaf sheets and sealer
- Cardstock and craft paper
- Glass jars
- Battery LED lights and LED tea lights
15 Hanukkah Craft Ideas
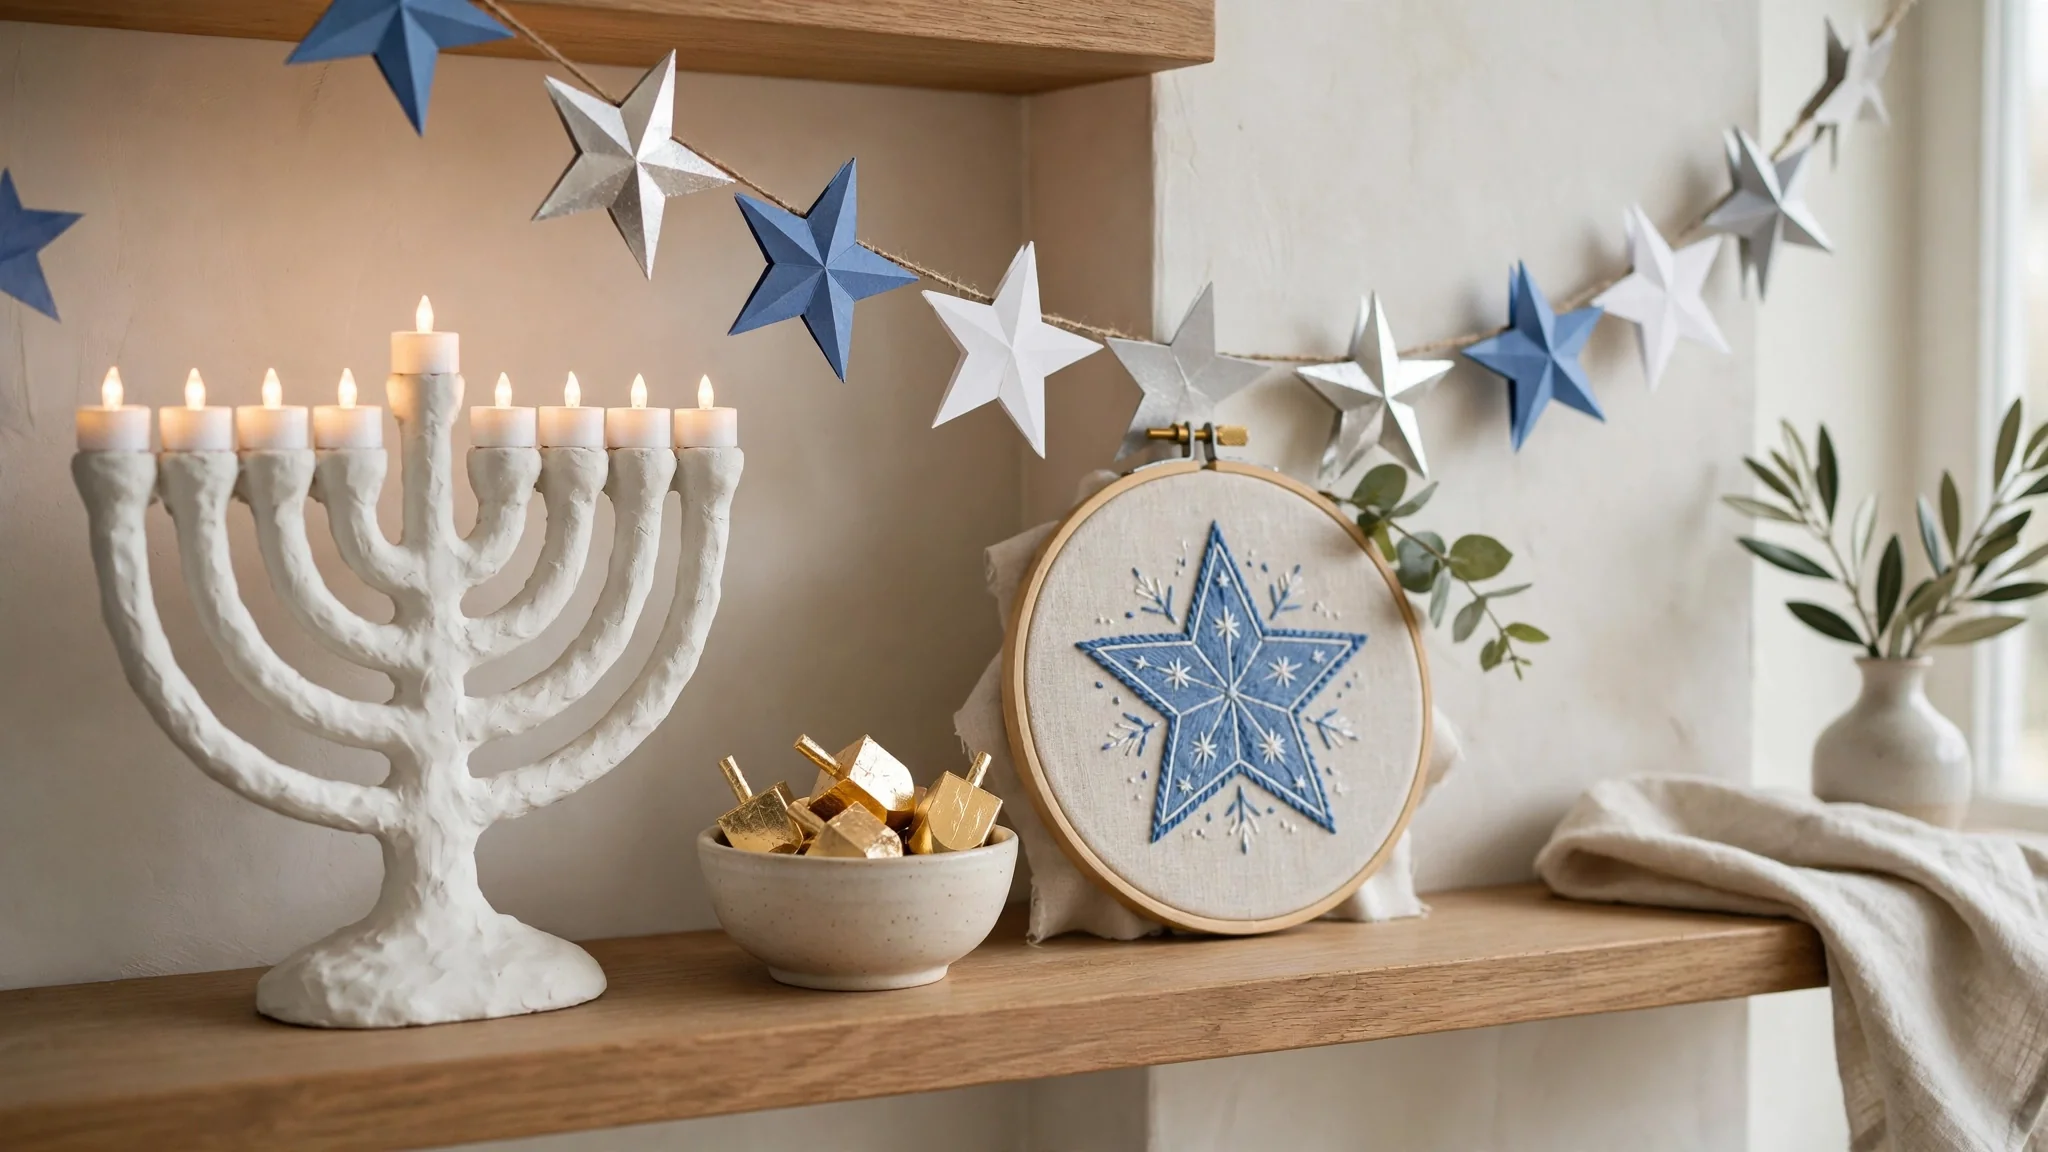
1. Air-Dry Clay Menorah
You need: air-dry clay, rolling pin, small cup or shot glass, craft knife, sandpaper, white or silver paint, clear sealer, 9 LED tea lights.

- Roll the clay to about 1/2 inch thick.
- Cut a long strip about 12 inches long and 2 inches wide. This is the base.
- Press the cup into the clay nine times to make nine round holders. Make the middle one higher by adding a small clay block under it.
- Let the clay dry for 24 to 48 hours.
- Sand the edges. Paint the clay white or silver. Seal it when dry.
- Set one LED tea light in each holder.
- This is a decor piece. The clay is not made for real flames. If you light candles for Hanukkah, use a proper menorah and keep it away from decor.
2. Blue and Silver Mason Jar Lanterns
You need: 4 to 6 clean glass jars, blue and silver paint pens, frosted glass spray or tissue paper, craft glue, LED tea lights.

- Wash and dry the jars.
- Paint simple stars, dots and lines with the paint pens.
- For a frosted look, spray the outside with frosted glass spray (outdoors, with a mask), or glue on blue tissue paper.
- Let the jars dry for 24 hours.
- Place one LED tea light in each jar.
- Line them up on a mantel, window ledge or table.
3. Embroidery Hoop Star Art
You need: 8-inch embroidery hoop, cream or light blue fabric, blue or silver embroidery floss, needle, pencil, scissors.
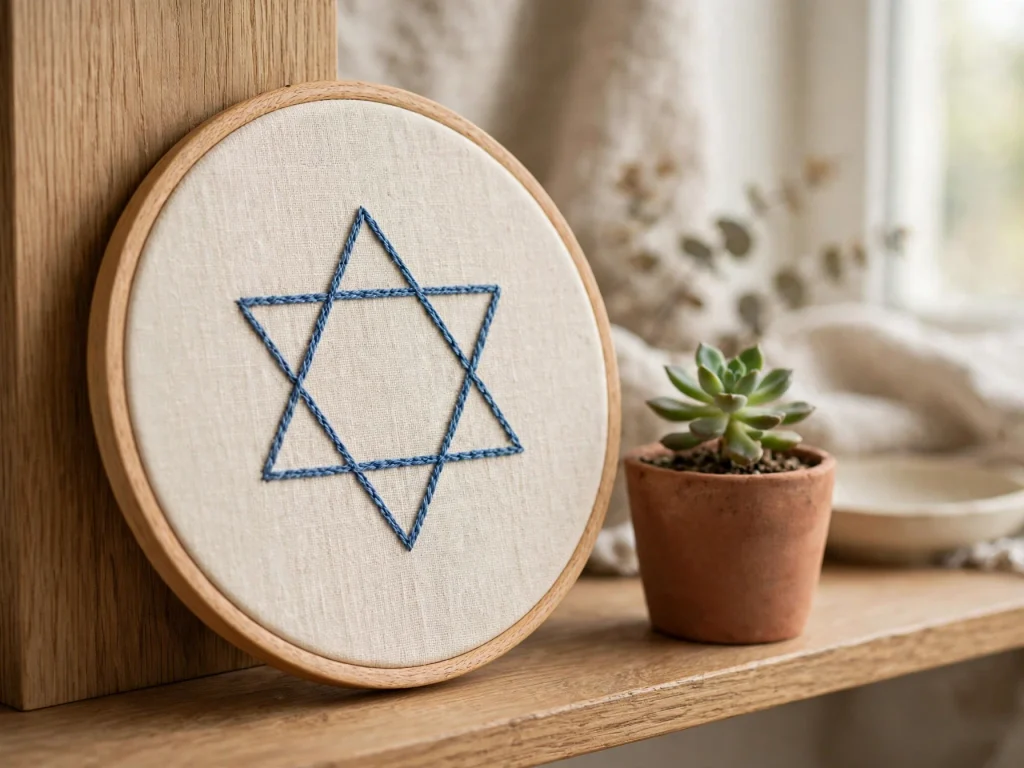
- Place the fabric in the hoop and pull it tight.
- Lightly draw a six-pointed star with a pencil. Draw two triangles that overlap.
- Stitch along the lines with a backstitch. Use two strands of floss.
- Trim the extra fabric around the hoop. Leave 1 inch.
- Fold the edges to the back and glue them down.
- Hang the hoop on a wall or lean it on a shelf.
4. Gold Leaf Wooden Dreidels
You need: unfinished wooden dreidels (a pack of 4 to 6), gold leaf sheets, gold leaf adhesive, soft brush, clear sealer, blue acrylic paint.

- Paint the top handle and the bottom tip in blue. Let it dry.
- Brush adhesive onto one side of the dreidel body. Wait 10 to 15 minutes until it feels tacky.
- Lay a gold leaf sheet on it. Press gently with the brush.
- Brush away the extra flakes. Repeat on all sides.
- Seal with a clear sealer.
- Tip: Leave the Hebrew letters bare or copy them from a real dreidel. Do not guess the shapes.
- Set the dreidels in a bowl as decor.
5. Nail-and-Thread String Art Star
You need: wooden board (about 10 x 10 inches), small nails, hammer, blue embroidery floss or thin cord, star paper template, painter’s tape, paint or stain.
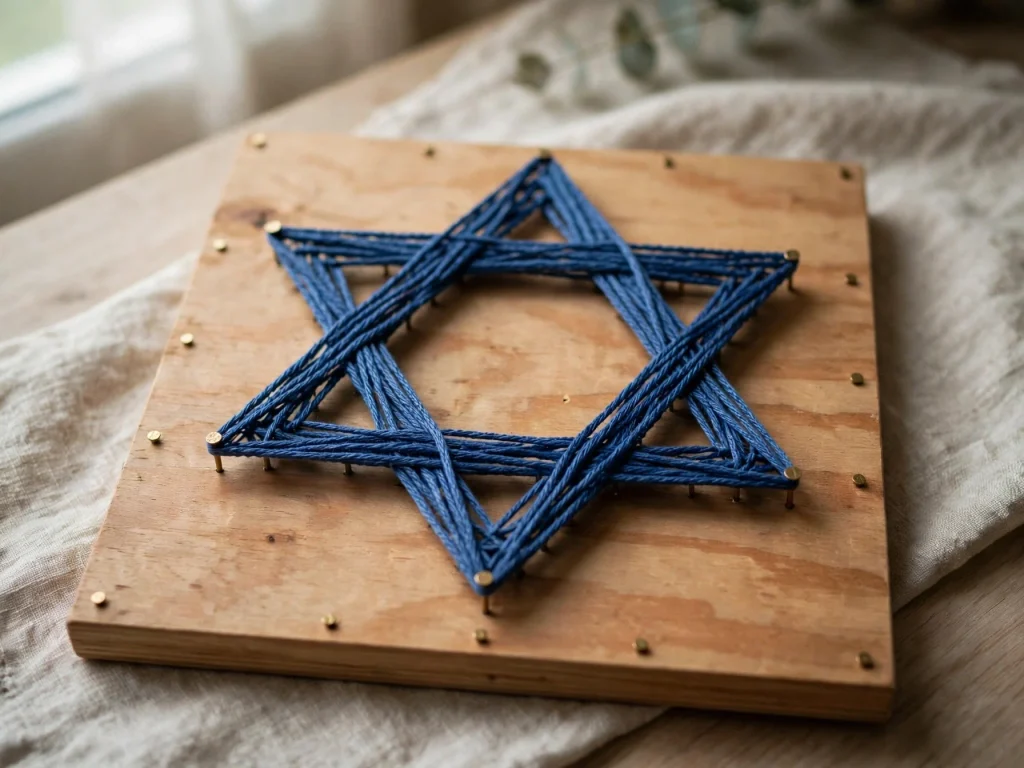
- Paint or stain the board. Let it dry.
- Tape the star template in the middle of the board.
- An adult hammers a nail at every point and corner of the star. Leave the nail heads about 1/2 inch above the wood.
- Tear off the paper.
- Tie the thread to one nail. Wrap it across the star, from nail to nail, in a crisscross pattern.
- Tie off the thread and trim the end.
6. Macrame Star Wall Hanging
You need: 3 mm cotton cord, wooden dowel (about 8 inches), scissors, comb, small wooden beads.

- Cut 8 cords, each 40 inches long.
- Fold each cord in half and tie it to the dowel with a lark’s head knot.
- Tie square knots in rows to make a triangle shape. Make the triangle point downward.
- Add a few beads for detail.
- Trim the ends and comb them out for a soft fringe.
- Tie a hanging cord to each end of the dowel.
7. Paper Star Garland
You need: heavy cardstock in blue, white and silver, six-pointed star template, scissors, white string, tape or glue dots.

- Trace the star template onto the cardstock. Cut out about 20 stars.
- Fold each star in half to give it a little 3D shape. Unfold it.
- Lay the stars in a pattern along the string. Mix the colors.
- Glue or tape each star to the string.
- Hang the garland across a window, shelf or doorway.
8. Eight Nights Gift Box Calendar
You need: 8 small kraft boxes or envelopes, white paint pen, string, ribbon, wooden board or twine, small gifts or notes.

- Number each box from 1 to 8 with a paint pen. Use plain numbers.
- Tie each box to a long piece of twine or ribbon.
- Hang the twine on a wall or mantel.
- Put in tiny gifts like tea bags, chocolate gelt or a sweet note.
- Open one box each night. Fill the boxes before the first night.
9. Gold-Dipped Ceramic Bowl
You need: plain white ceramic bowl, painter’s tape, gold paint pen or ceramic paint, clear sealer.

- Wipe the bowl clean and dry it.
- Tape a straight line about 2 inches from the rim.
- Paint the bottom or the rim in gold. Let it dry.
- Peel off the tape.
- Seal the paint if the label allows it. Hand wash only.
- Fill it with chocolate gelt or blue ornaments. Do not use it for food if the paint is not food-safe.
10. Window Light Menorah (Battery-Powered)
You need: battery LED string lights (warm white), clear removable adhesive hooks, a printed menorah outline (nine lights).
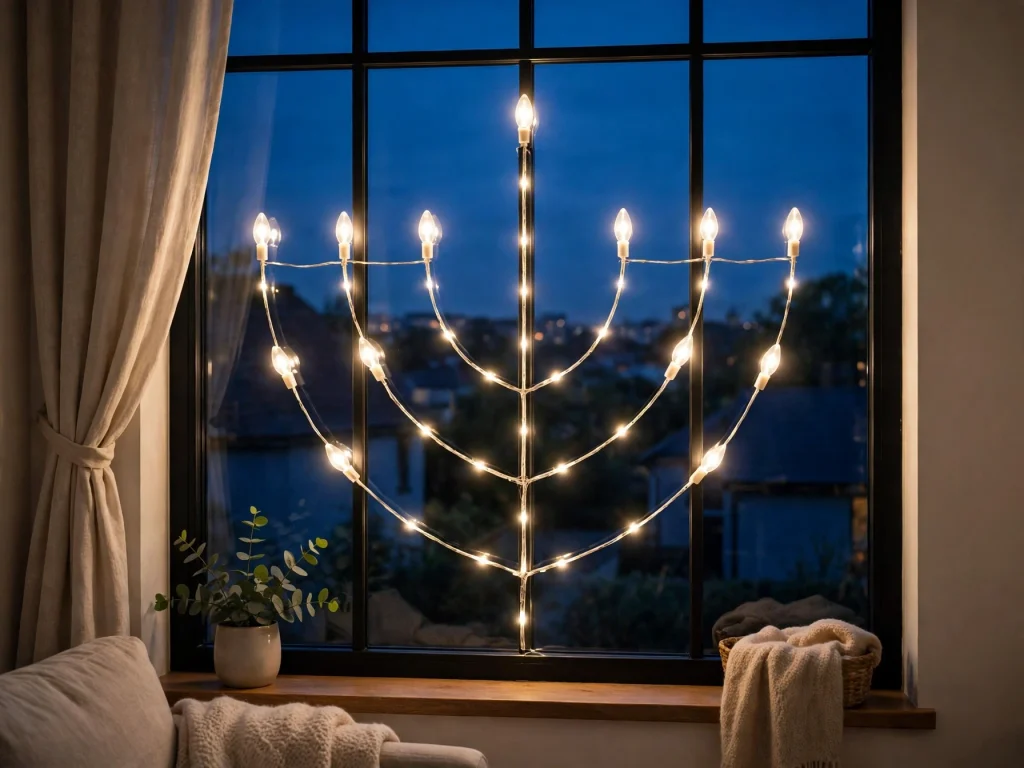
- Hold the outline on your window glass as a guide.
- Stick the hooks along the outline.
- Place the lights on the hooks. Make the middle light a little higher.
- Turn the lights on at night.
- Use only battery lights. Do not use real candles near curtains or glass decor.
11. Slate Welcome Sign
You need: small slate or wood board, white paint pen, ruler, pencil, small blue ribbon, sealer.
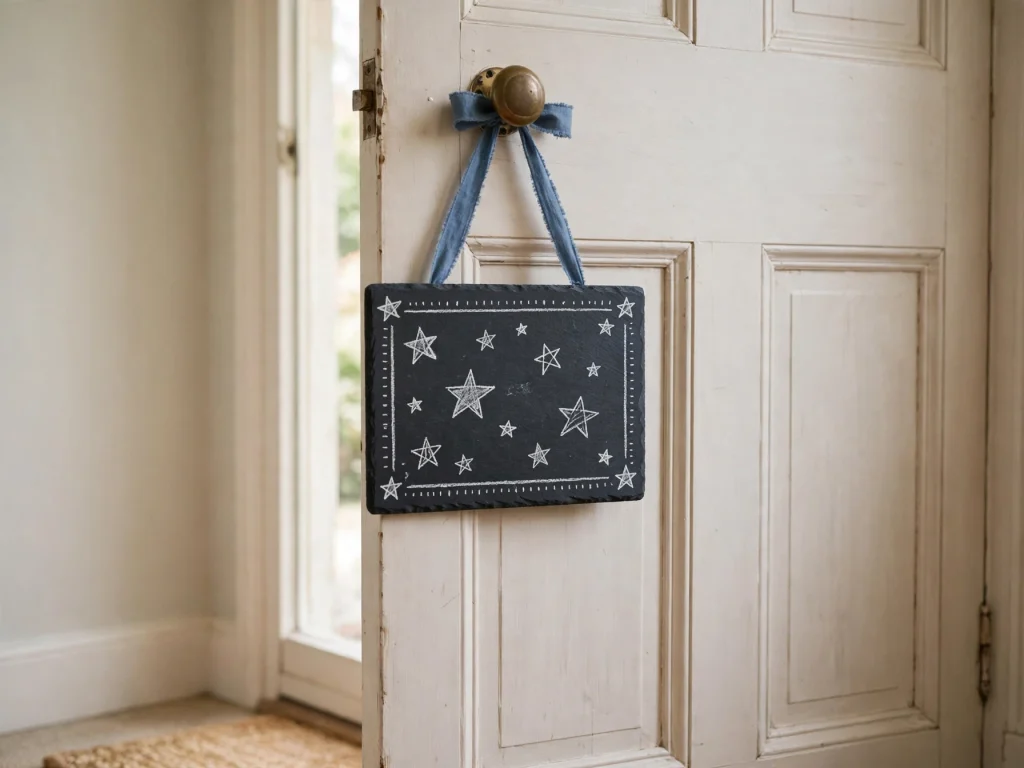
- Sand the board lightly and wipe it clean.
- Sketch simple stars and a “Happy Hanukkah” greeting with a pencil.
- Trace with a white paint pen.
- Let it dry. Seal it with a clear spray outdoors.
- Tie a ribbon at the top to hang it.
12. Beaded Napkin Rings
You need: 4 to 6 wooden or cardboard napkin rings, blue and white glass beads, silver wire, small star charms, wire cutters.
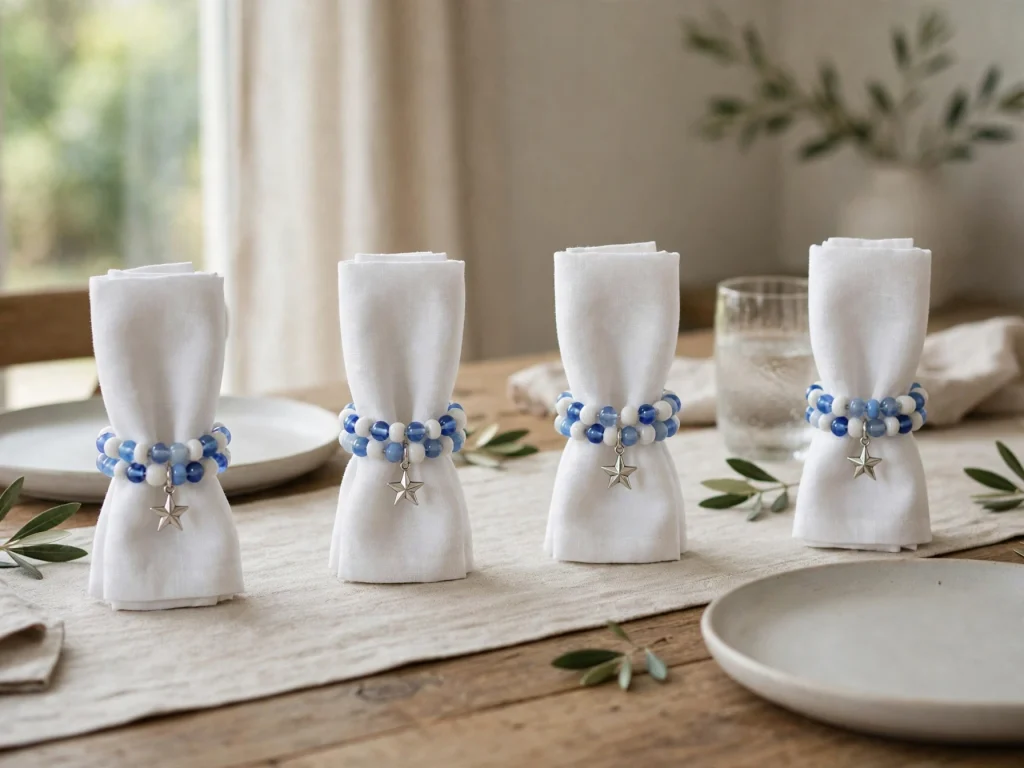
- Cut 8 inches of wire for each ring.
- Thread beads and one charm onto the wire.
- Wrap the wire around the napkin ring. Twist the ends together.
- Tuck the ends inside so nothing sharp pokes out.
- Repeat for each ring.
13. Fabric Paint Table Runner
You need: plain white or linen runner, fabric paint in blue and silver, small star stencils, masking tape, sponge brush.

- Wash and dry the runner. Iron it flat.
- Tape the runner to a flat surface.
- Place a stencil on the fabric and dab the paint on with a sponge.
- Move the stencil and repeat in rows. Leave space between the stars.
- Let it dry for 24 hours. Heat-set the paint as the label says.
- Use the runner on a dining table.
14. Block-Print Gift Wrap
You need: plain kraft or white paper, foam sheet, craft knife, small wood block, craft glue, blue and silver stamp pads or paint.

- Cut a small star shape from the foam. An adult uses the knife.
- Glue the foam star onto the wood block.
- Press the block into the pad. Stamp it on the paper.
- Repeat in rows. Let the paper dry.
- Wrap gifts with the paper. Use white or silver ribbon.
15. Torn Paper Menorah Canvas
You need: 11 x 14 canvas, blue, white and silver paper, craft glue, scissors, pencil.

- Lightly draw a menorah outline on the canvas. Use nine candle shapes.
- Tear the paper into small pieces.
- Glue the pieces inside the shapes. Use gold or silver for the candles.
- Fill the background with blue pieces.
- Let it dry. Brush on a thin coat of glue to seal the surface.
- Hang it on a wall or lean it on a shelf.
Budget Tips
- Use dollar store jars, paper and napkin rings.
- Use scrap fabric, old buttons and leftover paint.
- Use coupons at craft stores for clay and paint.
- Make a few items from one pack of cardstock.
- Start with one or two crafts. Add more each year.
Common Mistakes to Avoid
- Using too many colors. Two or three look best.
- Skipping the sealer. Paint can scratch without it.
- Using real flames on crafts. Use LED lights instead.
- Guessing the Hebrew letters. Copy them from a real dreidel or skip them.
- Rushing the dry time. Clay and paint need time.
- Making everything too big. Mix large and small pieces.
Safety Notes
- Use LED candles only. Never place a real flame near decor.
- If you light a real menorah, use a proper menorah made for candles and keep it on a stable, clear surface, away from curtains and paper.
- An adult should handle hot glue, craft knives, hammers and nails.
- Spray paint and sealer outdoors or in a room with fresh air. Wear a mask.
- Wear gloves when working with paint pens and glue.
- Keep gold leaf flakes away from food.
- Keep button batteries and small beads away from young kids and pets.
- Use only craft paint that is labeled safe for what you make.
Planning Guide and Make-Ahead Plan
Three to four weeks before:
- Pick two or three crafts.
- Make a supply list.
- Buy clay, paint and fabric.
Two weeks before:
- Make the clay menorah. It needs to dry.
- Paint the dreidels and jars.
- Cut the stars for the garland.
One week before:
- Finish the embroidery hoop, string art and macrame.
- Make the napkin rings and the table runner.
- Wrap gifts with your block-print paper.
The day before:
- Set up the table and shelves.
- Place the LED lights and test them.
- Charge or replace the batteries.
Tips for a Stylish Look
- Group items in threes. A clay menorah, a jar lantern and a dreidel look great together.
- Mix textures. Pair soft macrame with shiny gold leaf.
- Use white or cream as a base so blue and silver stand out.
- Add greenery, like eucalyptus, for a fresh touch. Keep it simple.
- Keep surfaces clear. Space makes each craft look special.
FAQ
Can I use these crafts for a real menorah lighting?
No. These are decor pieces. Use a proper menorah made for candles for the real lighting.
What is the easiest craft on this list?
The paper star garland and the gold-dipped bowl are the easiest.
Which craft takes the longest?
The clay menorah, because it needs time to dry.
Can I make these as gifts?
Yes. Mason jar lanterns, napkin rings and the eight nights gift calendar make nice gifts.
Are these crafts only for Jewish people?
Anyone can enjoy crafts. If you are not Jewish, keep the symbols respectful and simple.
Can I use real candles in the jars?
It is safer to use LED tea lights in craft jars.
How should I store the crafts after the holiday?
Wrap them in tissue paper and store them in a dry box. Keep paper and fabric away from damp areas.
Final Thoughts
You do not need to be an expert to make beautiful Hanukkah decor. Pick two or three crafts from this list, keep your colors simple and give clay and paint time to dry. Use LED lights for a safe glow. A few handmade pieces can make your home feel warm and special for all eight nights.
Note: The pictures here were made with AI to show you the idea, so real homes, paint and materials may look a little different.