Christmas Door Decorating Contest School Winter Wonderland Ideas
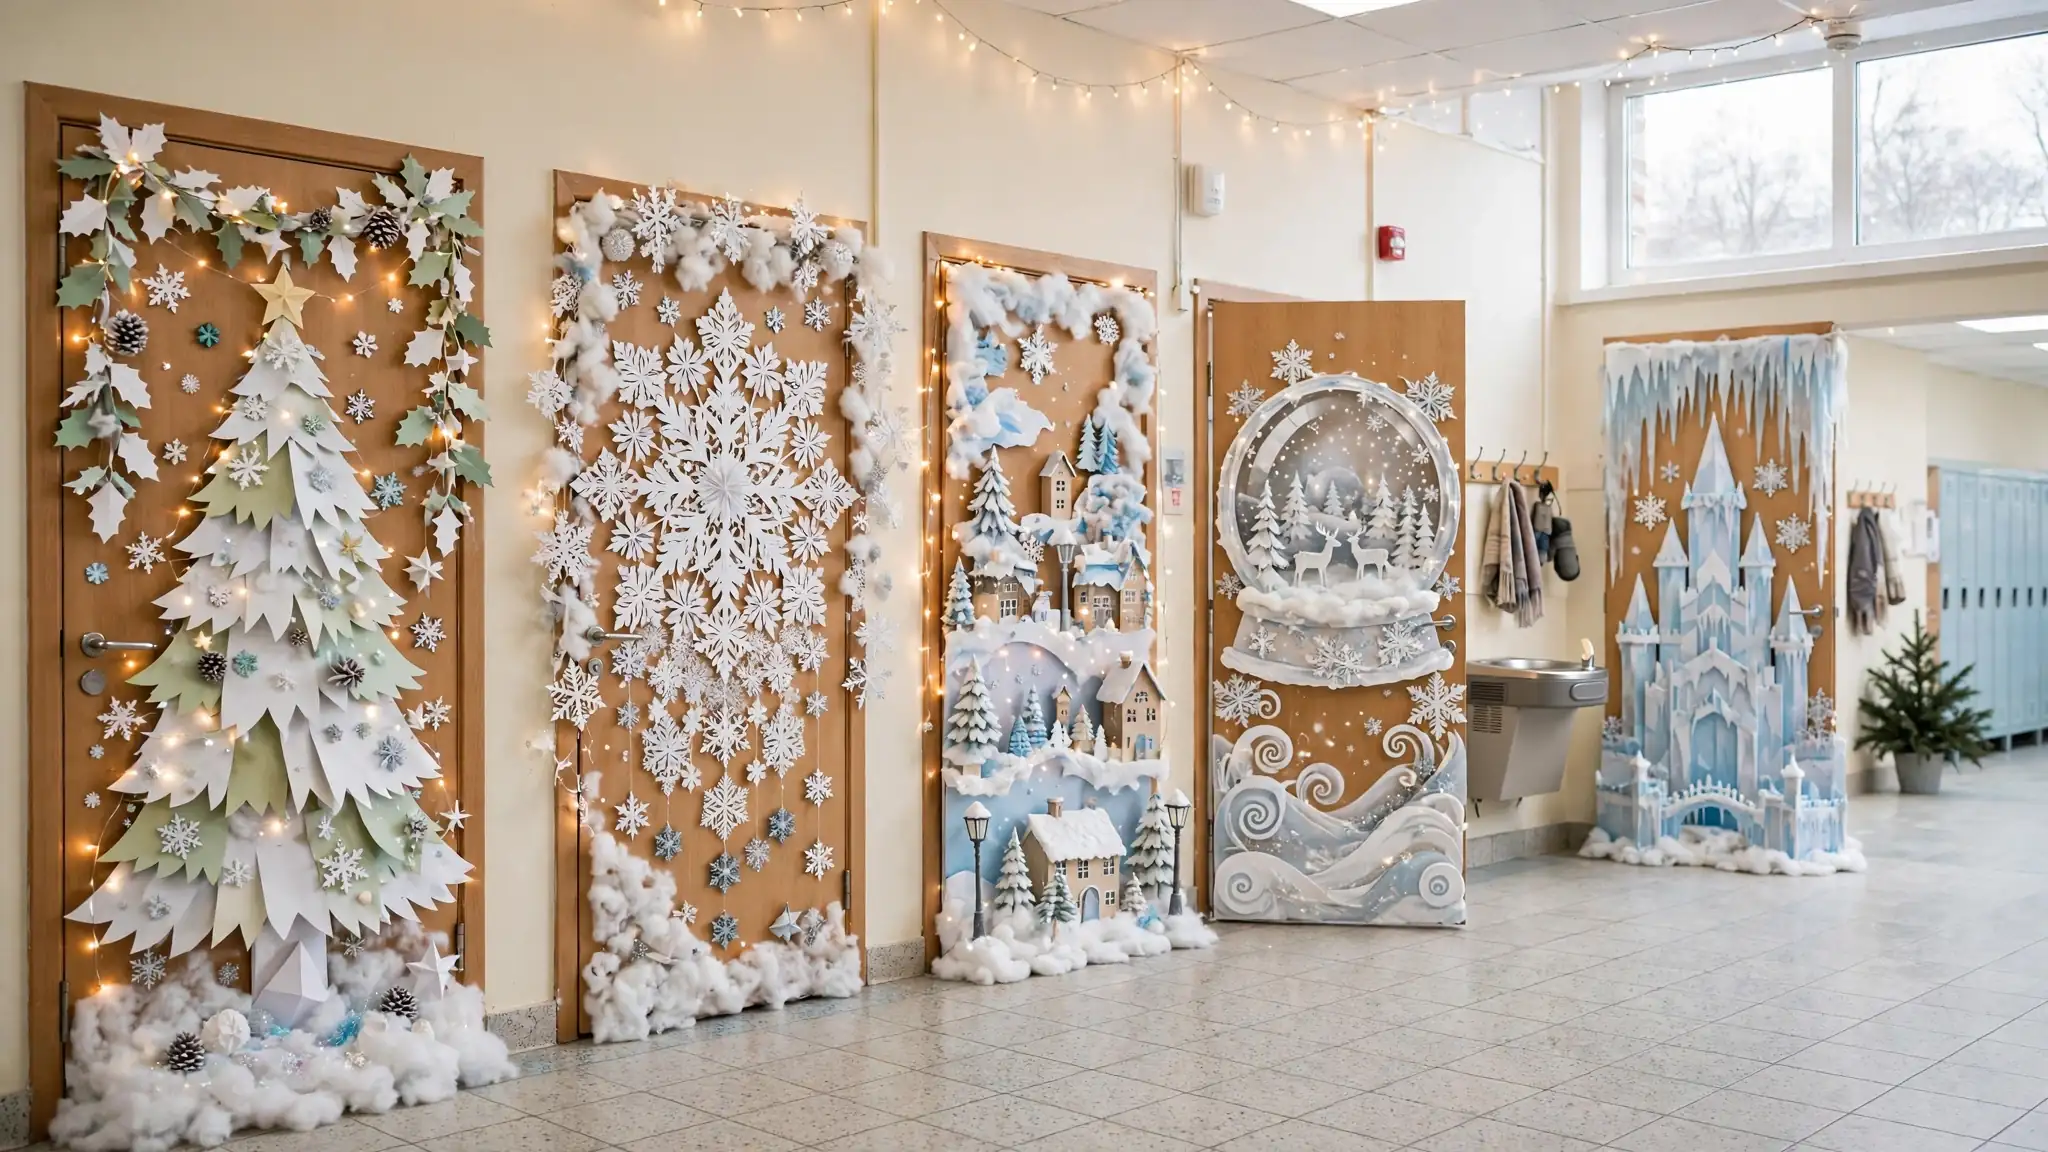
A winter wonderland door can make a school hallway feel magical during Christmas. Snowflakes, stars, paper trees, icy colors, and soft lights can create a beautiful display without a large budget.
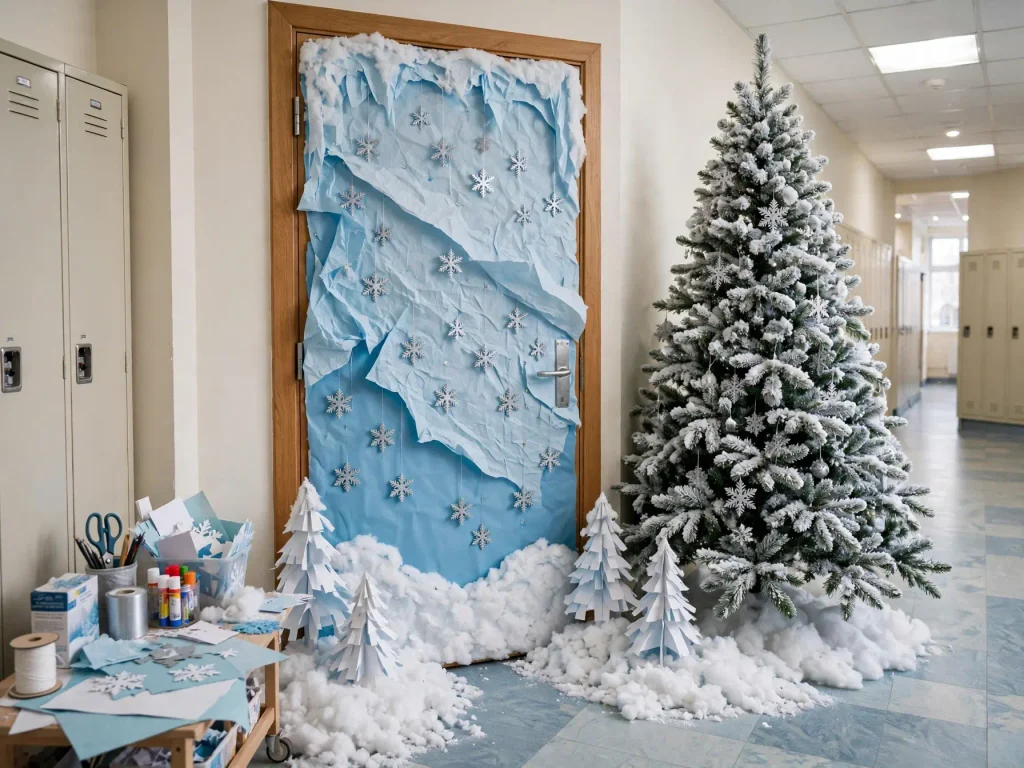
The best winter wonderland doors have one clear focal point. This could be a snowy tree, a friendly snowman, an ice castle, or a glowing winter village.
This guide has 15 Christmas door decorating contest school winter wonderland ideas. The designs can work for classrooms, libraries, counselor offices, and school offices.
Before decorating, check school rules. Keep the door handle, window, hinges, exit signs, and emergency equipment clear.
Winter Wonderland Color Ideas
Choose three to five colors for a neat display.
Classic Snow Theme
- White
- Icy blue
- Silver
- Pale gray
Soft and Magical Theme
- White
- Blush pink
- Gold
- Light blue
Bright Winter Theme
- Royal blue
- White
- Silver
- Dark green
Calm Classroom Theme
- Cream
- Sage green
- White
- Warm brown
Use one dark color for lettering so the main message is easy to read.
Christmas Door Decorating Contest School Winter Wonderland Ideas
1. Snowy Christmas Tree Door

A large snowy Christmas tree makes a clear focal point for a classroom or hallway.
You need:
- White or pale blue background paper
- Green paper
- White paper
- Silver paper
- Snowflake shapes
- Star shape
- Removable adhesive
Steps:
- Cover the door with pale blue paper.
- Cut green paper into large tree layers.
- Add white paper along the tree branches to look like snow.
- Decorate the tree with silver snowflakes.
- Place a large star at the top.
- Add white paper snowbanks at the bottom.
- Write “Welcome to Our Winter Wonderland” above the tree.
Keep the tree flat so the door can open and close easily.
2. Paper Snowflake Door
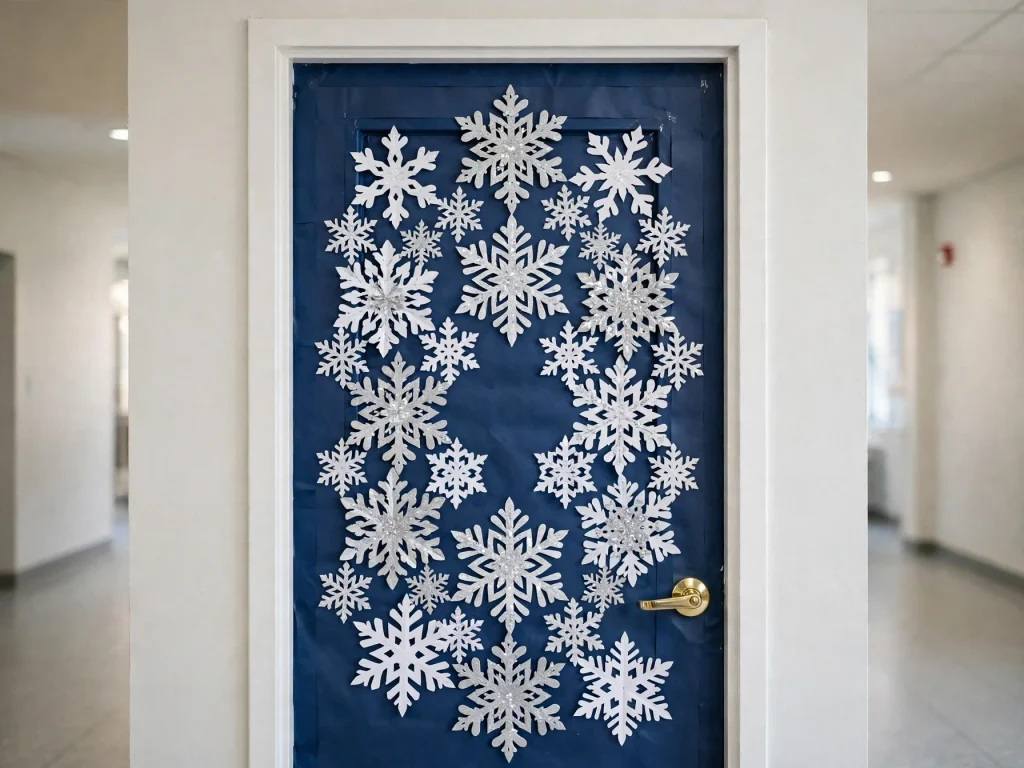
Use large handmade snowflakes to create a simple and elegant design.
You need:
- White paper
- Blue paper
- Silver paper
- Scissors
- Clear tape or approved adhesive
- Large letter cutouts
Steps:
- Cover the door with dark blue paper.
- Make snowflakes in several sizes.
- Arrange the largest snowflakes near the center.
- Add smaller snowflakes around the edges.
- Use silver paper for a few special snowflakes.
- Write “No Two Snowflakes Are Alike.”
- Add a white border around the design.
Students can make the snowflakes, but an adult should supervise cutting tools.
3. Winter Village Door
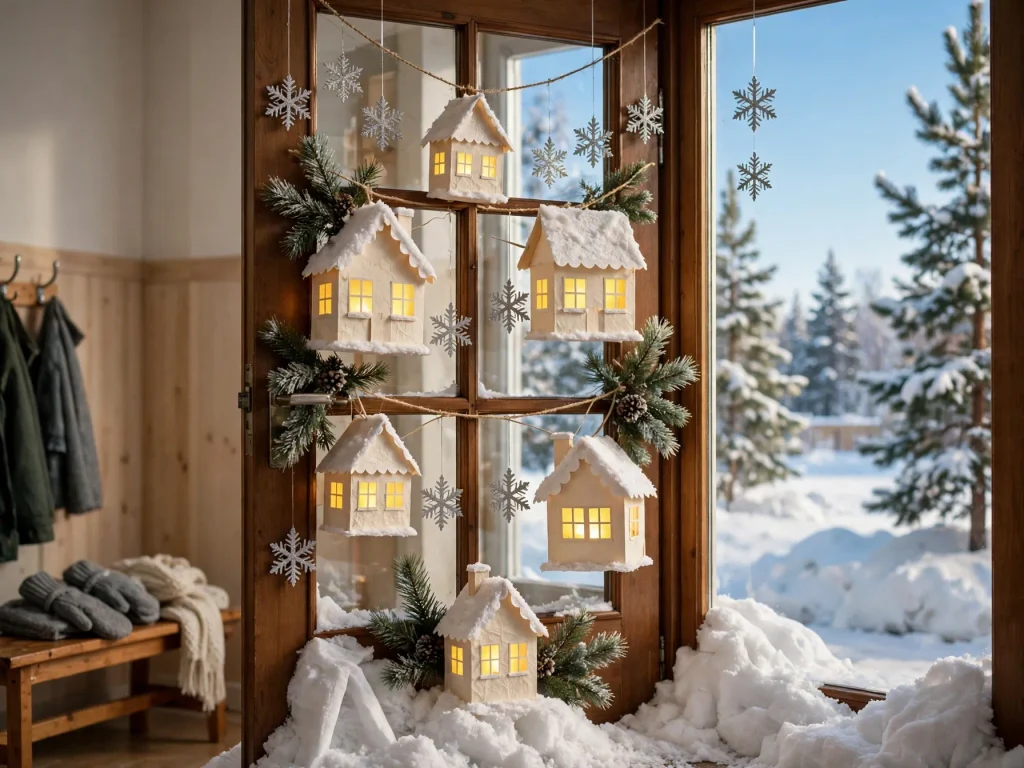
Create a snowy village with small paper houses and warm windows.
You need:
- Blue paper
- White paper
- Brown or gray paper
- Yellow paper
- Cotton or tissue paper
- Snowflake shapes
- Black marker
Steps:
- Cover the door with blue paper.
- Cut small houses from brown, gray, and white paper.
- Add yellow paper windows.
- Place the houses along the bottom.
- Add white snowy rooftops.
- Make paper trees around the village.
- Write “Welcome to Our Winter Village.”
Use paper snow instead of loose cotton that may fall onto the floor.
4. Snowman Welcome Door
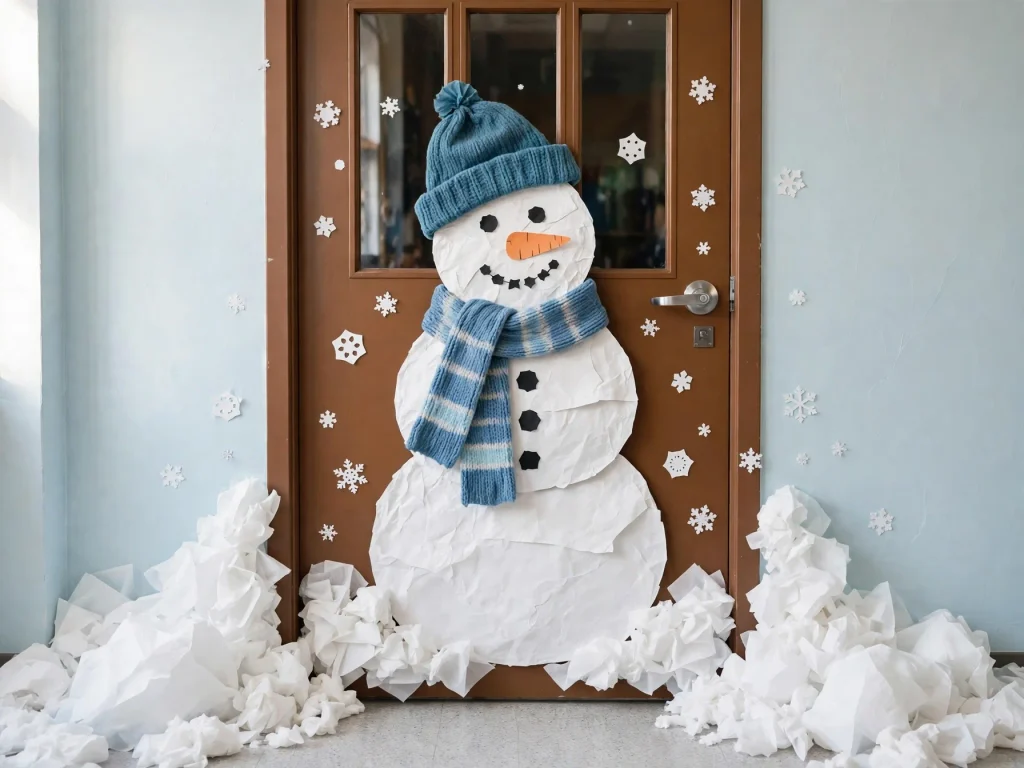
A large snowman is cheerful and easy for students to help create.
You need:
- White paper
- Black paper
- Orange paper
- Blue or red paper
- Black marker
- Snowflake shapes
Steps:
- Cover the door with light blue paper.
- Make three large white circles for the snowman.
- Add black buttons and eyes.
- Use orange paper for the nose.
- Add a scarf and winter hat.
- Place paper snowflakes around the snowman.
- Write “Have a Snow Much Fun Holiday.”
Make the snowman an original design. Do not copy a character from a movie or book.
5. Winter Reading Wonderland
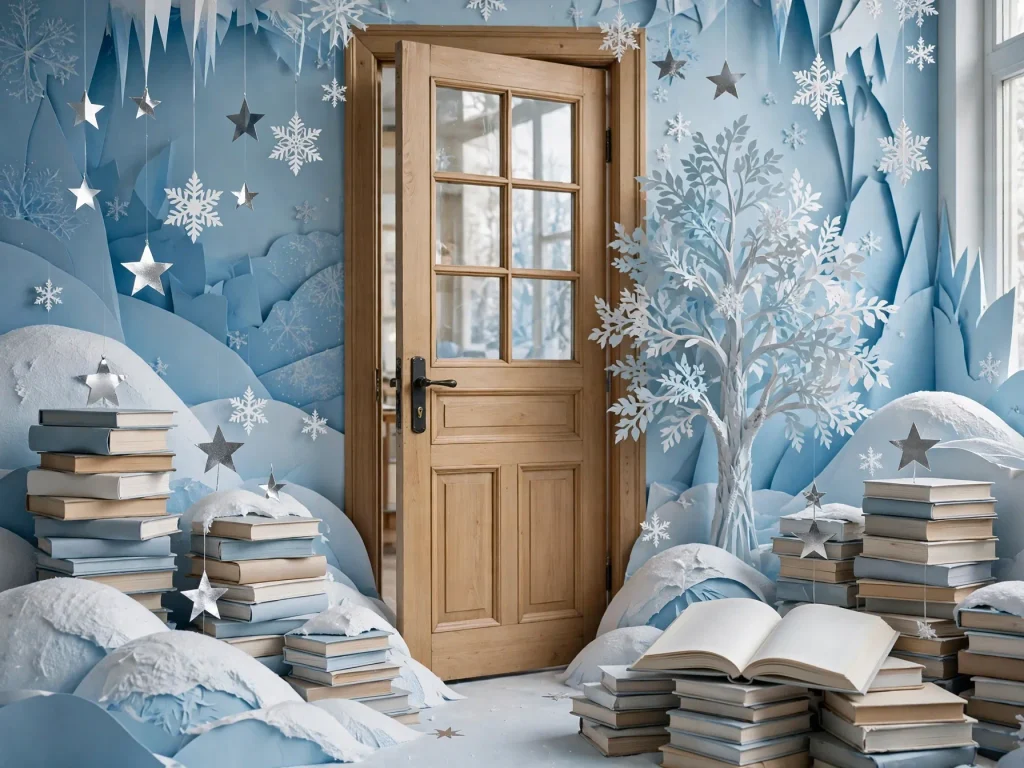
This door works especially well for a school library.
You need:
- Icy blue paper
- White paper
- Paper books
- Silver stars
- Green paper
- Brown paper
- Letter cutouts
Steps:
- Cover the door with icy blue paper.
- Make a snowy ground scene at the bottom.
- Add paper books stacked like small snow hills.
- Create a paper tree with book-shaped branches.
- Add stars and snowflakes.
- Write “There Is Always Time for a Winter Story.”
- Add a paper reading chair or open book.
Use original book covers and simple made-up titles.
6. Ice Castle Door
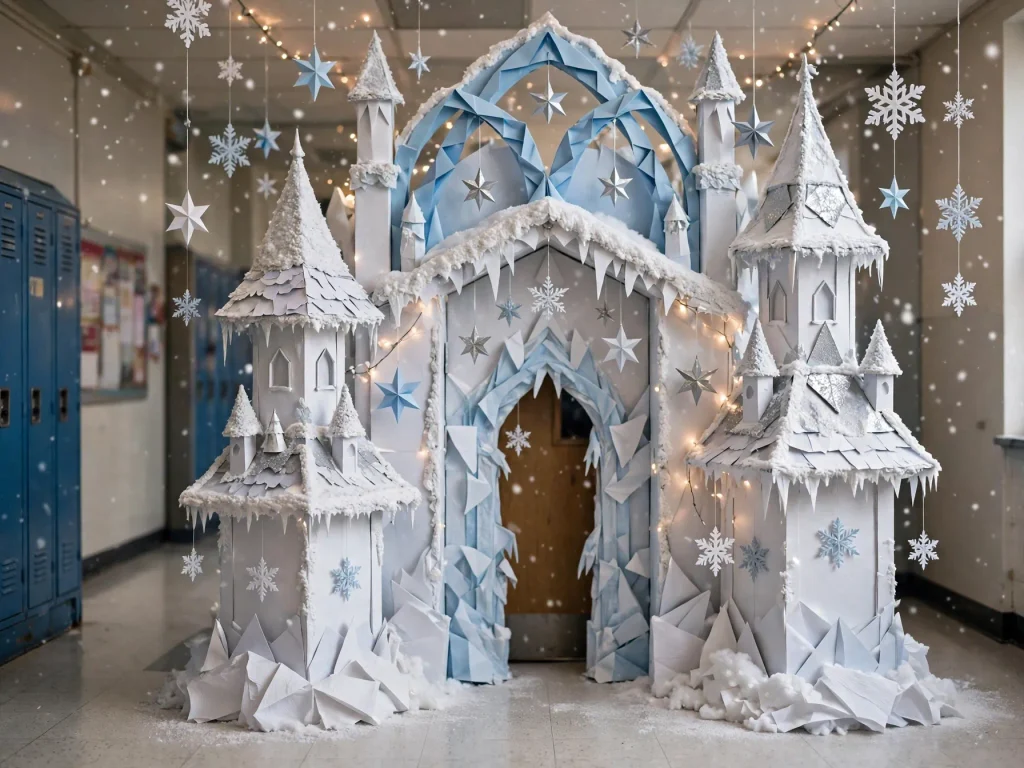
Turn the door into a sparkling winter castle.
You need:
- Light blue paper
- White paper
- Silver paper
- Cardboard
- Star shapes
- Snowflake shapes
- Blue ribbon
Steps:
- Cover the door with light blue paper.
- Cut castle towers from white or silver paper.
- Add pointed snowy rooftops.
- Place the towers on both sides of the door.
- Create an icy arch around the handle without blocking it.
- Add stars and snowflakes.
- Write “Welcome to Our Winter Castle.”
Keep cardboard pieces thin and firmly attached.
7. Northern Lights Winter Door
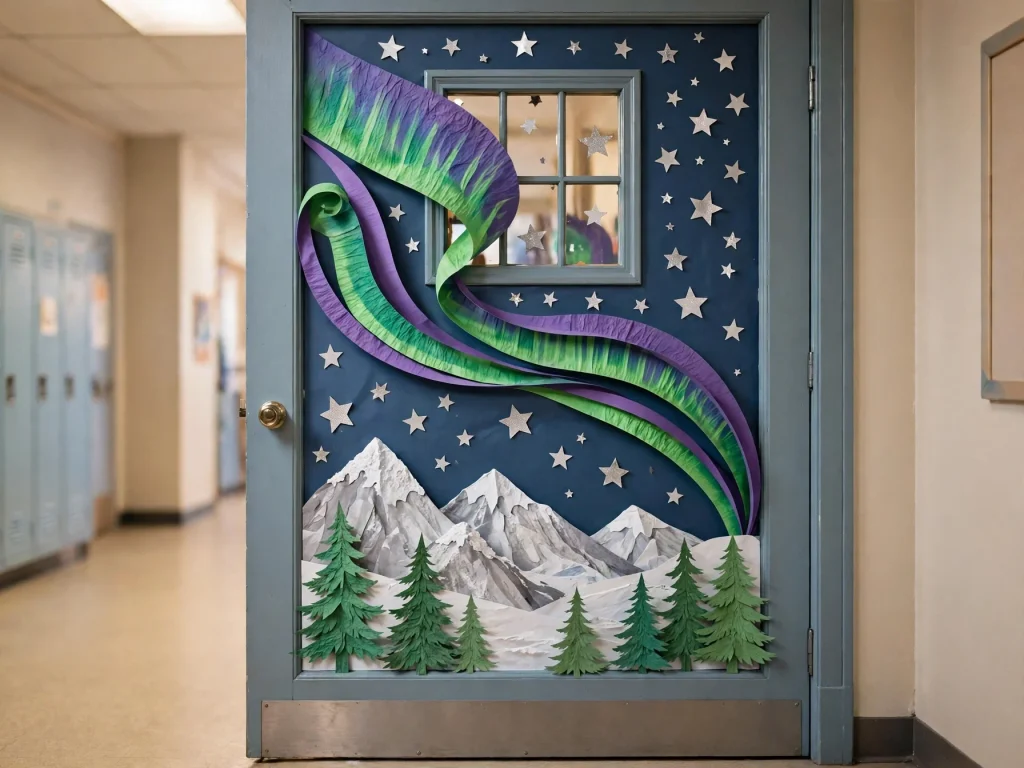
Use green, blue, and purple paper to create a colorful sky.
You need:
- Dark blue paper
- Green paper
- Purple paper
- White paper
- Silver stars
- Black paper
- Removable adhesive
Steps:
- Cover the door with dark blue paper.
- Cut long curved strips in green and purple.
- Arrange the strips like northern lights.
- Add a snowy mountain scene at the bottom.
- Place white stars across the sky.
- Add paper pine trees.
- Write “Bright Lights, Winter Nights.”
Use lighter colors for the words so they stand out against the dark background.
8. Penguin Winter Party
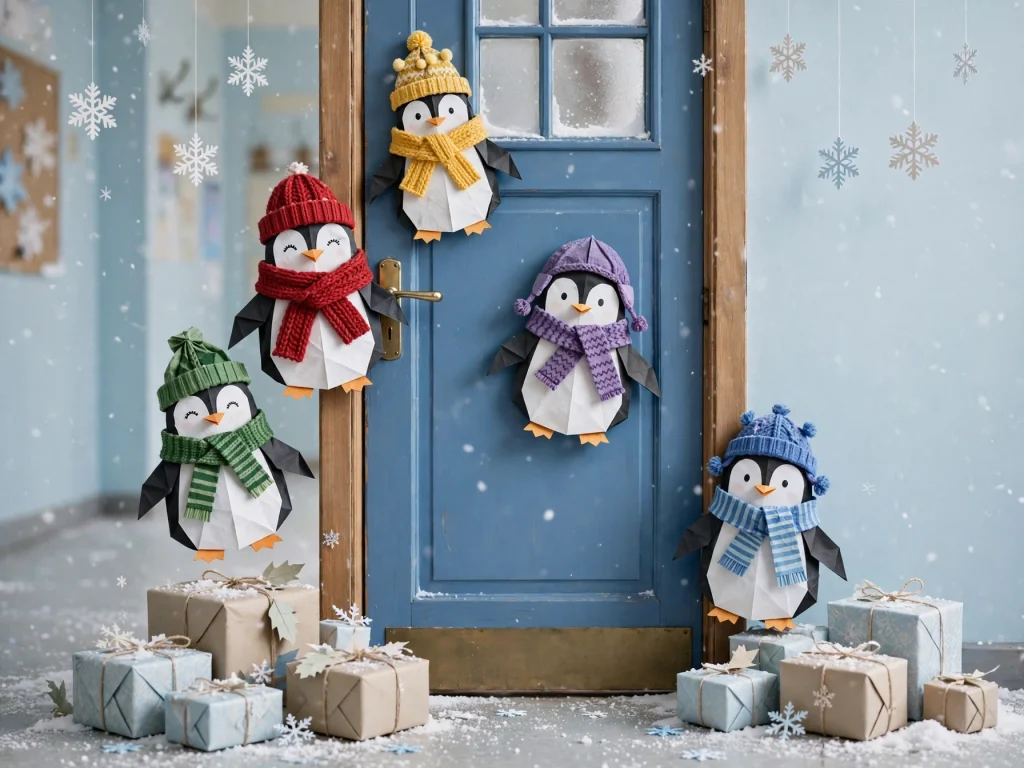
A group of original paper penguins can make the door playful.
You need:
- Black paper
- White paper
- Orange paper
- Blue paper
- Silver paper
- Snowflake shapes
- Small paper scarves
Steps:
- Cover the door with pale blue paper.
- Make several simple penguin shapes.
- Give each penguin a different paper scarf or hat.
- Place them on white paper ice or snow.
- Add snowflakes and small paper gifts.
- Write “Waddle Into Winter Cheer.”
- Add a blue and white border.
Create original penguins with simple shapes. Do not copy recognizable media characters.
9. Winter Kindness Snow Globe
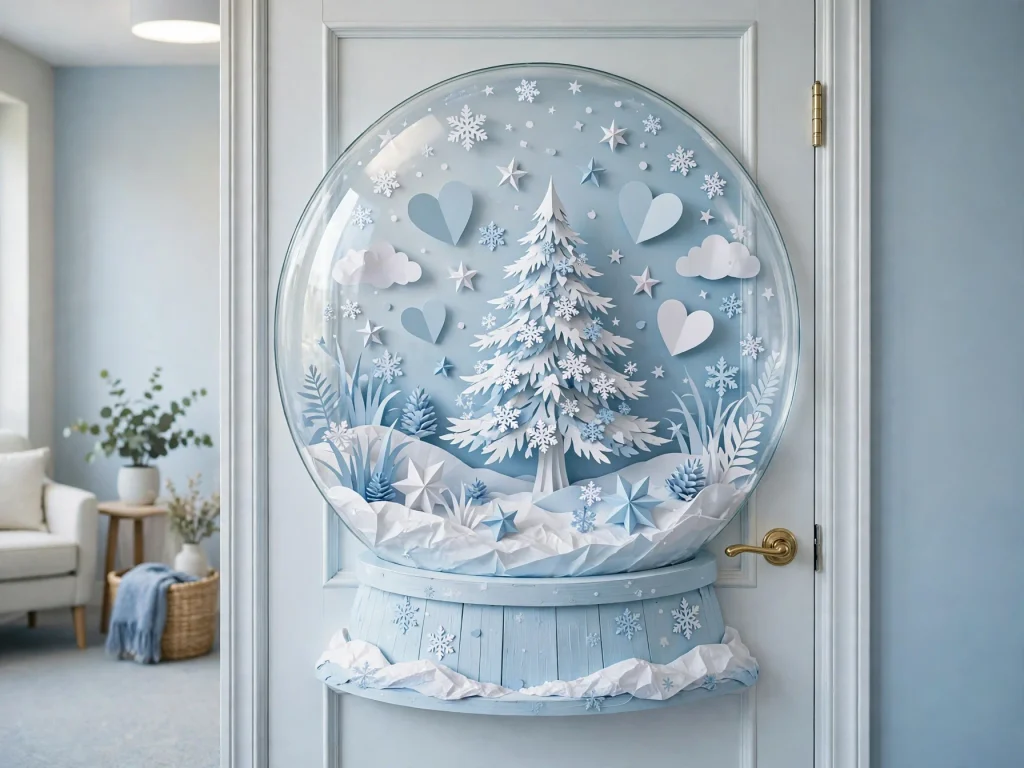
This design is a good choice for a counselor’s office.
You need:
- Blue paper
- White paper
- Clear plastic sheet or white paper
- Silver paper
- Paper hearts
- Markers
- Large circle template
Steps:
- Cover the door with a pale blue background.
- Make a large snow globe shape.
- Add a snowy tree, stars, and paper hearts inside.
- Write general kindness words on the hearts.
- Add a wide paper base under the globe.
- Write “Kindness Makes Our School Shine.”
- Add snowflakes around the outside.
Do not place private student notes or names on the public display.
10. Snowy Mountain Adventure
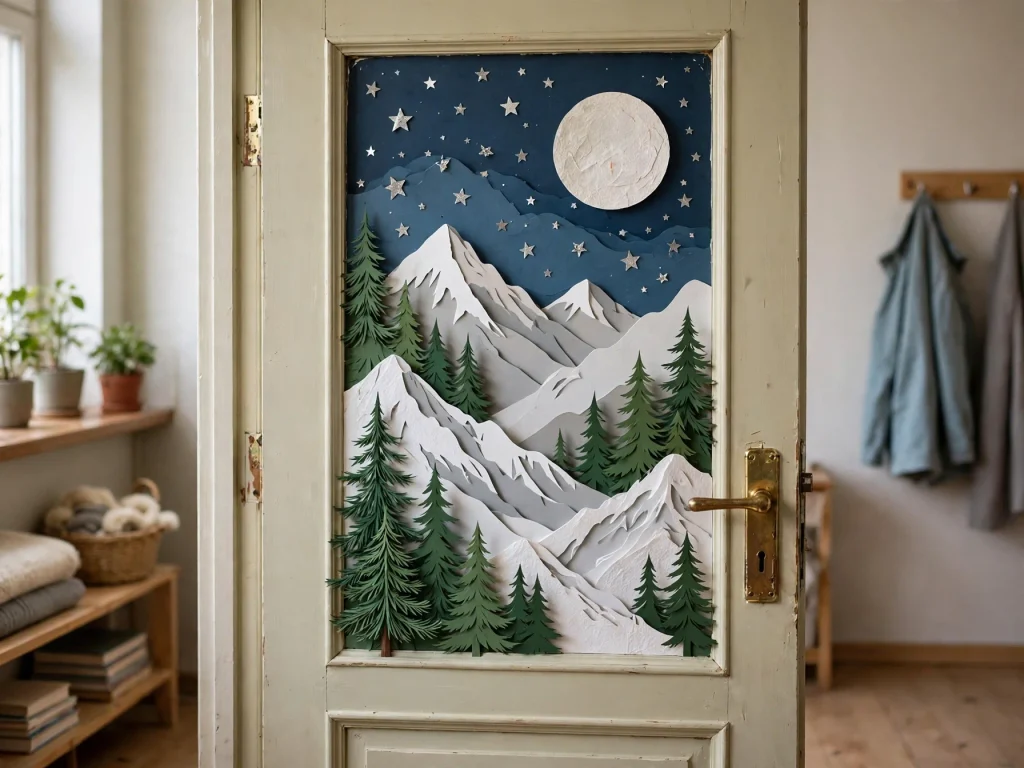
Make the door look like a snowy mountain scene.
You need:
- Dark blue paper
- White paper
- Gray paper
- Green paper
- Silver paper
- Star shapes
- Letter cutouts
Steps:
- Cover the door with dark blue paper.
- Cut white and gray mountains.
- Add snowy peaks across the lower half.
- Place green pine trees in front of the mountains.
- Add stars and a paper moon.
- Write “Climb High, Dream Big.”
- Add small paper snowflakes near the top.
This theme works well for a classroom because the message can connect to learning goals.
11. Cozy Cabin in the Snow
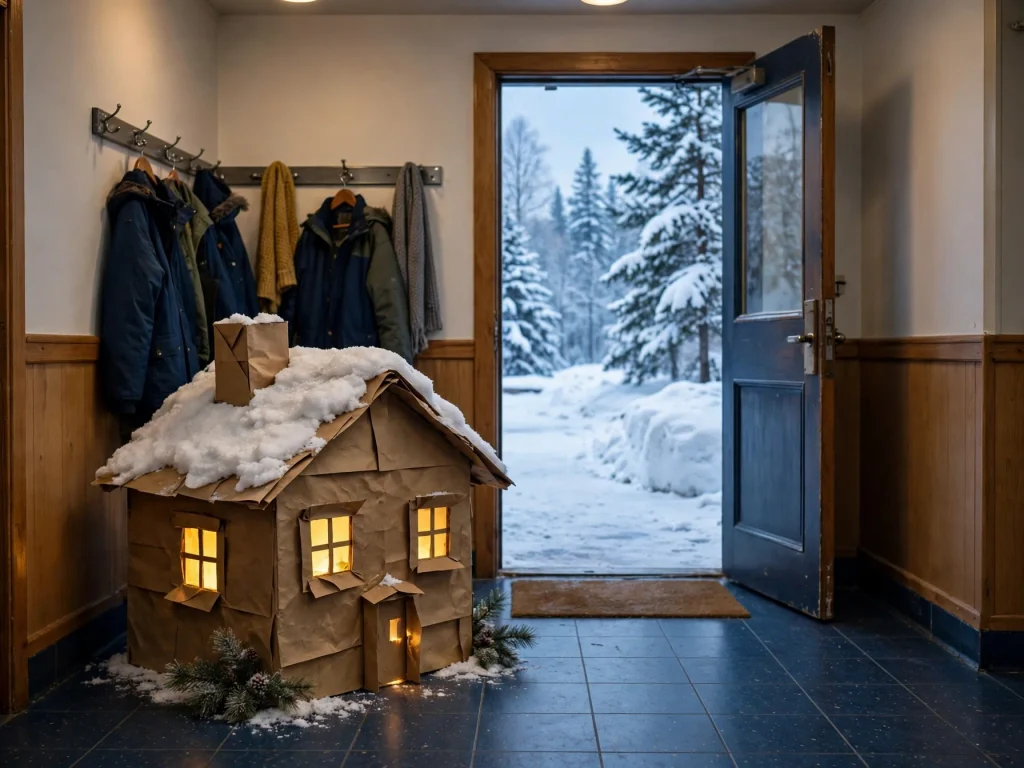
Create a warm cabin surrounded by winter scenery.
You need:
- Brown paper
- White paper
- Blue paper
- Yellow paper
- Green paper
- Paper logs or strips
- Snowflake shapes
Steps:
- Cover the door with light blue paper.
- Build a paper cabin in the center.
- Add yellow windows for a warm glow.
- Place white snow on the roof.
- Add pine trees around the cabin.
- Create a smoke shape from white paper.
- Write “Warm Wishes From Our Winter Cabin.”
Do not use real lights or candles unless the school approves battery-powered LED lights.
12. Snow Globe Classroom
Turn the whole door into a large snow globe.
You need:
- White paper
- Pale blue paper
- Silver paper
- Cardboard
- Snowflake shapes
- Paper trees
- Letter cutouts
Steps:
- Make a large circle that covers most of the door.
- Fill the circle with paper snow, trees, stars, and simple winter shapes.
- Add a wide base at the bottom.
- Decorate the base with silver or blue details.
- Add the class name only if the school allows it.
- Write “Our Class Is a Winter Wonderland.”
Use flat paper pieces so the door remains easy to use.
13. Winter Mailbox Door
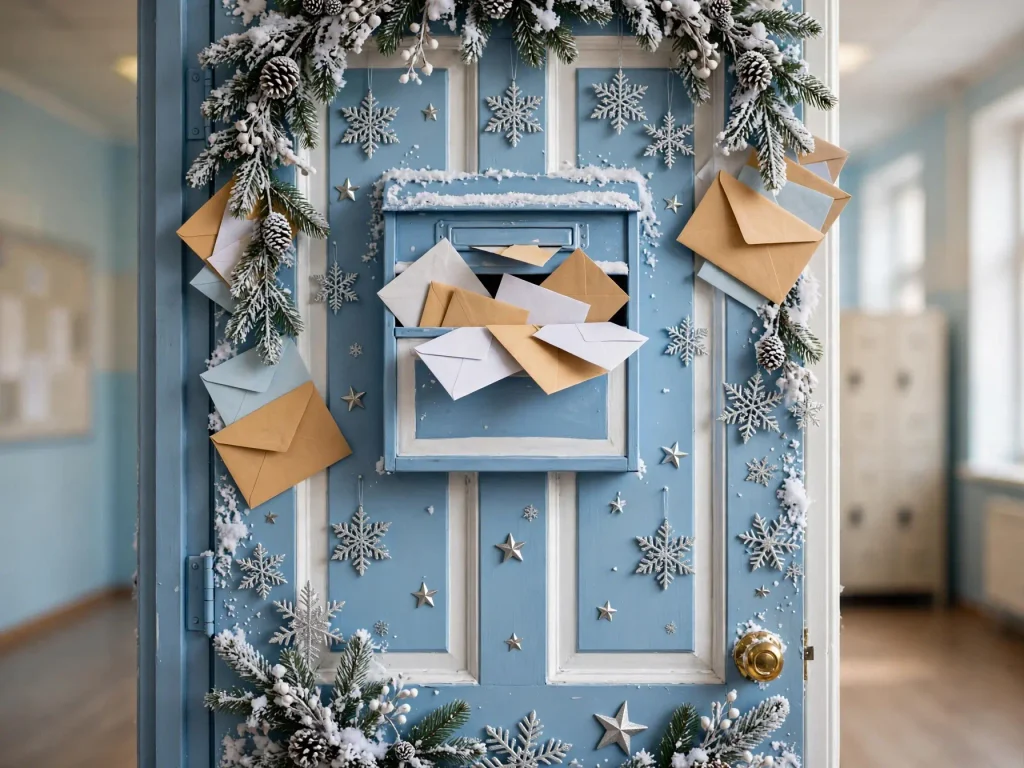
This design works well for a school office or family welcome area.
You need:
- Red or blue paper
- White paper
- Silver paper
- Paper envelopes
- Snowflake shapes
- Gold paper
- Marker
Steps:
- Cover the door with deep blue or berry paper.
- Create a large paper mailbox.
- Add white snowy details to the top.
- Place paper envelopes around the mailbox.
- Add silver snowflakes and stars.
- Write “Winter Wishes for Our School.”
- Use general messages such as “Welcome,” “Thank You,” and “Kindness.”
Do not show real student names, private notes, or addresses.
14. Arctic Animal Parade
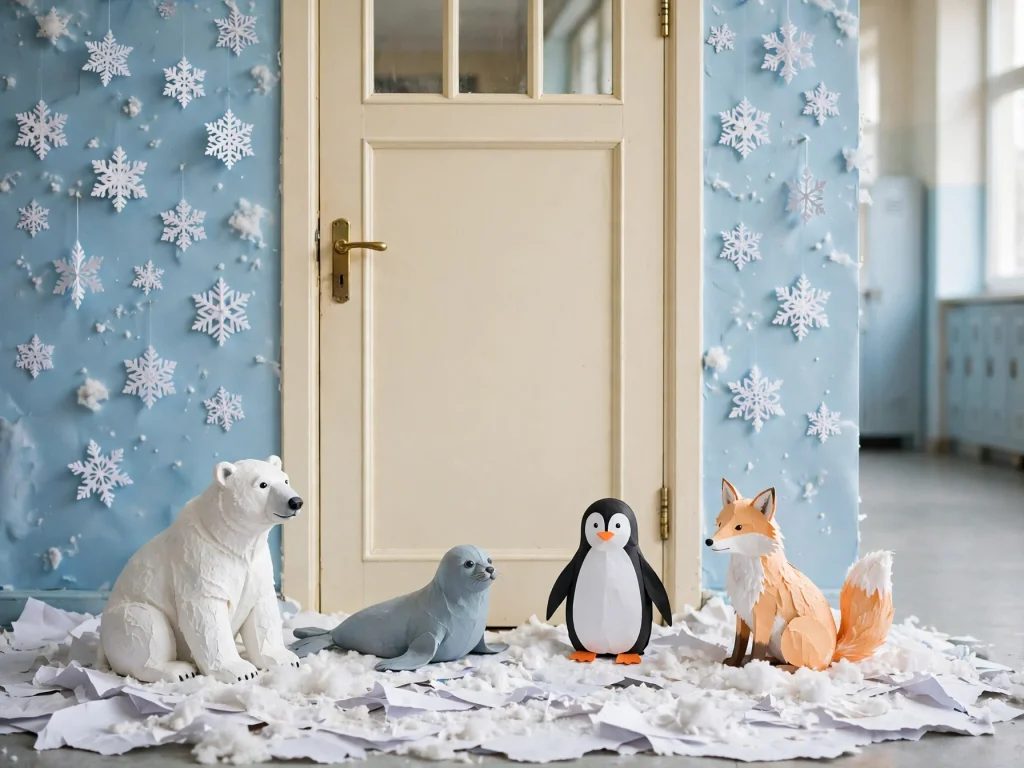
Decorate the door with simple paper animals from a winter scene.
You need:
- White paper
- Blue paper
- Gray paper
- Black paper
- Orange paper
- Silver paper
- Snowflake shapes
Steps:
- Cover the door with icy blue paper.
- Create original paper animals such as a polar bear, seal, penguin, and arctic fox.
- Place them on paper snowbanks.
- Add snowflakes and ice shapes.
- Use small paper scarves for color.
- Write “A Parade of Winter Friends.”
- Add a white border around the door.
Keep the animals simple and original. Avoid copying characters from films or books.
15. Winter Wishes Tree

Create a tree filled with positive winter wishes.
You need:
- Brown paper
- White paper
- Silver paper
- Blue paper
- Paper ornaments
- Markers
- Star shapes
Steps:
- Make a large bare tree from brown paper.
- Add white snow to the branches.
- Create paper ornaments in blue, silver, and white.
- Write general wishes on the ornaments.
- Use messages such as “peace,” “friendship,” “courage,” and “joy.”
- Place a large star at the top.
- Write “Winter Wishes Grow Here.”
Use general messages instead of asking students to share personal information.
Tips for a Strong Winter Wonderland Display
Choose One Main Focal Point
Use one large tree, snow globe, castle, village, or snowman as the main feature. Smaller decorations should support it.
Use Layered Paper
Layer white paper over blue paper to create snow. Add silver paper over white shapes for a simple icy effect.
Keep Letters Large
Use dark blue, navy, or berry letters on a pale background. Use white or silver letters on a dark background.
Add Texture Carefully
Felt, ribbon, paper doilies, and tissue paper can add texture. Avoid loose glitter, beads, and small pieces.
Connect the Door to the Room
Use book details for a library. Use kindness messages for a counselor. Use a welcoming village for the main office.
Include Students Safely
Students can draw stars, cut paper with supervision, make snowflakes, and help choose messages. Adults should handle hot glue, staples, ladders, and sharp tools.
Keep the Design Flat
A flat design is safer in a busy hallway. Do not attach large objects that can fall or block the doorway.
Simple Judging Categories
Use the same categories for every door:
- Clear winter wonderland theme
- Creativity
- Connection to the room
- Color and design
- Neatness
- Student participation
- Positive message
- Safety
A simple door can score well when the theme is easy to understand and the work is neat.
Planning and Make-Ahead Guide
One Week Before
- Choose the winter wonderland theme.
- Decide on three to five colors.
- Check school decorating rules.
- Measure the door.
- Sketch the design.
- Gather paper and craft supplies.
Two or Three Days Before
- Cut large background pieces.
- Prepare snowflakes, trees, stars, and letters.
- Make the main focal point.
- Test the layout on a table or wall.
- Sort supplies into containers.
Decorating Day
- Clean and dry the door.
- Use school-approved removable adhesive.
- Attach the background first.
- Add the focal point.
- Add smaller details and the message.
- Check the handle, window, hinges, and signs.
After the Contest
Remove decorations carefully. Pull tape slowly and check the door for adhesive marks. Store reusable snowflakes, trees, and stars for another winter event.
Safety Notes
- Do not cover a door window if it is needed for visibility.
- Keep the handle, hinges, exit signs, and emergency equipment clear.
- Do not use real candles or open flames.
- Use LED lights only if approved by the school.
- Adults should handle hot glue, staples, ladders, spray paint, and sharp tools.
- Keep paper and fabric away from heaters and electrical equipment.
- Avoid loose glitter, beads, and tiny objects around young children.
- Use removable adhesive approved for the door surface.
- Make sure the door opens, closes, and locks normally.
- Keep the hallway floor free from paper scraps and fallen decorations.
Frequently Asked Questions
What colors work best for a winter wonderland school door?
White, icy blue, silver, navy, pale gray, and soft purple work well. Add pink, gold, or green for a warmer accent.
What is an easy winter wonderland door idea?
A paper snowflake door, snowy Christmas tree, or large snowman is simple and affordable. These designs need only paper, scissors, and approved adhesive.
How can students help with the door?
Students can make paper snowflakes, draw stars, choose general messages, and help arrange flat decorations. Adults should supervise cutting and handle hot glue, ladders, and staples.
What theme works well for a school library?
A winter reading wonderland with paper books, snow-covered trees, and stars connects the design to the library.
What theme works well for a counselor’s office?
A kindness snow globe or winter wishes tree can make the counselor’s door feel supportive and welcoming.
How do we decorate a door on a small budget?
Use construction paper, cardboard, recycled paper bags, old wrapping paper, and leftover ribbon. A strong layout matters more than expensive materials.
Can we use cotton balls for snow?
Yes, but attach them securely and use them sparingly. Loose cotton can fall onto the floor and create a mess. White paper is often easier to clean.
Can we use lights?
Use lights only if the school approves them. Battery-powered LED lights are safer than open flames. Keep wires secure and away from walkways.
Final Thoughts
A winter wonderland door can bring a calm and magical feeling to a school hallway. A snowy tree, paper village, ice castle, snow globe, or kindness display can all become a strong contest entry.
Choose one clear focal point, use a simple color palette, and involve students in safe ways. With paper, recycled supplies, and careful planning, a school door can look festive, creative, and welcoming.