Hanukkah Classroom Decorations: 17 Easy Ideas for Teachers
Hanukkah is the Festival of Lights. It is a time for family, hope and joy. A few simple decorations can make your classroom bright and welcoming.

In this post, you will find 17 easy Hanukkah classroom decorations. Most use paper, glue and basic craft supplies. Many can be made by students. There are ideas for your door, walls, windows, tables and shelves.
Each idea has a short supply list and simple steps. Pick a few that fit your class and your time.
Before You Start
- Check your school rules first. Some schools have rules about holiday and religious décor.
- Teach the meaning. A menorah has 9 branches: 8 for the 8 nights and 1 helper candle, called the shamash.
- A dreidel has four Hebrew letters: Nun, Gimel, Hei and Shin. In Israel, the last letter is Pe.
- Use classic colors like blue, white, silver and gold.
- Invite students who celebrate to share their own traditions. Do not assume. Ask kindly.
- Make sure every child feels welcome.
Basic Supplies to Keep on Hand
- Blue, white, silver and gold construction paper and cardstock
- Washable glue and glue sticks
- Safe scissors for kids
- Tape and painter’s tape
- Markers and crayons
- Tissue paper in blue and white
- Craft sticks
- Paper plates
- Battery LED candles
- String or ribbon
Hanukkah Door Decorations: Classroom Door Ideas
Your door is the first thing students see. These ideas make a warm welcome.
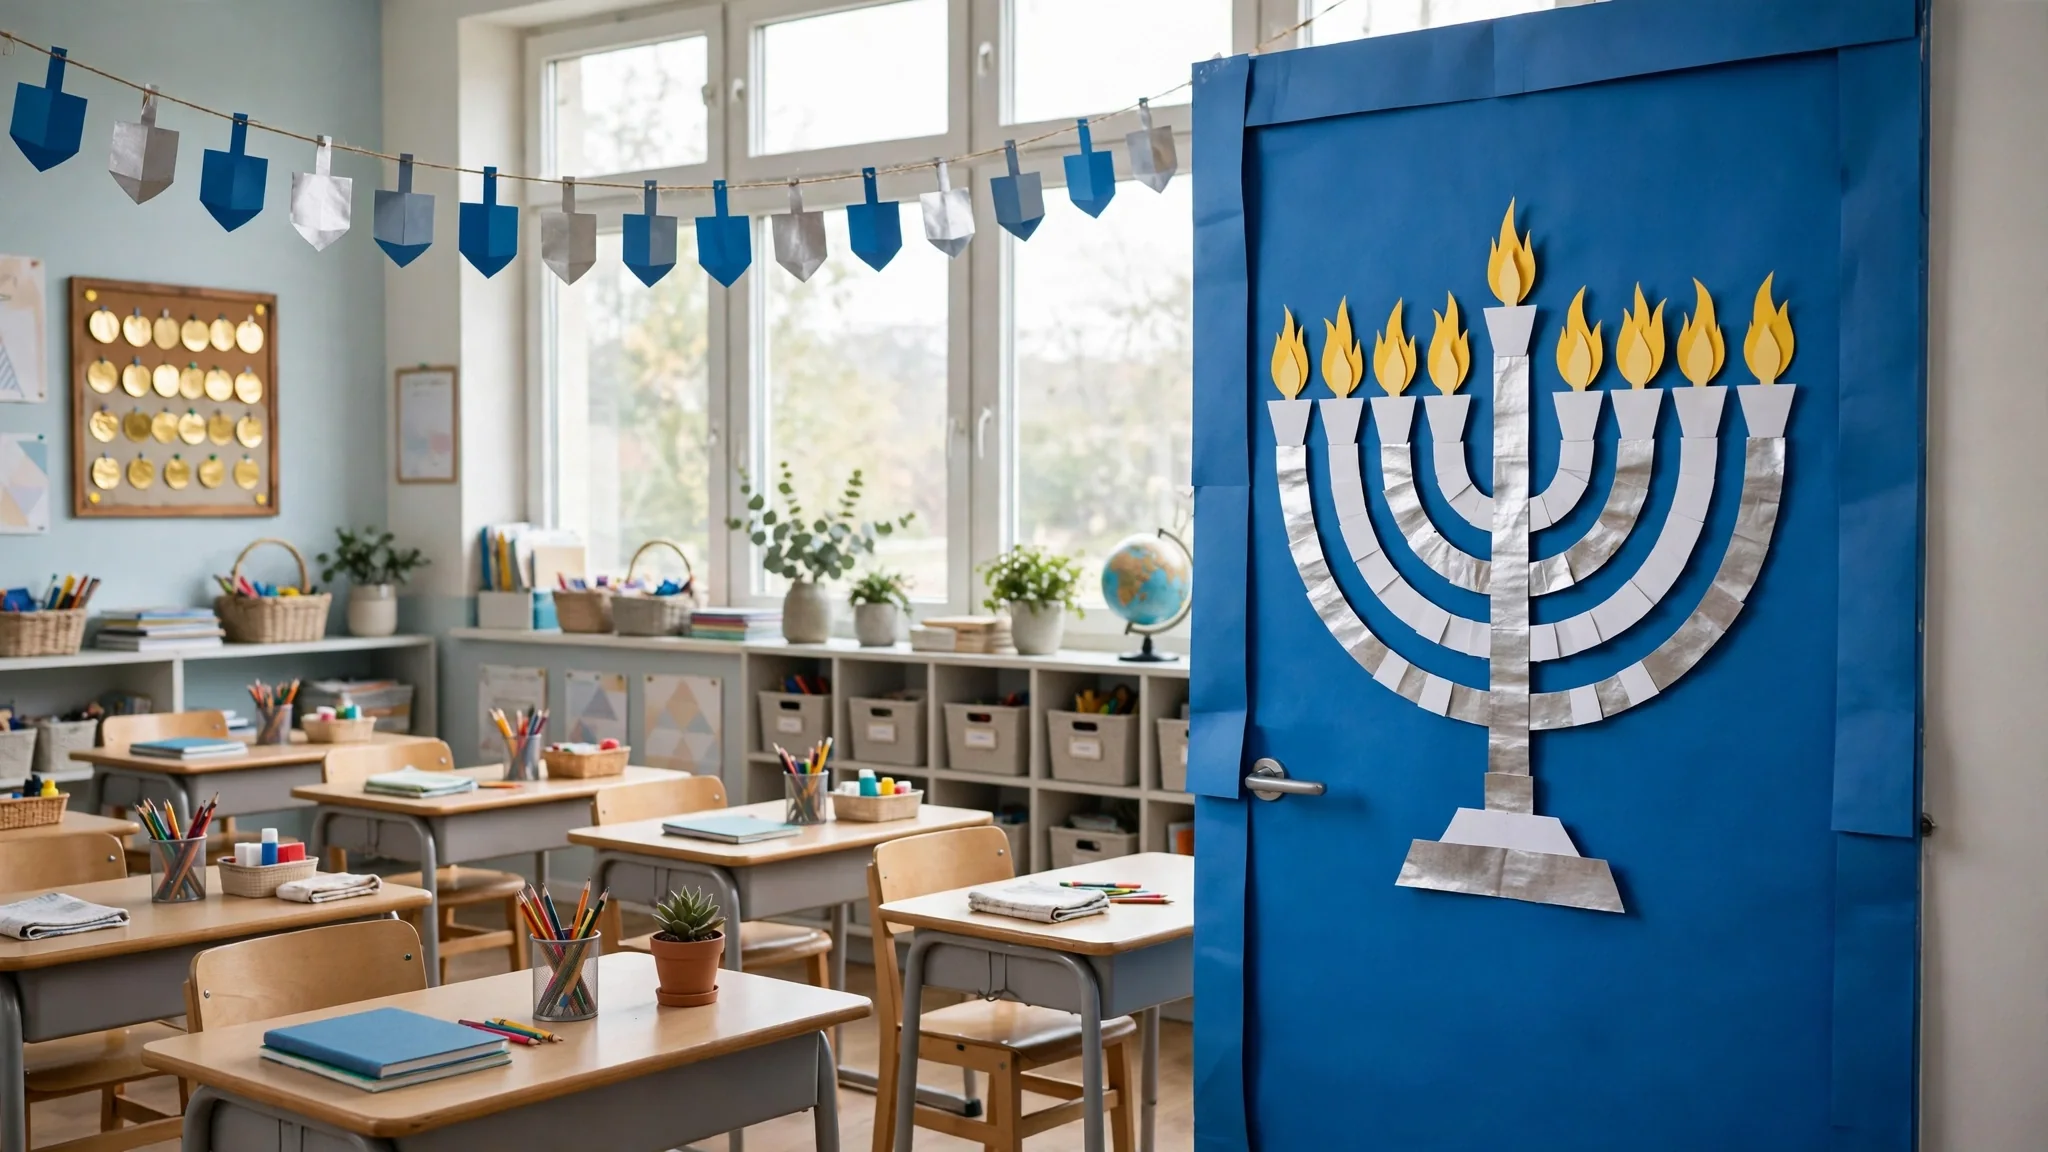
1. Giant Paper Menorah Door
You need: Blue butcher paper, yellow and orange paper, white paper, scissors, tape.

- Cover the door with blue butcher paper.
- Cut a large menorah shape from white or silver paper. Give it 9 branches, with the center one a little taller.
- Cut 9 flames from yellow and orange paper.
- Tape the menorah to the door and add the flames.
- Write “Happy Hanukkah” above it.
2. Dreidel Door with Student Names
You need: Cardstock in blue, white and silver, markers, scissors, tape.

- Cut one big dreidel shape for each student.
- Let students write their names and decorate them.
- Tape the dreidels on the door in a big pattern.
- Add one letter (Nun, Gimel, Hei or Shin) on each dreidel if you like.
3. Blue and Silver Streamer Door Curtain
You need: Blue, white and silver streamers, tape, scissors.

- Cut streamers to the height of your door frame.
- Tape them across the top of the door frame, side by side.
- Mix the colors for a shiny waterfall look.
- Keep the middle clear so students can walk through safely.
4. “Light Up Our Class” Flame Door
You need: Blue paper, yellow paper, markers, scissors, glue.
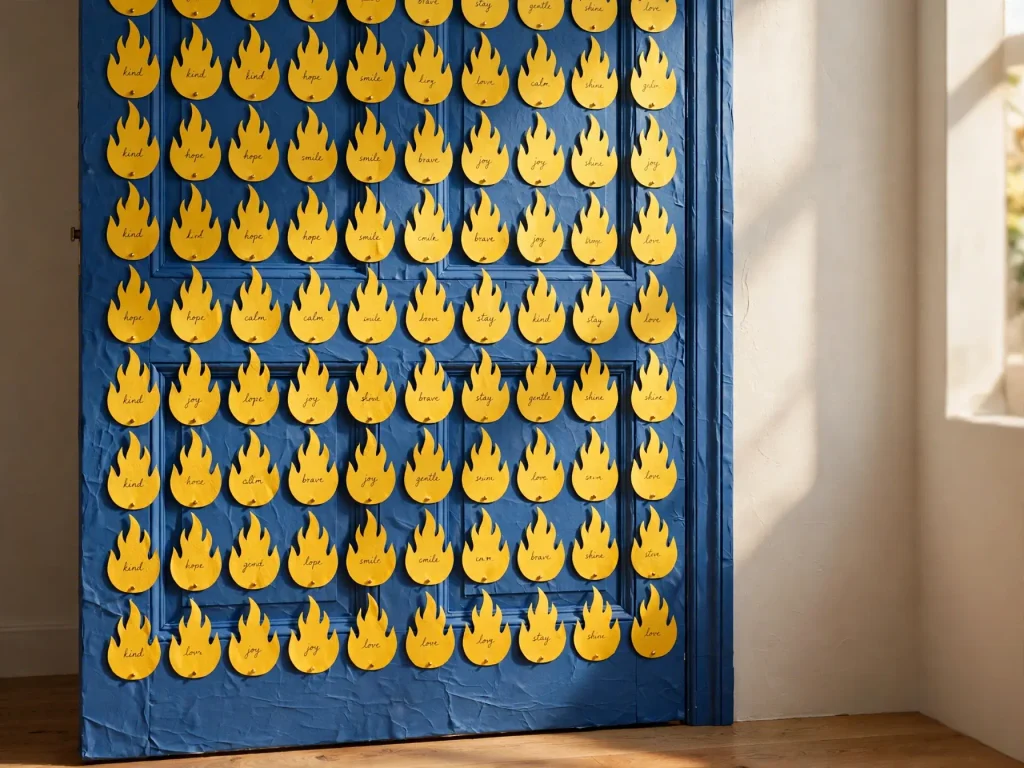
- Cover the door with blue paper.
- Cut flame shapes from yellow paper, one for each student.
- Ask each student to write a kind word on their flame, such as “hope,” “joy” or “friend.”
- Glue the flames in rows. Add the title “Light Up Our Class.”
5. Star of David Door Frame
You need: Craft sticks, blue paint, silver glitter glue, white glue.
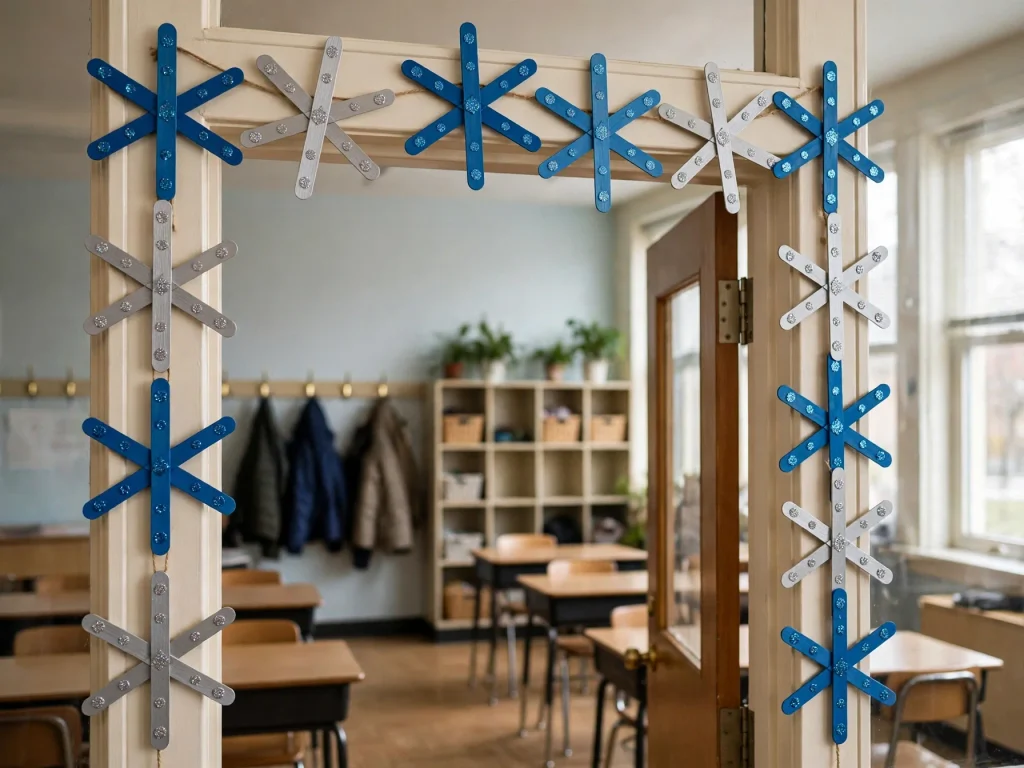
- Paint craft sticks blue. Let them dry.
- Glue 3 sticks into a triangle. Make a second triangle.
- Place one triangle upside down over the other to form a six-point star.
- Add glitter glue dots.
- Tape the stars around the door frame.
Best for ages 6 and up. Younger children can paint the sticks, and an adult can help glue.
Wall and Bulletin Board Ideas
6. Gelt Coin Math Board
You need: Gold paper circles, black marker, blue background paper, glue.
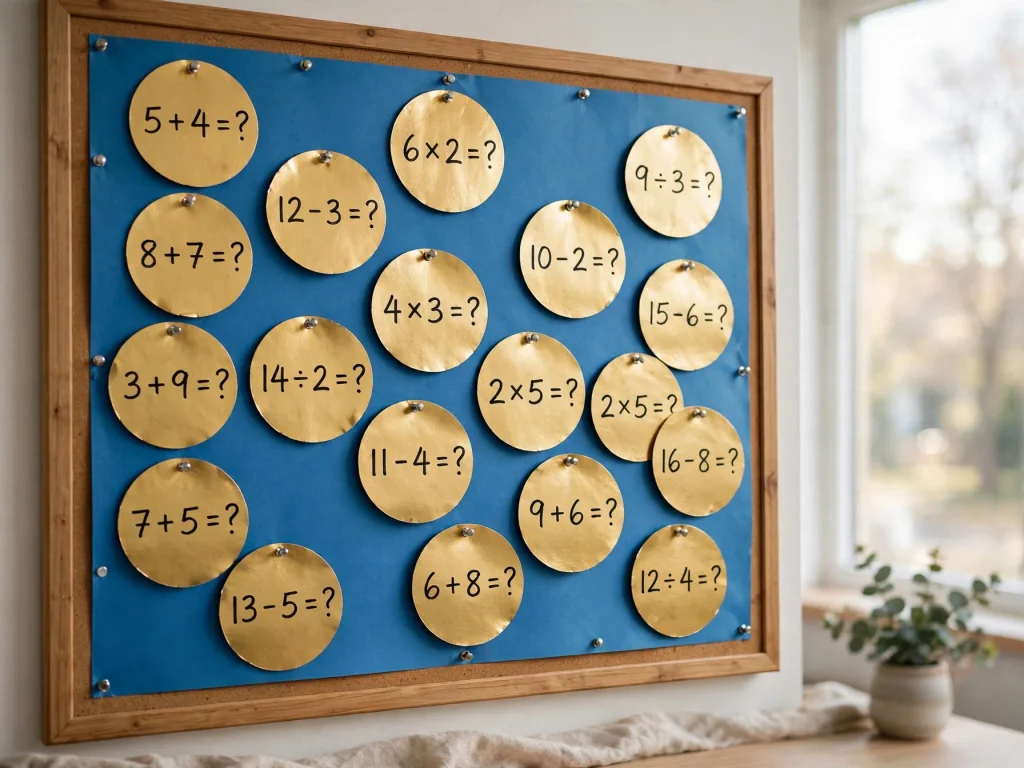
- Cover a board with blue paper.
- Cut out gold paper coins.
- Write a math fact on each coin, such as 4 + 4.
- Let students glue coins to the board when they solve the problem.
- Use paper coins only. If you use real gelt, check allergy lists and school food rules.
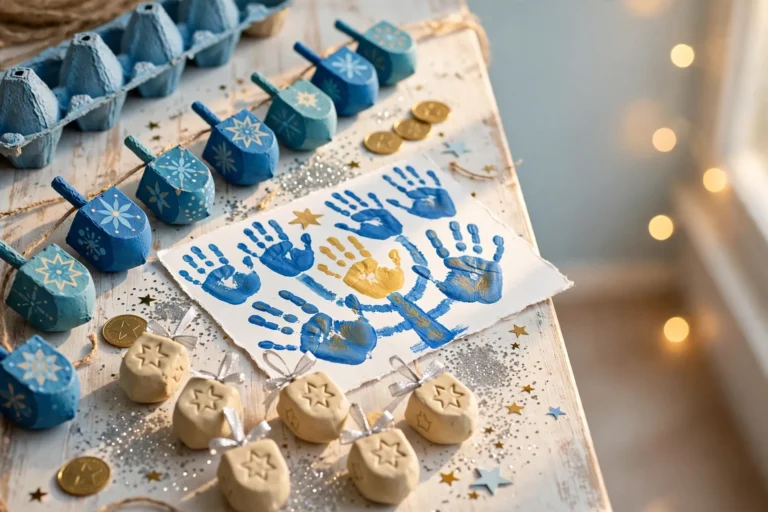
7. Handprint Menorah Wall Art
You need: Blue and white paper, washable paint or marker, yellow paper, glue.

- Trace each student’s hand on paper and cut it out.
- Glue 4 hands on each side of a center hand to make a row of 9. Make the center hand a bit higher.
- Add a yellow paper flame above each hand.
- Hang it on a wall with the title “Together We Shine.”
8. Eight Nights Countdown Wall
You need: Blue and silver paper, markers, tape.
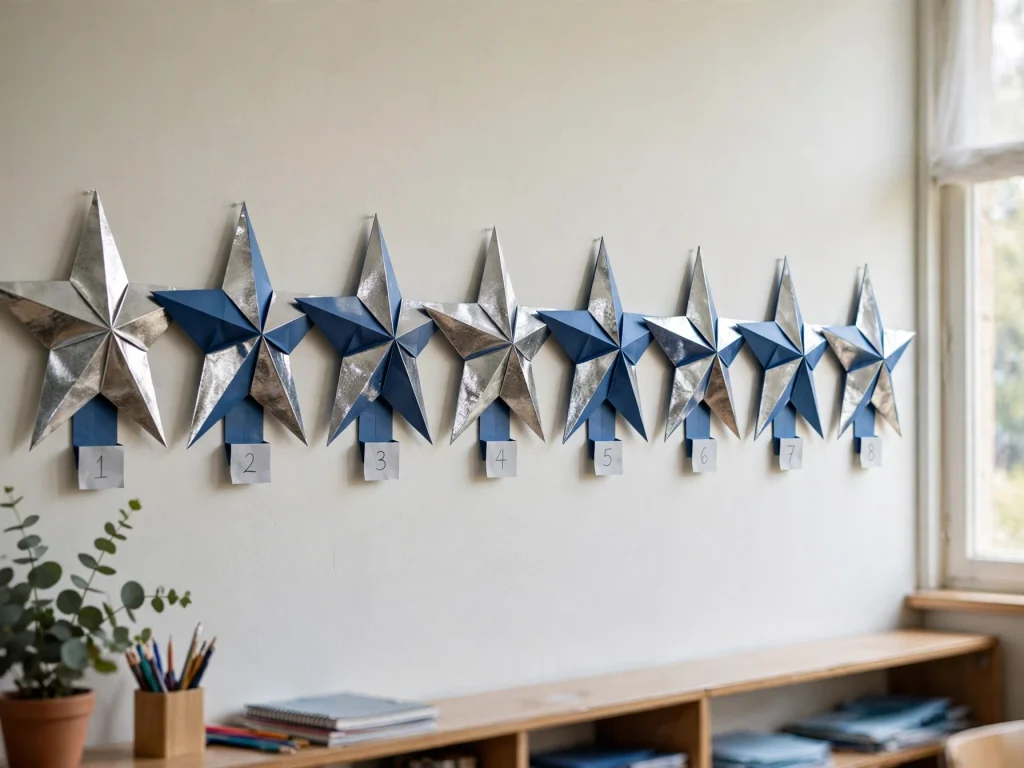
- Make 8 large circles or stars.
- Write “Night 1” through “Night 8” on them.
- Add a short fact or kind act to each one.
- Hang them in a row.
- Cover each one until its night, then uncover it.
9. Hanukkah Words Banner
You need: White cardstock, blue marker, string, hole punch.

- Cut cardstock into triangles or rectangles.
- Write one word on each, such as “Light,” “Hope,” “Family,” “Joy” and “Peace.”
- Punch two holes in the top of each flag.
- Thread the flags onto string. Hang across a wall or window.
10. Dreidel Garland
You need: Blue and silver paper, string, glue stick, scissors.

- Cut 12 to 15 diamond shapes. Each should have a small handle at the top.
- Decorate with stripes and dots.
- Glue the dreidels to a long string, spaced a few inches apart.
- Hang the garland across a board, shelf or window.
Window and Light Ideas
11. Tissue Paper Stained Glass Menorah
You need: Clear contact paper, tissue paper squares, black cardstock frame, scissors.
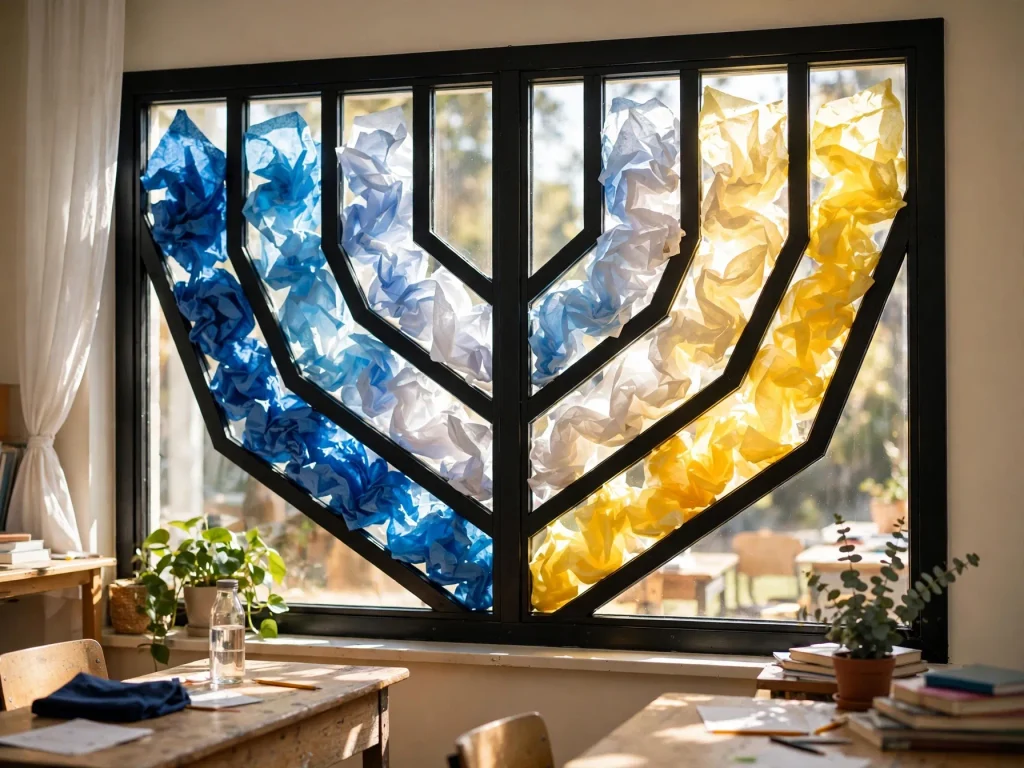
- Cut a menorah shape from the middle of a black cardstock sheet to make a frame.
- Stick a piece of clear contact paper on the back of the frame, sticky side facing out.
- Let students press tissue paper squares onto the sticky paper.
- Cover with a second piece of contact paper.
- Tape the finished piece on a sunny window.
12. Paper Plate Hanging Dreidels
You need: Paper plates, blue paint, glitter glue, craft sticks, string.
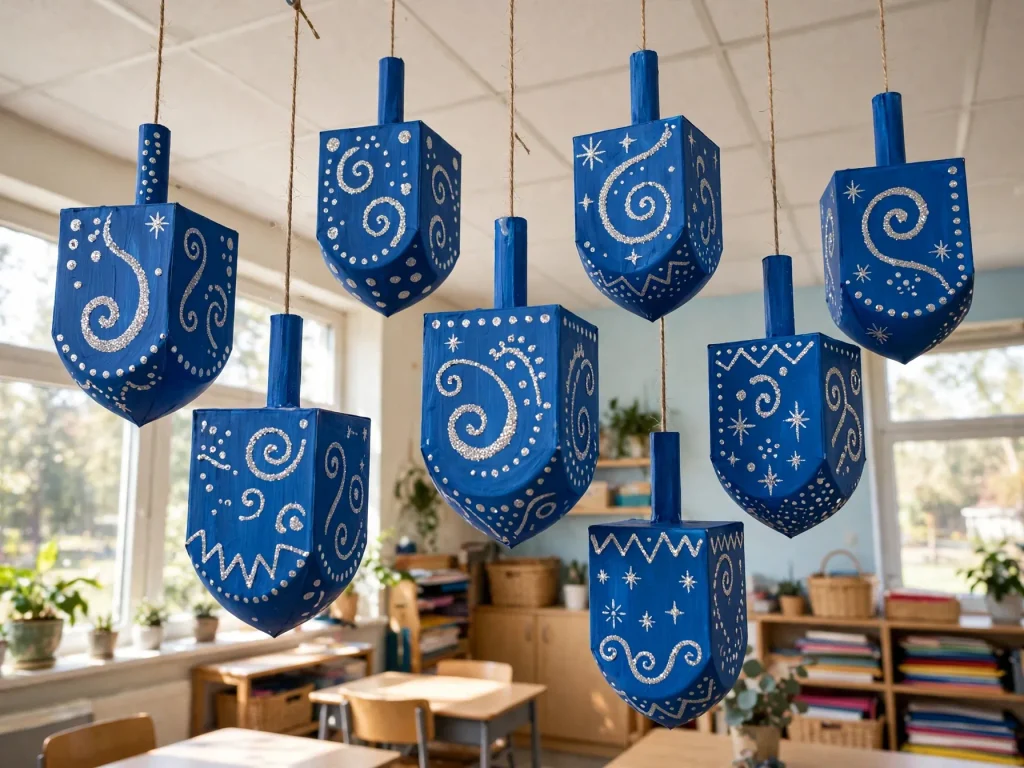
- Fold a paper plate in half and cut the sides to make a dreidel shape.
- Paint it blue. Let it dry.
- Add glitter glue letters or stripes.
- Glue a craft stick to the bottom as the point.
- Tie a string to the top and hang from the ceiling.
13. Glass Jar Lanterns with LED Lights
You need: Clean glass or plastic jars, blue tissue paper, white glue, LED tea lights.
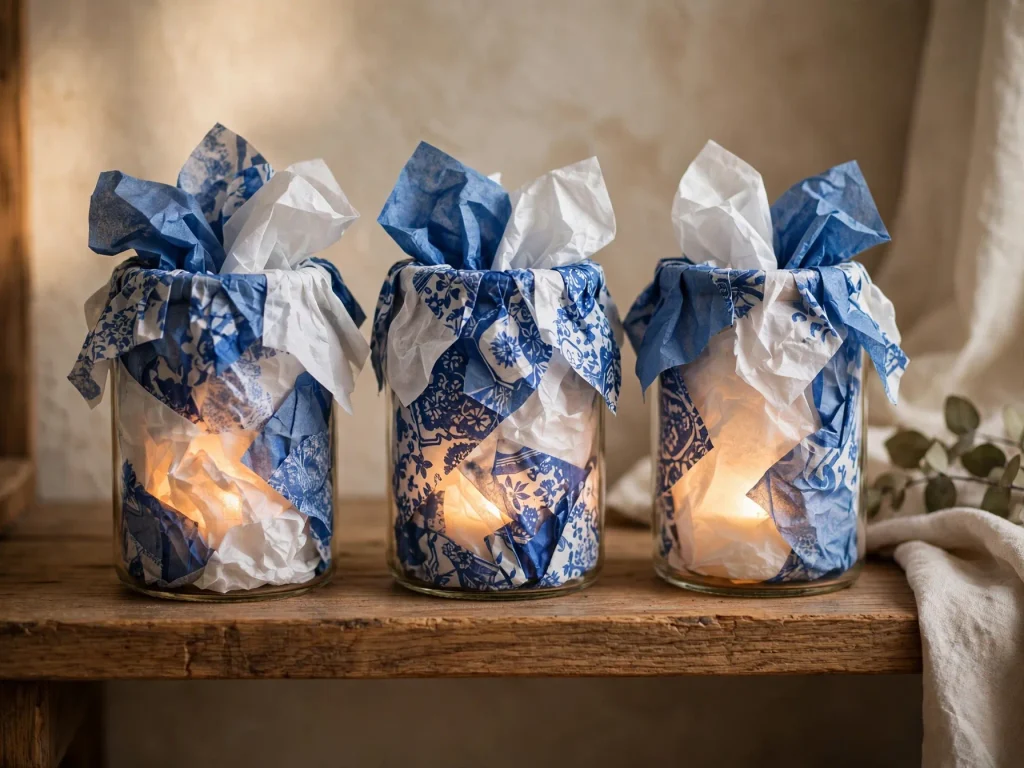
- Brush glue on the outside of the jar.
- Stick on small pieces of blue and white tissue paper.
- Add a second coat of glue to seal it.
- Let it dry well.
- Place a battery LED tea light inside.
An adult should handle glass jars. Use plastic jars for young children. Do not use real flames.
Table and Shelf Ideas
14. LED Candle Menorah Display
You need: 9 battery LED candles, a long wooden board or tray, small holders.

- Place the 9 LED candles in a row on the board.
- Make the center candle taller than the rest.
- Add a small sign that explains the meaning.
- Keep the display on a high shelf where it is safe.
Only use LED candles in classrooms. Never use real flames near decor.
15. Cardboard Tube Menorah
You need: 9 cardboard tubes, blue paint, yellow paper, glue, a cardboard base.

- Paint the tubes blue. Let them dry.
- Cut the center tube a little taller.
- Glue the tubes in a row onto a long piece of cardboard.
- Cut 9 paper flames and glue one inside each tube.
- Decorate the base with silver stars.
16. Star of David Craft Stick Ornaments
You need: Craft sticks, blue and silver paint, glitter glue, ribbon.

- Make the six-point star as shown in idea 5.
- Paint the stars in different shades of blue and silver.
- Add a loop of ribbon at the top.
- Hang them on a small tree-free display, a branch in a pot or a window.
17. Blue and White Balloon Garland
You need: Blue, white and silver balloons, a balloon pump, tape or fishing line.

- An adult inflates the balloons to different sizes.
- Tie the balloons together in small groups.
- Connect the groups into a long chain with tape or fishing line.
- Hang it above the door or on a wall.
Check for latex allergies before you use latex balloons. Pick up broken balloon pieces right away because they are a choking risk for young children.
Tips for Easy Classroom Styling
- Pick two or three colors. This keeps the room neat and calm.
- Use painter’s tape on walls and doors. It is gentle on paint.
- Hang decorations at student eye level so everyone can enjoy them.
- Repeat shapes. Use dreidels and stars in more than one place.
- Keep fire exits, windows and doorways clear.
- Take photos before you take the décor down. Students love to see them.
Age Guidance
- Ages 4 to 5: Tearing tissue paper, painting, gluing big shapes, handprints.
- Ages 6 to 8: Cutting simple shapes, writing words, making garlands and dreidels.
- Ages 9 and up: Making stars, banners, jars and countdown walls with little help.
Always supervise young children during craft time.
Safety Notes
- An adult should handle hot glue guns, sharp knives, craft knives, spray paint and glass.
- Use battery LED candles only. Never use real candles or open flames in the classroom.
- Use non-toxic, washable paint and glue.
- Use ladders and step stools safely. Only an adult should hang items high.
- Keep small items, such as glitter, beads and balloons, away from young children.
- Check for latex and glitter allergies.
Plan Ahead and Make-Ahead Guide
- 2 weeks before: Pick your ideas. Gather supplies.
- 1 week before: Cut shapes and prepare kits for each table.
- 3 to 4 days before: Let students make the dreidels, flames, handprints and stars.
- 1 to 2 days before: Hang the door, wall and window décor.
- Hanukkah week: Add the countdown and LED candle display.
- After the holiday: Store paper pieces flat in a folder or box for next year.
FAQ
What colors are used for Hanukkah?
Blue, white, silver and gold are the most common colors.
How many candles are on a menorah?
A Hanukkah menorah has 9 branches. There are 8 for the 8 nights and 1 helper candle called the shamash.
What are easy Hanukkah crafts for kids?
Paper dreidels, handprint menorahs, tissue paper windows and star ornaments are all easy.
Can I use real candles in a classroom?
No. Use battery LED candles only.
How long does Hanukkah last?
Hanukkah lasts 8 nights. The dates change every year.
How can I include all students?
Share the story of Hanukkah as one of many winter traditions. Invite students to share their own. Keep the décor respectful and kind.
Final Thoughts
Hanukkah classroom decorations bring light, color and warmth to your room. Start with a door or a bulletin board. Then add a garland and a window craft. Let students make as much as they can. Keep it simple, safe and kind, and your classroom will glow.