DIY Hanukkah Decorations: 18 Easy Ideas for the Whole Family
Hanukkah is the Festival of Lights. It lasts eight nights. Many families decorate with blue, white, silver, and gold.
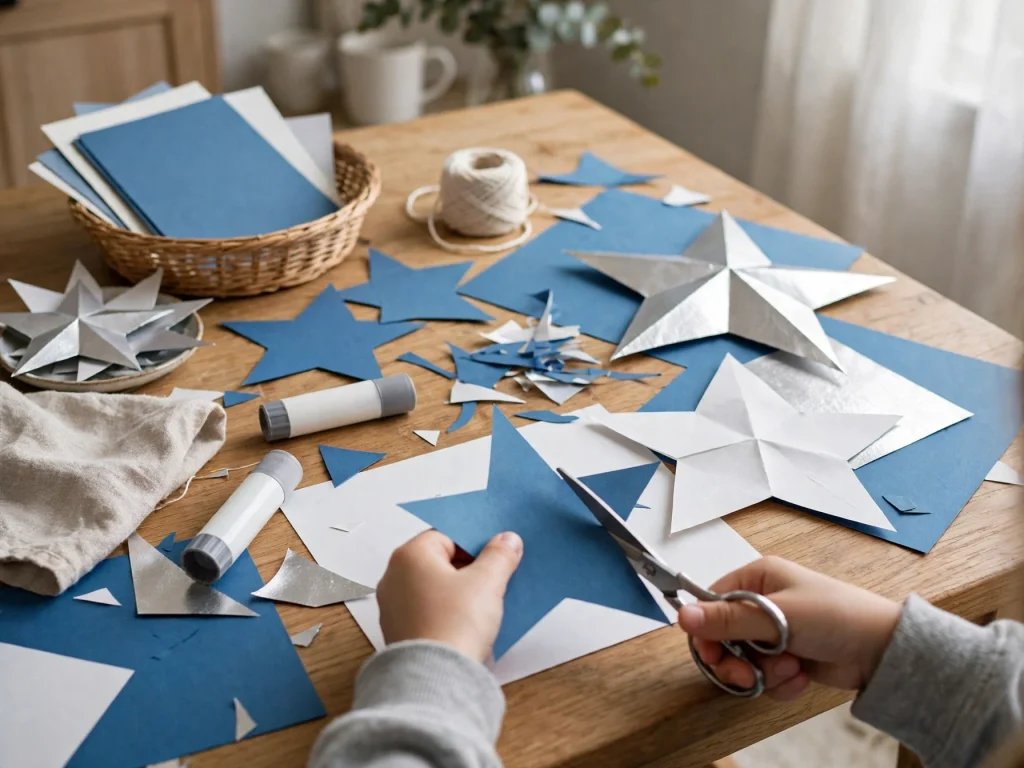
You do not need to spend a lot. With paper, glue, and a few simple supplies, you can make DIY Hanukkah decorations that look pretty and feel special. This guide has 18 ideas for walls, tables, and little helpers. Pick a few and start crafting!
Hanukkah Colors and Symbols to Use
Here are the most common symbols for decor:
- The menorah (also called a hanukkiah). It has nine branches: eight for the eight nights and one helper candle.
- The dreidel, a four-sided spinning top.
- The Star of David.
- Gold coins, which remind many people of gelt.
- Colors: blue, white, silver, and gold.
Use two or three of these colors. Your decor will look neat and calm.
Supplies and Age Guide
Keep these basics at home:
- Blue, white, and silver paper and cardstock
- Scissors and glue sticks
- White school glue
- Washable paint and brushes
- Craft sticks, string, and twine
- LED tea lights
- Clear glass jars
Age guide:
- Ages 2 to 4: fingerprint art, tissue paper, and paper chains with a grown-up helping.
- Ages 5 to 8: painting, simple cutting, and gluing.
- Ages 9 and up: most steps alone. An adult still handles hot glue, craft knives, and spray paint.
Easy DIY Hanukkah Decorations for Walls, Windows, and Doors
1. Paper Menorah Wall Art (ages 5+)
You need: blue cardstock, white paper, yellow paper, scissors, glue stick, ruler

- Cut nine white paper strips for candles.
- Glue them in a row on the blue cardstock.
- Make the middle candle taller. This is the helper candle.
- Cut small yellow flames and glue one on top of each candle.
- Draw a curved base under the candles and hang it on the wall.
2. Tissue Paper Suncatchers (ages 3+)
You need: clear contact paper, blue, white, and silver tissue paper squares, scissors, tape

- Cut two equal pieces of clear contact paper.
- Peel one piece and place it sticky side up.
- Press tissue squares all over the sticky side.
- Cover with the second piece and smooth it flat.
- Trim into a star or circle and tape it to a window.
3. Coffee Filter Snowflakes (ages 4+)
You need: white coffee filters, blue washable markers, spray bottle with water, scissors, string
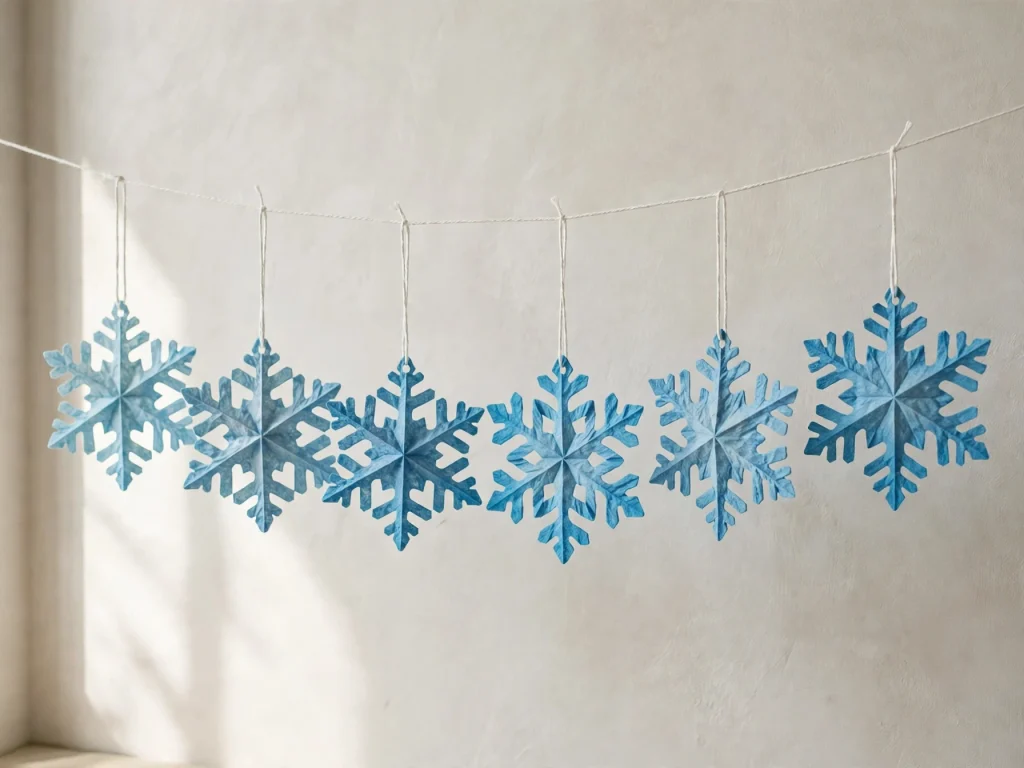
- Color a coffee filter with blue marker.
- Spray lightly with water so the colors spread.
- Let it dry flat.
- Fold it in half three times.
- Cut small shapes along the edges, unfold, and hang with string.
4. Paper Plate Wreath (ages 5+)
You need: paper plate, blue and silver paint, white paper, scissors, glue, ribbon
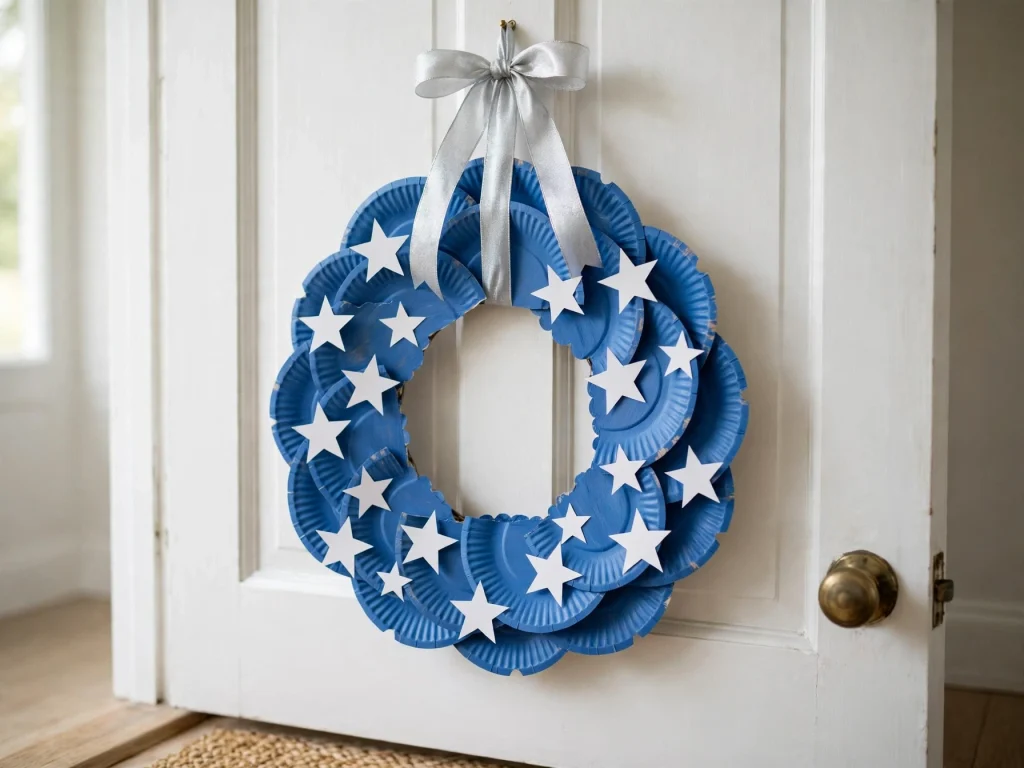
- An adult cuts out the middle of the plate to make a ring.
- Paint the ring blue and let it dry.
- Cut small stars from white paper.
- Glue the stars around the ring.
- Tie a ribbon loop at the top and hang it.
5. Dreidel Door Hanger (ages 6+)
You need: cardboard, blue paint, gold marker, scissors, yarn, hole punch

- Draw a dreidel shape on cardboard and cut it out.
- Paint it blue and let it dry.
- Draw a star or one of the four letters (nun, gimel, hey, shin) with a gold marker.
- Punch a hole at the top.
- Thread yarn through it and hang it on your door.
6. Felt Dreidel Banner (ages 8+, younger with help)
You need: blue, white, and silver felt, scissors, fabric glue, twine

- Cut seven dreidel shapes from felt.
- Cut small shapes from other colors and glue them on each dreidel.
- Lay the twine flat.
- Fold the top of each dreidel over the twine and glue it down.
- Dry flat, then hang on a mantel or wall.
Hanukkah Decorations DIY Kids Can Make
7. Painted Wooden Dreidels (ages 4+)
You need: unfinished wooden dreidels from a craft store, acrylic paint, brushes, newspaper

- Cover the table with newspaper.
- Paint each dreidel one base color. Let it dry.
- Add dots, stripes, or stars.
- Let the paint dry fully before touching.
- Display them in a bowl or on a shelf.
8. Fingerprint Flame Menorah Art (ages 2+)
You need: white paper, blue marker, yellow washable paint, wet wipes
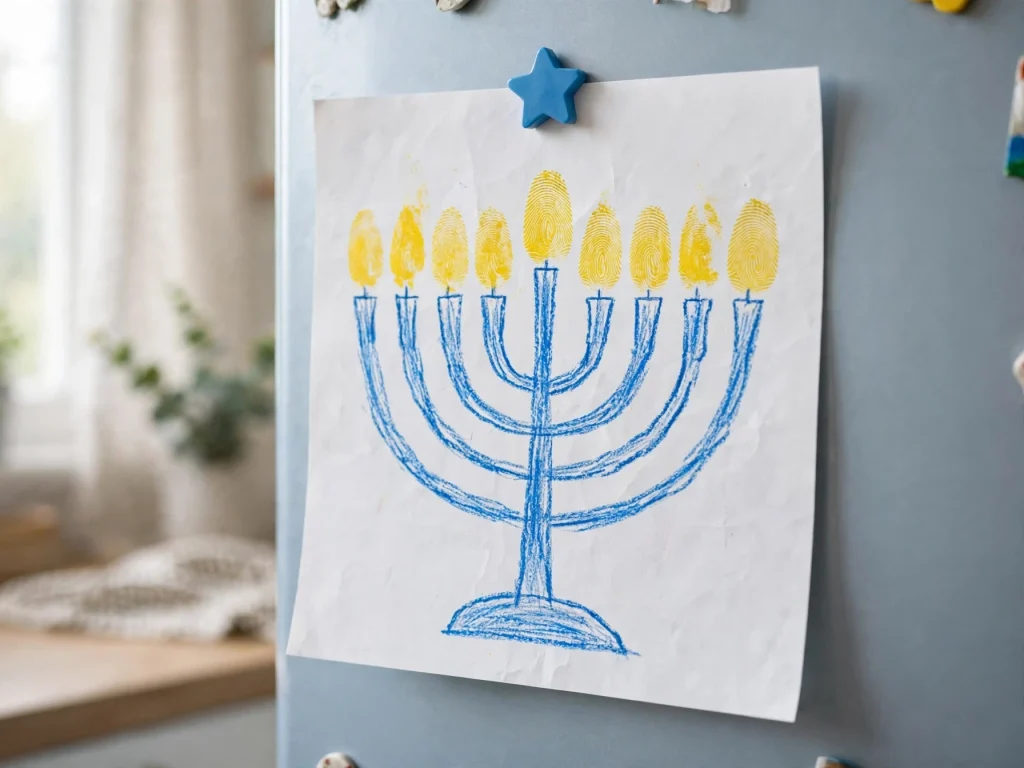
- Draw a menorah with nine arms on the paper.
- Dip a fingertip in yellow paint.
- Press one fingerprint flame above each arm.
- Make the middle flame a little higher.
- Let it dry and hang it on the fridge.
9. Popsicle Stick Star of David (ages 5+)
You need: 6 craft sticks, blue paint, white glue, glitter, ribbon
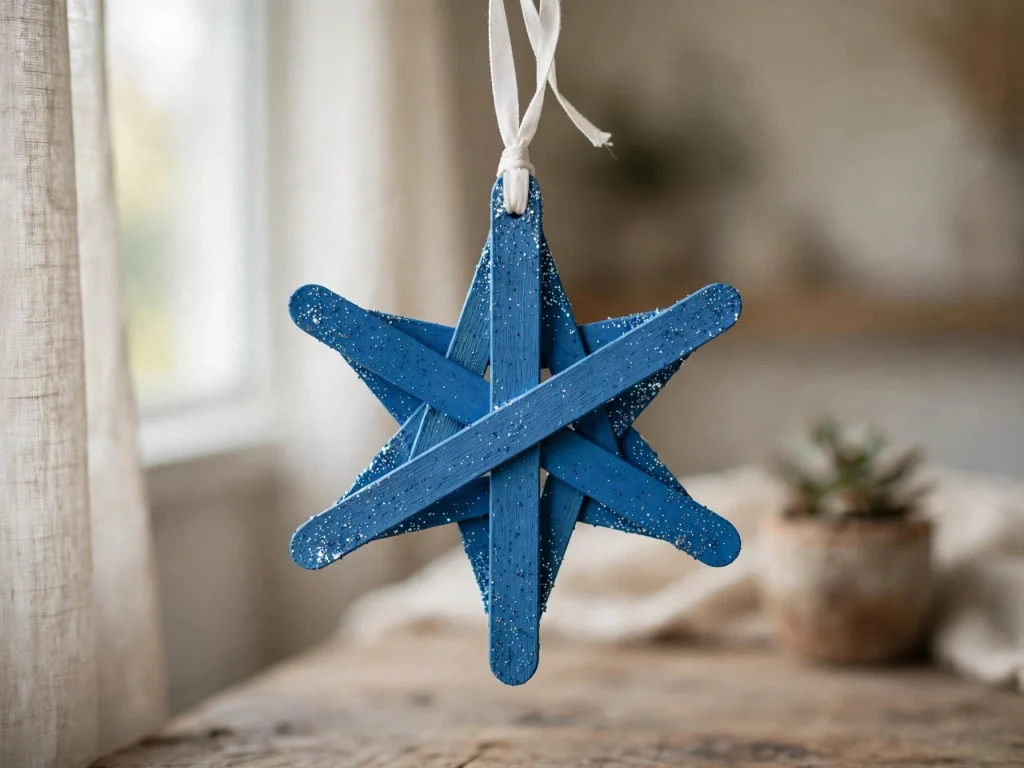
- Paint all six sticks blue. Let them dry.
- Glue three sticks into a triangle.
- Make a second triangle the same way.
- Flip one triangle upside down and glue it over the other to make a six-point star.
- Add glitter, let it dry, and tie on a ribbon to hang.
10. Gold Coin Garland (ages 4+)
You need: cardstock, cup to trace, gold paint or markers, scissors, hole punch, string

- Trace circles with a cup and cut them out.
- Color or paint each circle gold.
- Punch two holes near the top of each coin.
- Thread the string through the holes.
- Space the coins out and hang the garland. These are for decor only, not for eating.
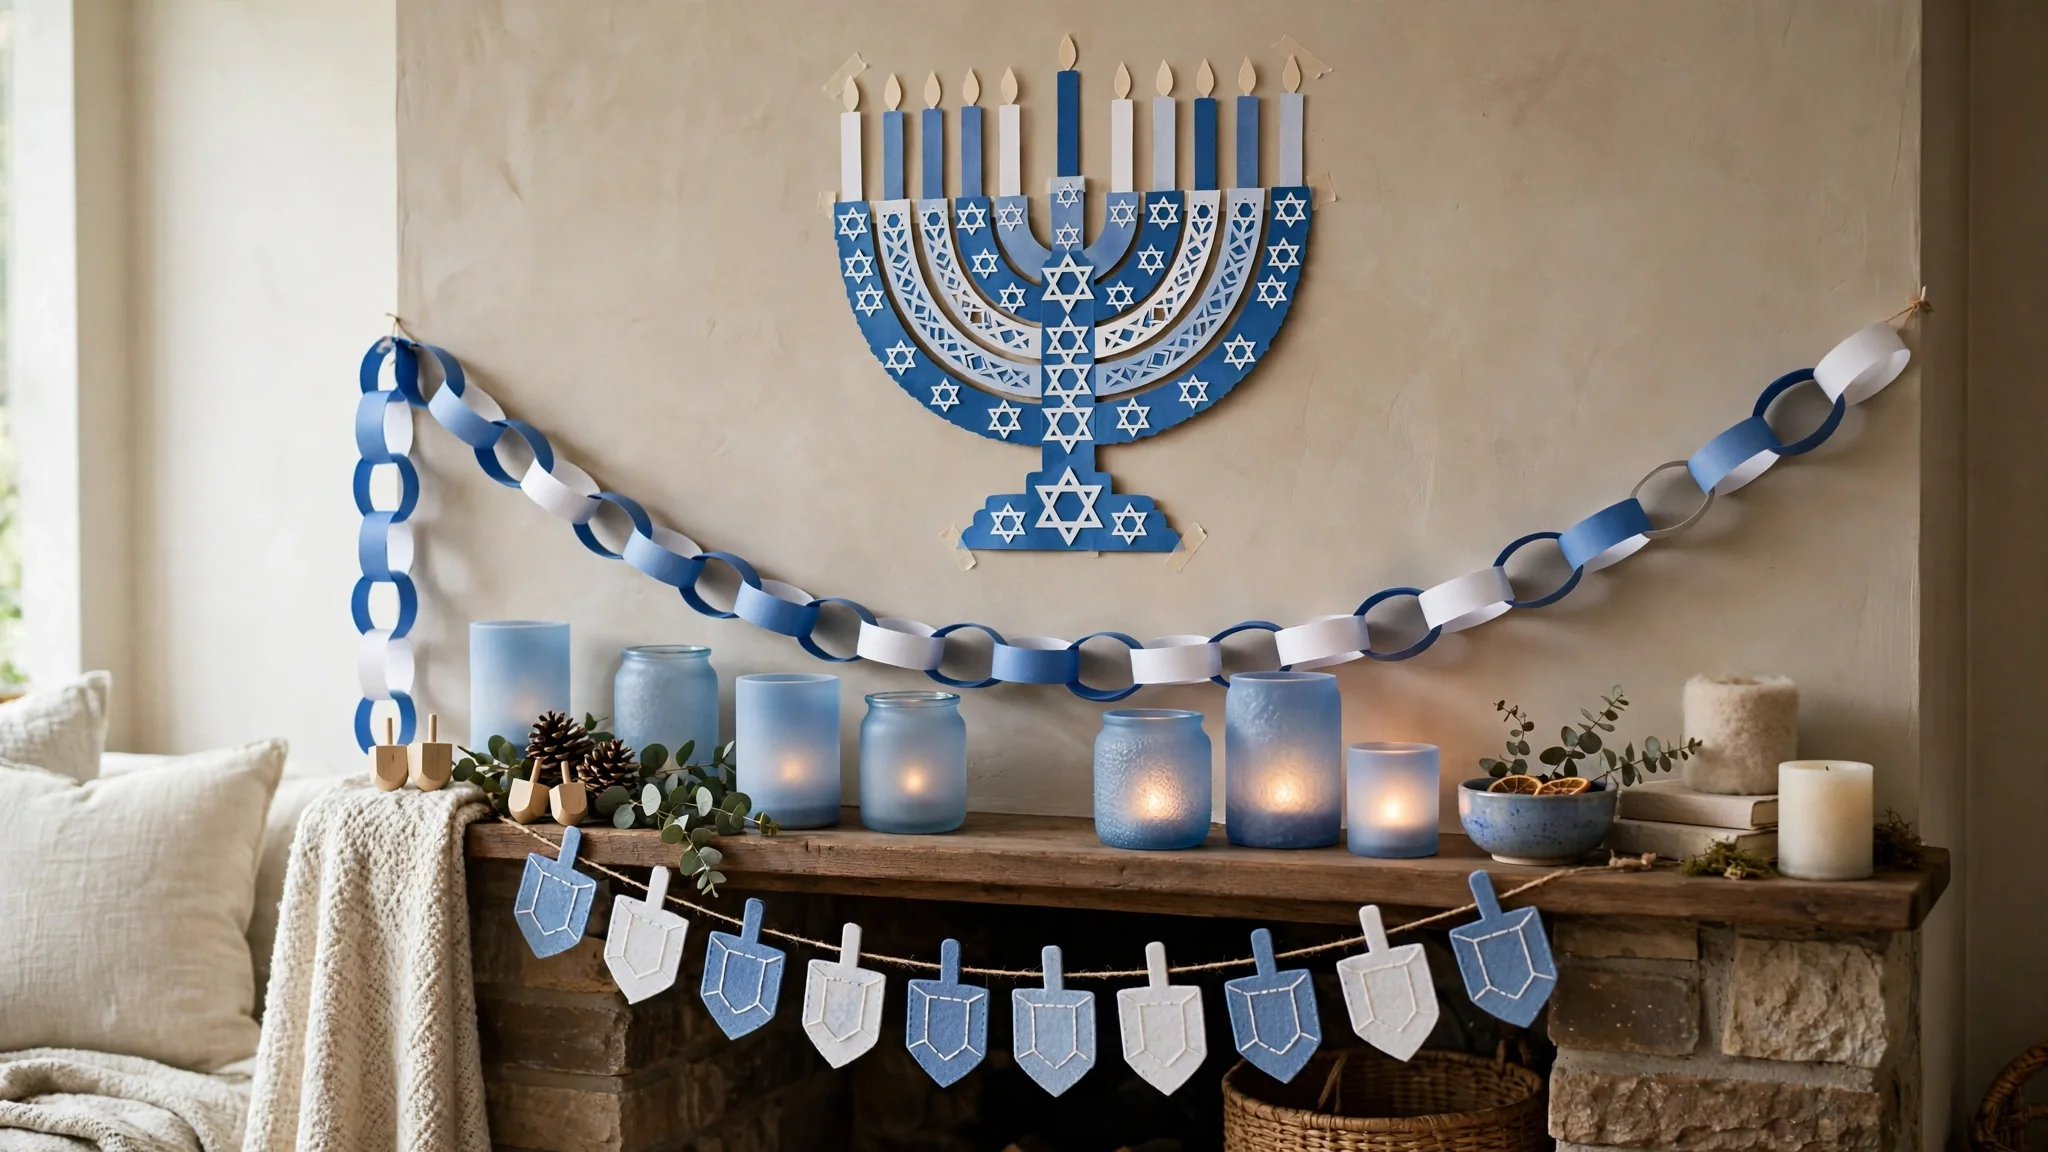
11. Blue and White Paper Chain (ages 3+)
You need: blue, white, and silver paper strips (1 inch by 6 inches), glue stick or tape

- Make a loop from one strip and glue the ends.
- Slide the next strip through the loop and glue it into a new loop.
- Repeat in a color pattern.
- Keep going until the chain fits your mantel or doorway.
12. Pom-Pom Garland (ages 6+)
You need: blue, white, and silver pom-poms, twine, glue dots

- Cut a piece of twine as long as you want.
- Put a glue dot on each pom-pom.
- Press each one onto the twine and space them evenly.
- Let them set for a few minutes before hanging.
Keep this one away from children under 3. Small pom-poms are a choking risk.
Table and Mantel DIY Hanukkah Decorations
13. Mason Jar Luminaries (ages 6+)
You need: clean glass jars, blue tissue paper, white glue and water, brush, LED tea lights, ribbon

- Mix equal parts glue and water.
- Brush a thin layer on the outside of the jar.
- Press torn tissue pieces onto the jar.
- Brush another thin layer over the tissue.
- Dry overnight, drop in an LED tea light, and tie a ribbon around the top.
14. Blue and White Jar Centerpiece (ages 8+)
You need: three clean jars, white flowers (real or paper), blue ribbon, LED candles, silver tray

- Tie blue ribbon around each jar.
- Fill the jars with white flowers.
- Place the jars on the tray at different heights.
- Add a few LED candles between them.
15. Air-Dry Clay Menorah Display (ages 8+, with adult help)
You need: air-dry clay, rolling pin, LED tea light, paint, brush
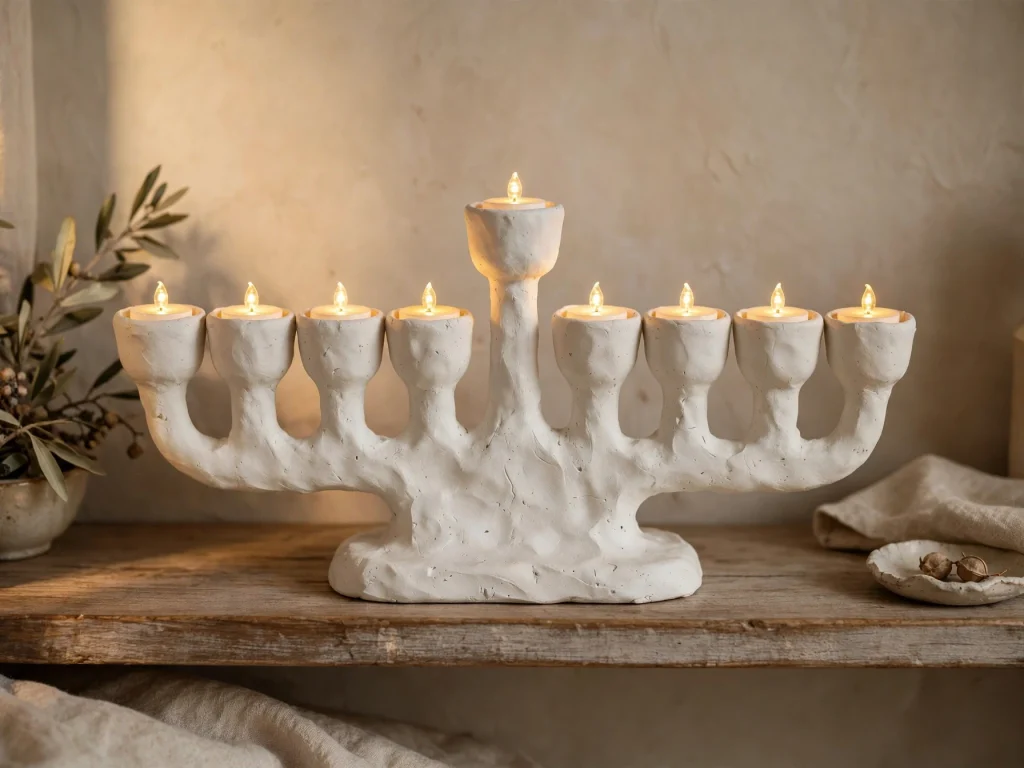
- Roll the clay into a long, flat base.
- Add a small raised block in the middle.
- Press an LED tea light into the clay nine times to make cups. Put the middle one on the block.
- Let the clay dry as the package says, often 24 to 48 hours.
- Paint it, let it dry, then place LED tea lights in the cups.
This menorah is for display only. Do not use real candles in it.
16. Silver Foil Star Ornaments (ages 6+)
You need: cardboard, aluminum foil, scissors, glue stick, string, hole punch

- An adult cuts a star from cardboard.
- Cover the star with glue.
- Wrap foil around it and smooth the edges.
- Punch a hole at the top and thread the string.
- Hang from a shelf, a branch, or a window.
17. Dreidel Place Cards (ages 7+)
You need: blue cardstock, white gel pen, scissors, glue

- Cut a small dreidel shape from blue cardstock.
- Write a guest’s name on it with the white pen.
- Fold a small cardstock rectangle in half to make a stand.
- Glue the dreidel on the front.
- Set one at each plate.
18. Eight Nights Gift Bag Banner (ages 8+)
You need: eight small paper bags, number stickers 1 to 8, twine, clothespins, small gifts or notes
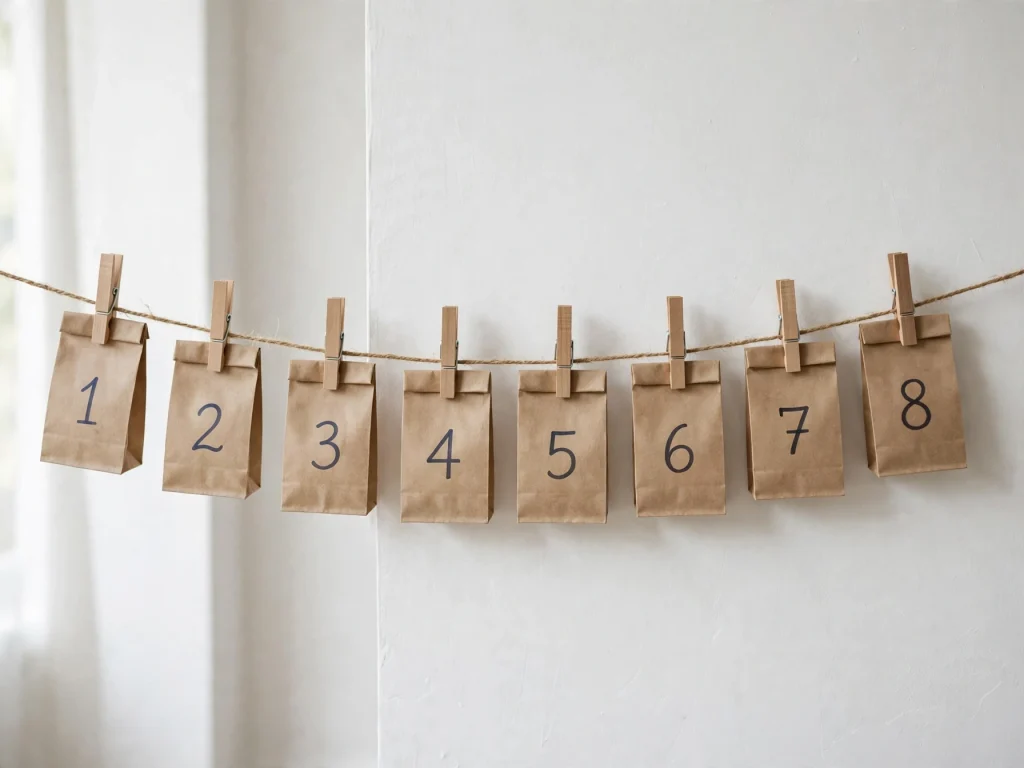
- Put a number from 1 to 8 on each bag.
- Add a small gift, a kind note, or a tiny craft inside.
- Clip the bags to twine with clothespins.
- Hang the twine across a wall.
- Open one bag each night.
Simple Tips for Better Hanukkah Decor
- Stick to two or three colors.
- Mix paper, felt, glass, and foil for a rich look.
- Hang pieces at different heights.
- Hang kids’ art at their eye level.
- Use a tray to keep paint and glue mess in one place.
- Save cardboard, jars, and boxes all year for crafts.
Make-Ahead Planning Guide
Hanukkah dates change each year, so check a calendar.
- 3 weeks before: Pick your ideas and buy supplies.
- 2 weeks before: Make things that need drying time, like clay menorahs and painted jars.
- 1 week before: Make garlands, wreaths, and window art.
- 2 to 3 days before: Hang decor and set up the table.
- First night: Add LED lights and enjoy!
Safety and Allergy Notes
- An adult should handle hot glue, craft knives, spray paint, and sharp scissors.
- Use spray paint outside only.
- Real candles belong only in a real menorah, lit by an adult. Keep them far from paper, felt, garlands, and curtains.
- Use LED candles near all craft decor.
- Use washable, non-toxic paint and glue.
- Keep small parts like pom-poms away from children under 3.
- Air-dry clay is not food. Do not let kids eat it.
- If you put treats in the gift bags, check for nut, wheat, and dairy allergies first.
FAQ
What are the colors of Hanukkah?
Blue, white, silver, and gold are the most common colors.
What is an easy Hanukkah craft for toddlers?
Try fingerprint flames, tissue paper suncatchers, or a paper chain. Always have a grown-up nearby.
When should I put up Hanukkah decorations?
Many families decorate a few days before the first night. Check the date each year.
Can I use LED candles on a craft menorah?
Yes, for display. For lighting the menorah, use a real menorah and follow your family’s tradition.
How can I decorate on a small budget?
Use recycled jars, cardboard, and paper scraps. Dollar stores are great for glue, paint, and felt.
Final Thoughts
Handmade decor makes Hanukkah feel warm and personal. Start with one or two ideas and add more each week. Let the kids join in, because their little touches make the best memories. Happy crafting and happy Hanukkah!